November 11, 2024
Mining engineering firm opens new service segment thanks to 3D scanners See the articleZeppelin Baumaschinen GmbH has been a German based sales and service partner of Caterpillar Inc., the world’s largest manufacturer of construction machinery, since 1954. Zeppelin Baumaschinen GmbH has in the interim developed into the largest business unit in the Zeppelin Group, and today it is Europe’s leading sales and service organization in the industry.
The company has been using conventional metrology equipment for years, but for some tasks, this approach has now become obsolete. For example, there are no blueprints or geometry data available for many machines and components, especially older ones, and it is not possible to verify the dimensional accuracy of components with complex geometries using their traditional metrology equipment. The company therefore decided in June 2022 to expand its metrology equipment with a HandySCAN 3D|Black Elite and the data capture software VXelements with its VXmodel scan-to-CAD module.
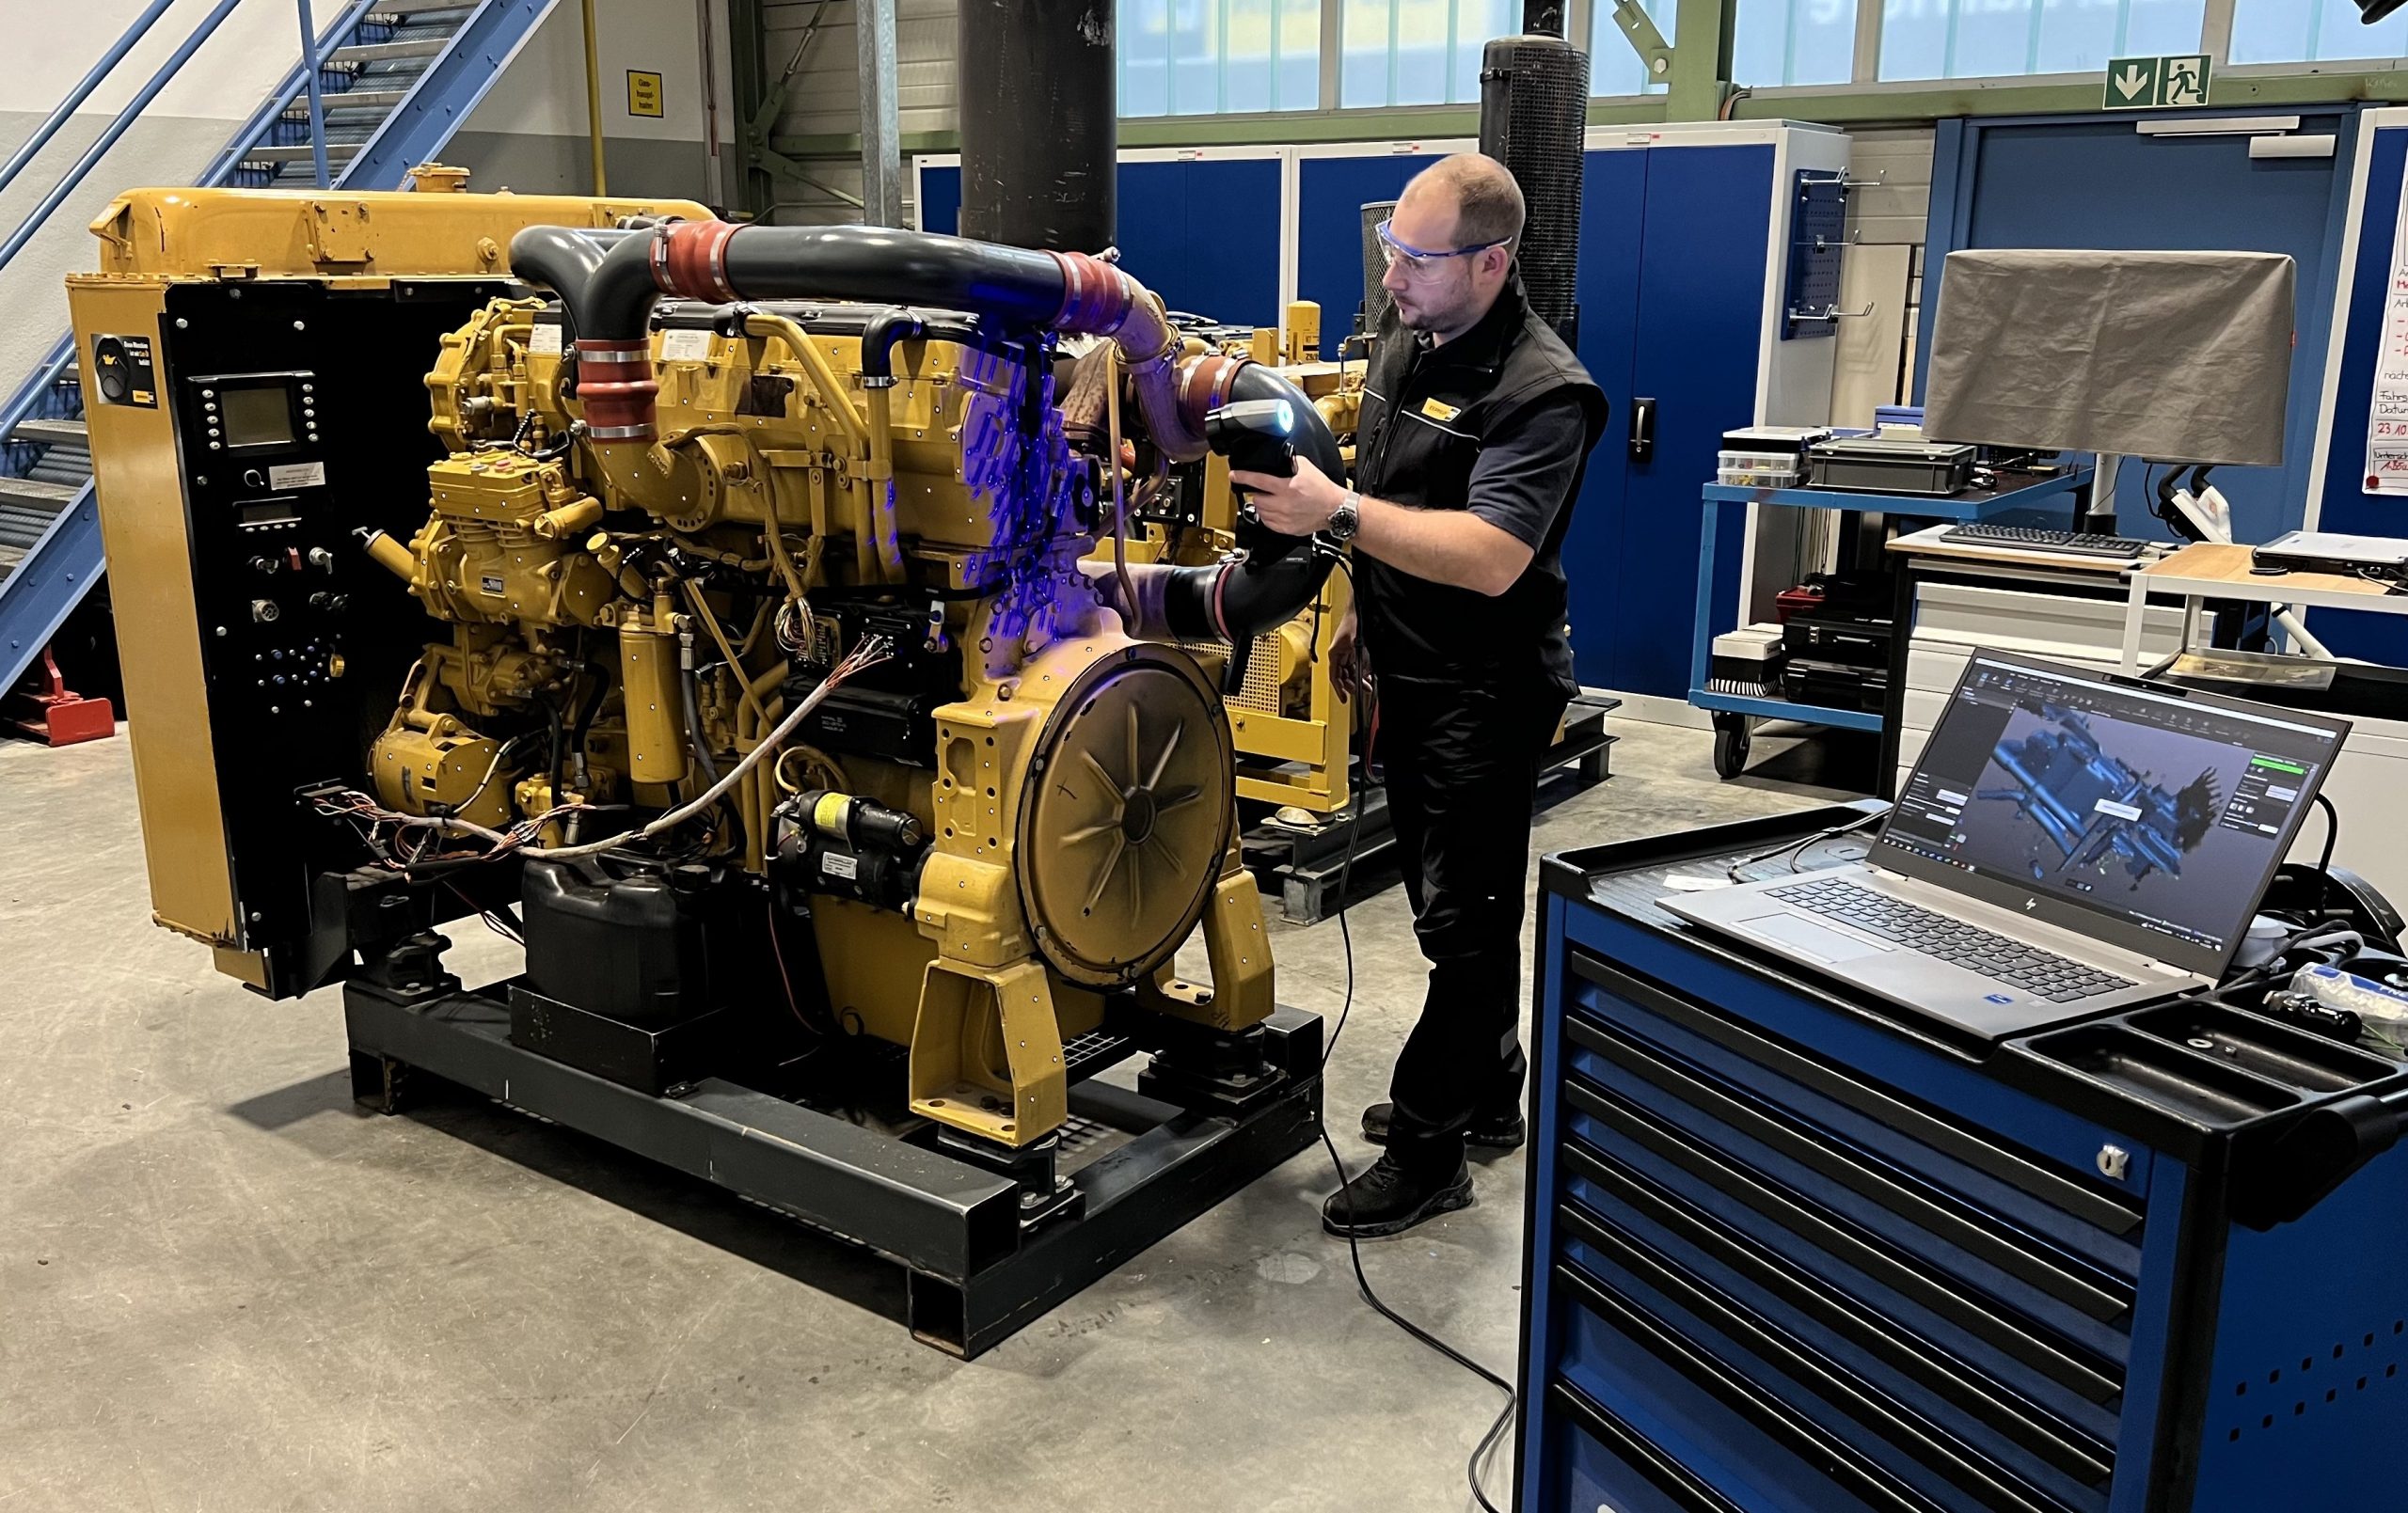
3D scan of engine blocks including connection points
In order to refurbish an existing engine test bench at the Cologne site, several engines had to be measured to create customized trolley mounts. With the help of these mounts, attaching the engines on the engine test bench becomes a quick and smooth operation.
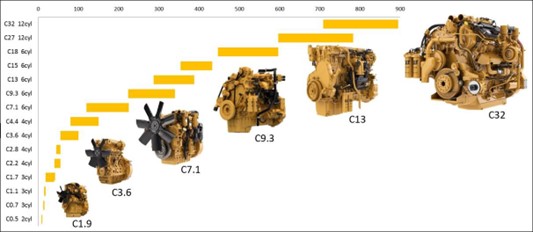
The current engine test bench is now 59 years old (it was built in 1962) and has reached the limits of its performance when some Caterpillar diesel engine series have to be tested. Assembling the engines on the test bench, as well as the set-up and dismantling for the test bench run, is very time-consuming and limits the engine throughput on the test bench.
The new engine test bench will be used to test engines with an output of up to 1000 kW. In the future, the test objects will be assembled using so-called trolleys. The advantage is that the engines are pre-assembled on the trolleys, and the trolley with its test object is then quickly mounted in the test bench room.
In order to accommodate, to the greatest extent possible, the widest range of engine types on the trolleys, it was decided to scan the majority of the engines with the HandySCAN 3D. This has the advantage that the connection points of the media supply, such as fresh air and exhaust gas, as well as the dimensions of the flywheel for the individual engine types can also be captured.
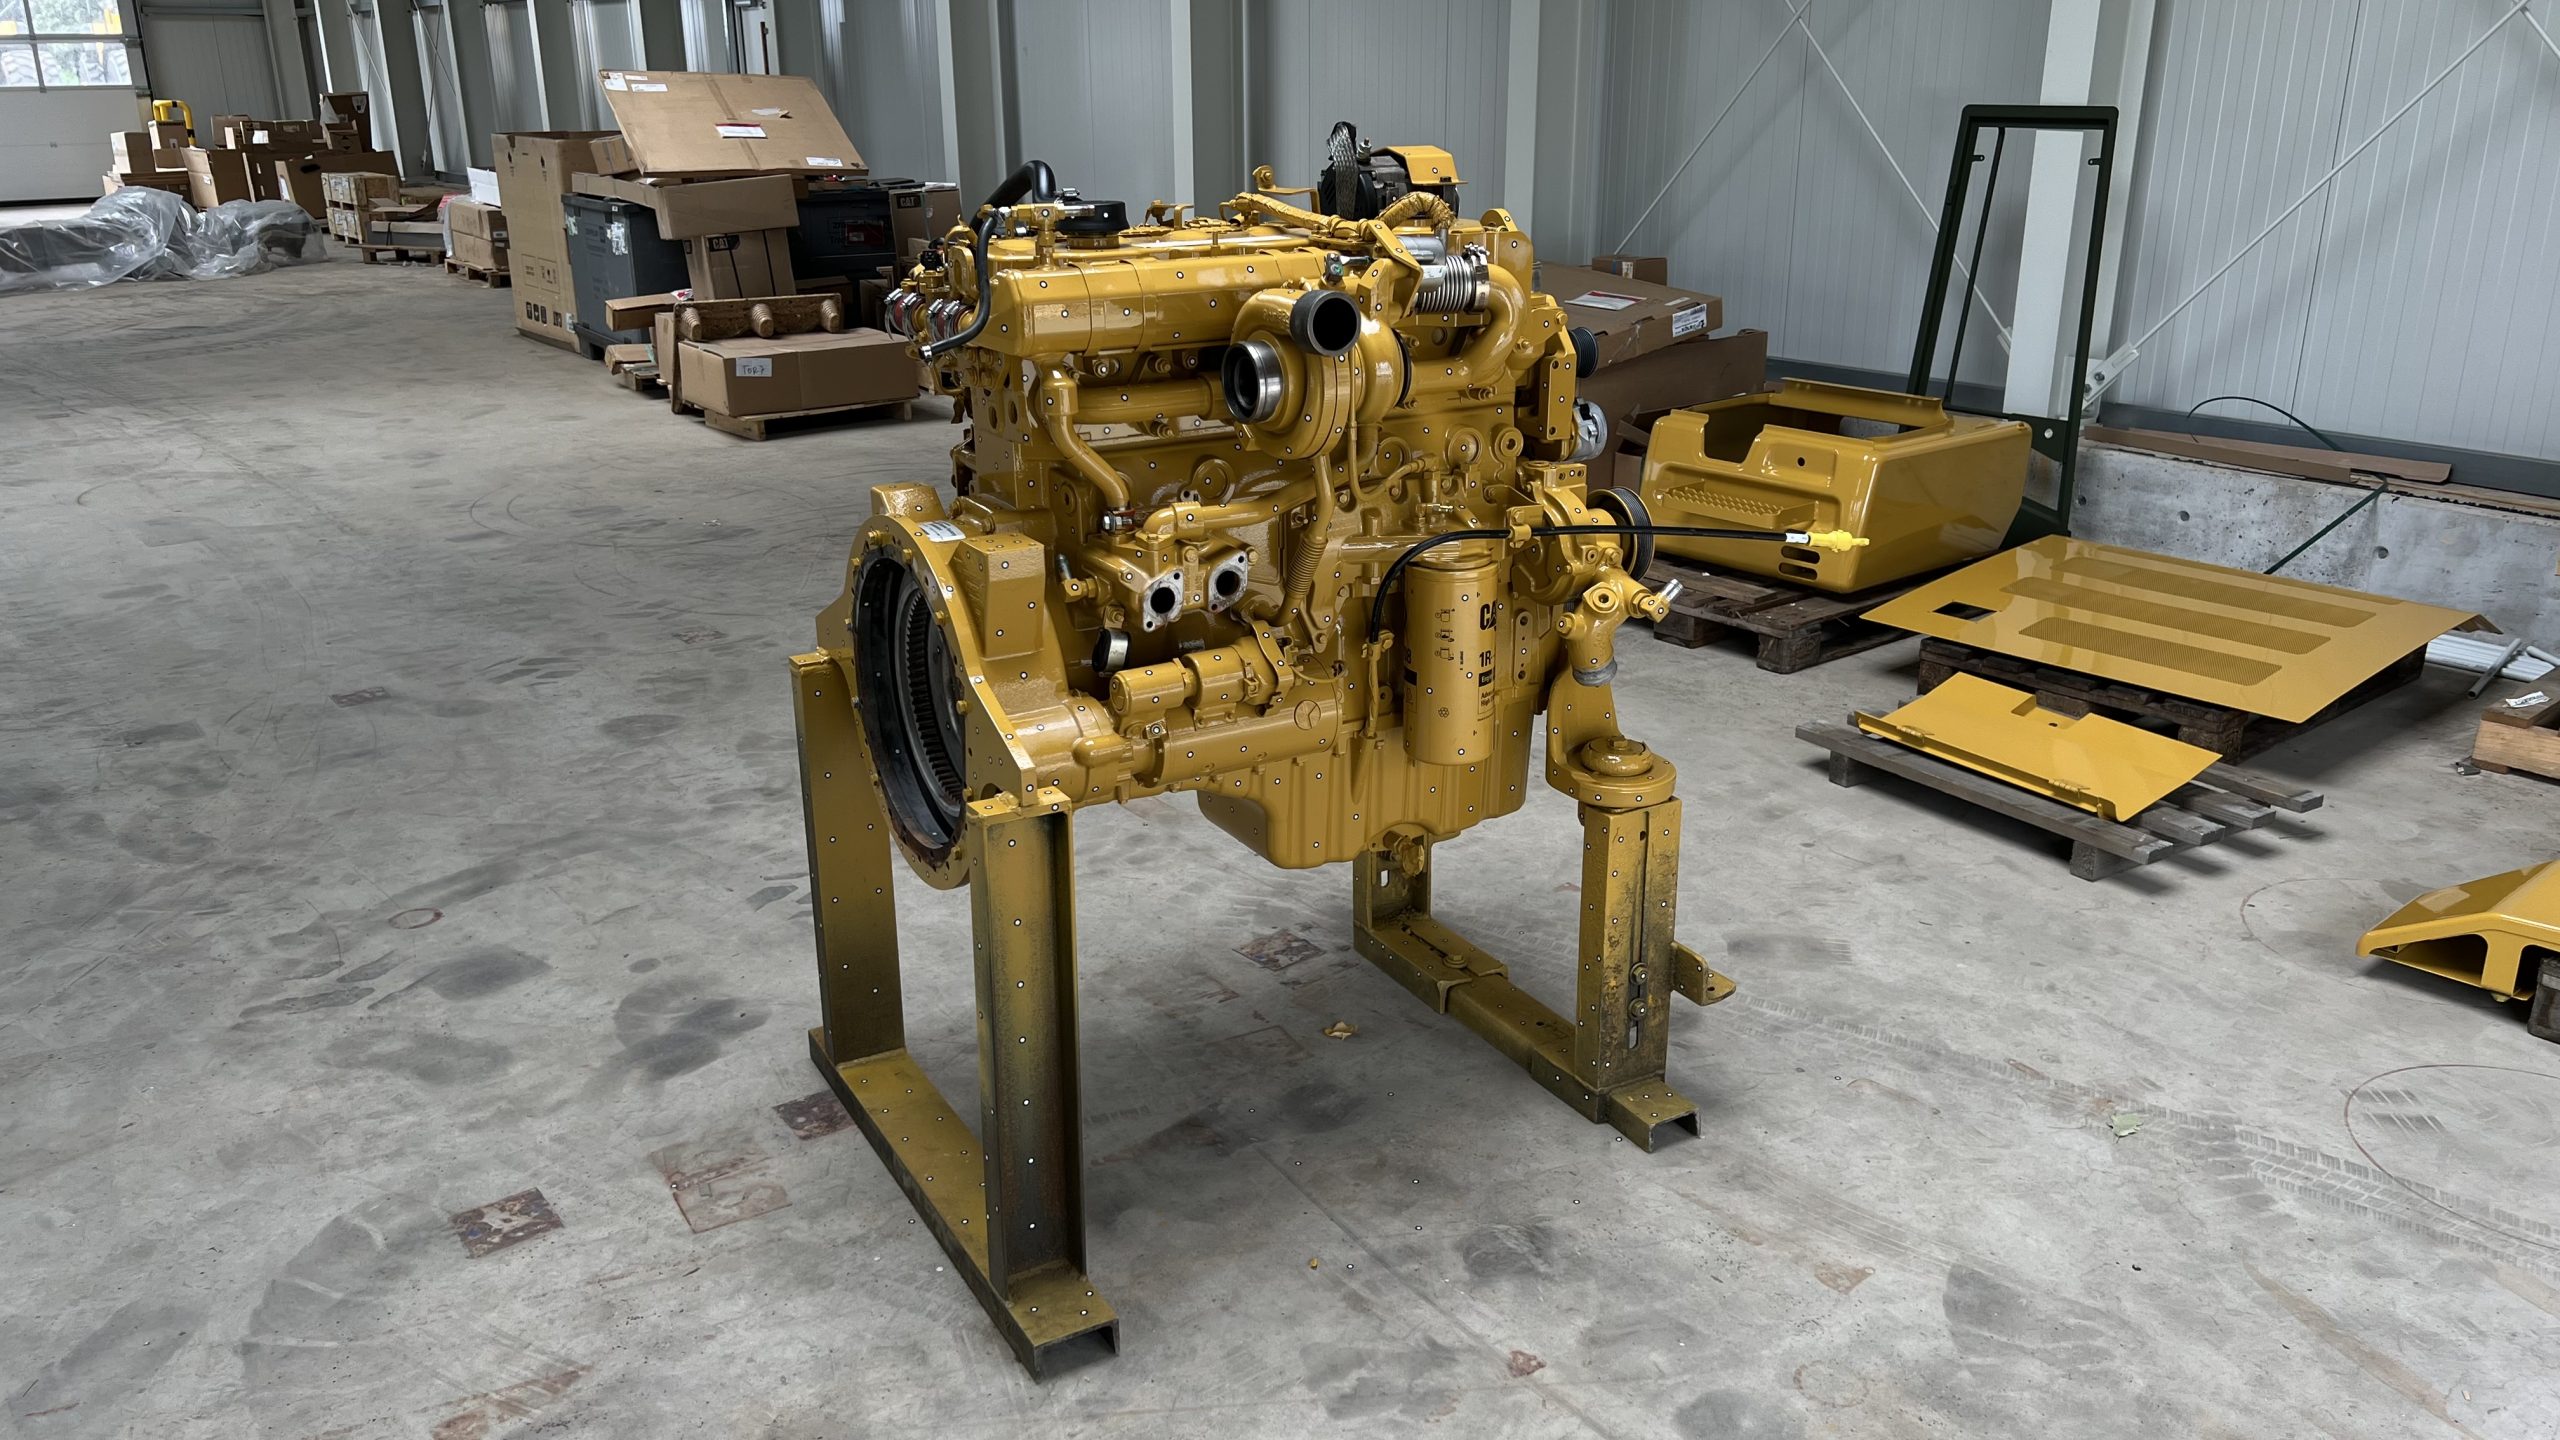
Engine block on the trolley mount. This makes it possible for the engine block, including connection points, to be digitized from all sides.
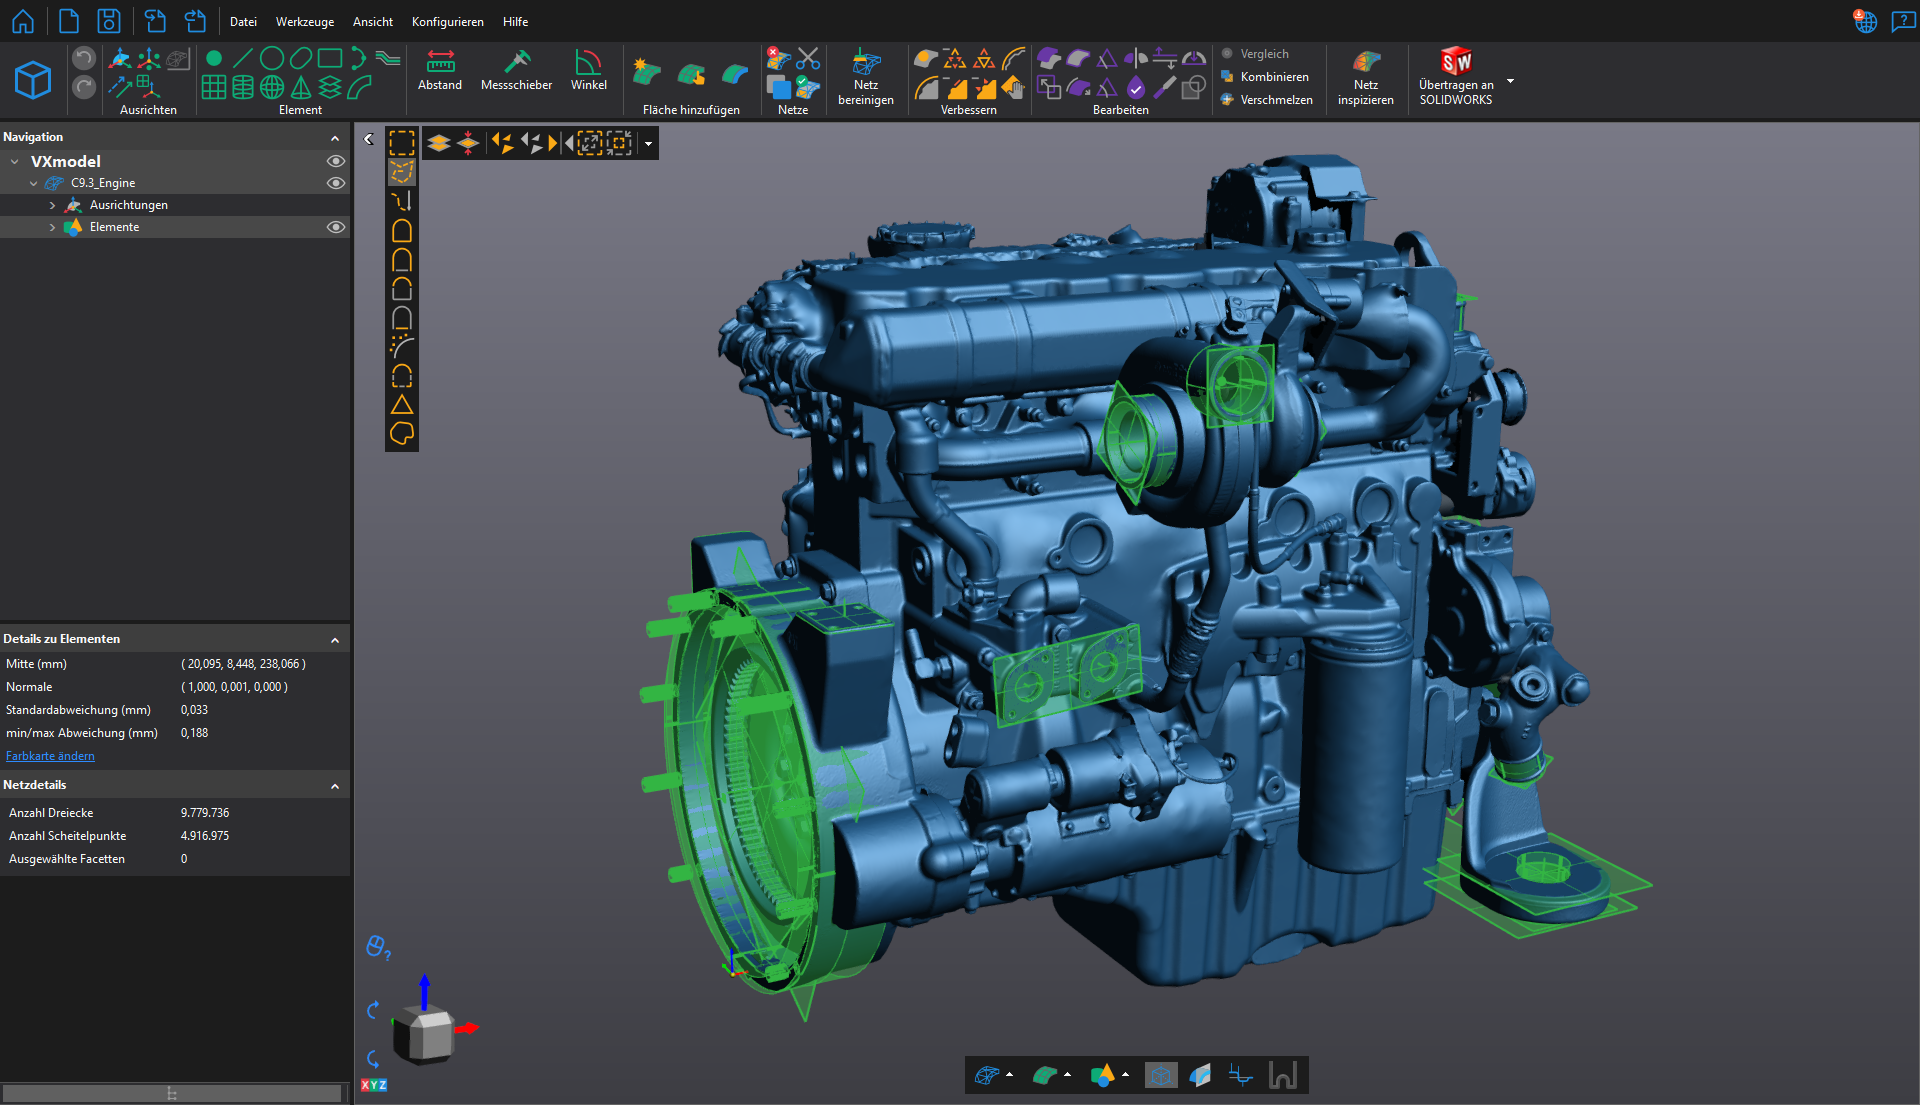
Scan of the engine block in the VXelements data capturing software. The areas highlighted in green show the connection points for the test bench.
Advantages of the Creaform HandySCAN 3D and the VXelements software
This project would have been difficult or even impossible to realize using traditional measurement equipment. Given the complex geometries of the engines, it would not have been possible to record the missing dimensions. It would also have been virtually impossible to reconstruct hidden elements.
The scanning process itself has been optimized to such an extent that the engine measurement can now be carried out quickly:
- Preparation time approx. 1 hour
- Measurement time approx. 0.5 hours instead of 2 hours
- Post-processing/creation of the auxiliary construction varies from approx. 4-8 hours, depending on requirements
In addition, thanks to the VXmodel software, preparation of the model for further development in CAD is considerably simplified.
According to Zeppelin Baumaschinen, the 3D measurement software VXelements offers clear advantages:
- Simple and reliable operations
- Clear interface and functions
- Direct interface to CAD software systems
Areas of application of the HandySCAN 3D|BLACK at Zeppelin
Zeppelin Baumaschinen GmbH now uses 3D metrology equipment for a whole range of applications. These include:
- Damage analysis of assemblies and individual parts
- Reverse engineering of existing machine components for individual modifications according to customer requirements (e.g. new development of individual components, customizing, and much more)
- Creation of 3D models for training and education purposes
- Creation of 3D models for adaptive component development / installations & conversions on existing machines
- Scan-to-print solutions for supply bottlenecks
There are also plans to use the measurement solution in the future for other projects, such as adapting operating elements for people with disabilities, e.g., modifying a joystick.

