August 8, 2024
Improving the Quality and Speed of Alloy Die Casting Products in the Auto Sector See the articleI just completed what is probably my largest benchmark project so far. I had to fly “down” to the South Pacific where I met up with Ricardo Mauer from Metronom Pacific (one of Creaform’s local agents) to take measurements on boats that measure 50m+ in length. Our scanners are relatively small (I had a MAXscan, more on this later) so flying over there with my equipment was a painless experience. Jetlag wasn’t really a problem either since by now I’m used to functioning with it; and in any case it’s nothing caffeine can’t fix.
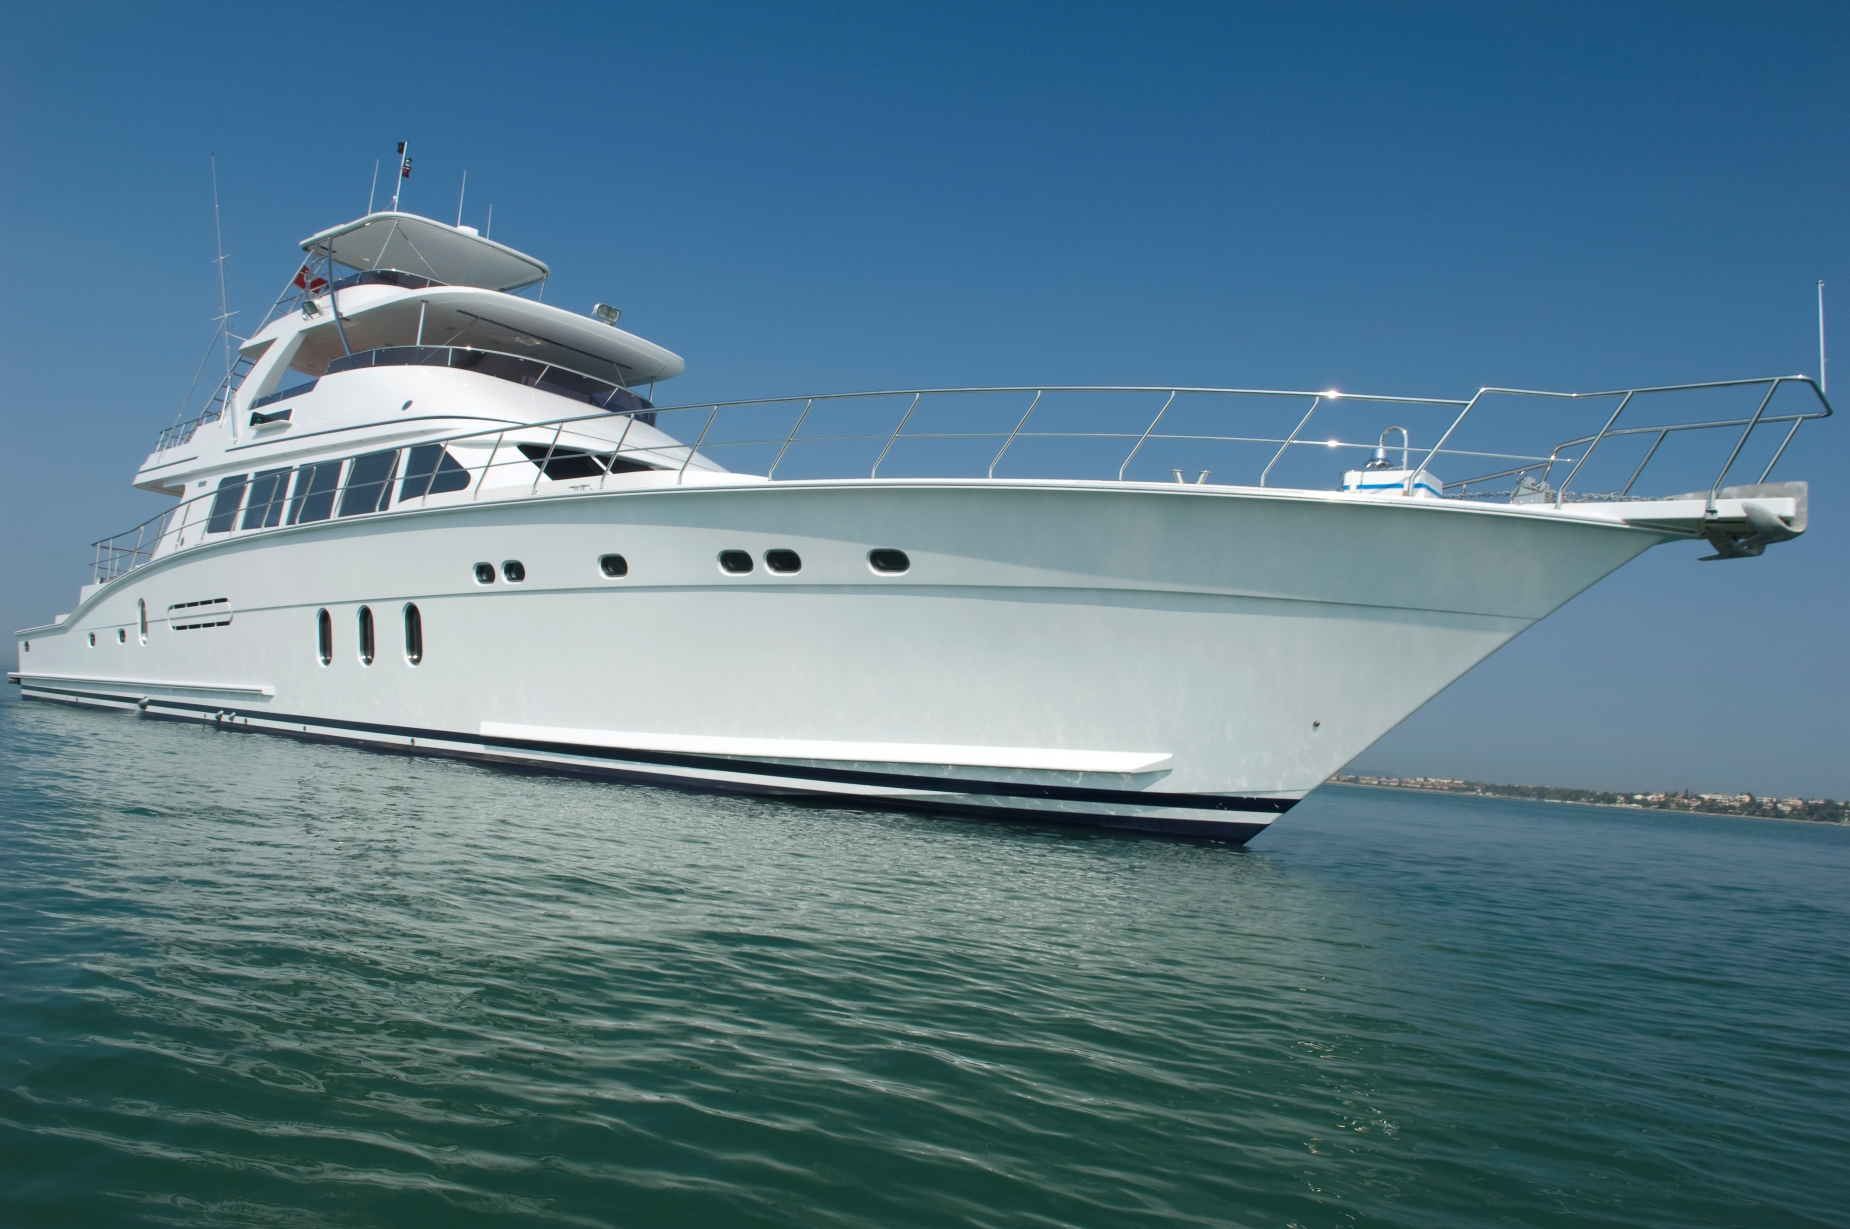
Once we got on location we were tasked with measuring the window frames of a multi-million dollar private yatch. Now these things look big from afar, but when you step on one of them as its being built around you it’s quite an experience. It’s essentially like being dropped in the middle of an ant hill with everyone doing there own little thing while keeping track of where it is in relation with the whole lot. And here we are in the middle of this truly massive work area, with people walking everywhere, with our high tech 3D laser scanners. We are doing our very best to acquire data to ensure that windows can be built to properly fit the as-built boat while at the same time not being in the way of people who’s job it is to build this same boat. Quite an experience!
Having only a relatively rough idea of what the working conditions were going to be like ahead of time, we were initially taken aback by the scale of things. It’s one thing to see pictures and a completely different one to stand 4 stories above the ground floor on this massive boat inside of an inconspicuous looking warehouse.
Before pushing ahead with the project we decided to “regroup” for a few minutes and figure out just how the heck we were going to achieve everything required of us in the allotted time (2 days with only day shifts to scan over 1.5m x 30m area!). Fortunately I’ve done this sort of thing before and I know that the most important part of any project is proper planning! So coffee in hand we divided the work so that there would be little to no idle time.
Using my MAXscan we first measured the location of all the markers in the different areas that needed to be scanned. Sharing the marker file between our 2 scanners we then simultaneously scanned different portions of the work area so as to cut the time required to measure everything in half.
When we put everything together I must admit I was simply amazed at the results. Now, I know our technology is good but WOW! We basically put all the data on one computer, ran the merge command in the post-processing software and 2 minutes later we had a single file with the whole thing, overlapping regions and everything gone without the slightest glitch. Learn more about the manufacturing applications of our 3D Solutions.


7 Nov '09
Elamir Bahgat
Great job! Can I have more informatiion about this project? I am involved in a project where I can use this as a success story. Thanks,
11 Nov '09
Jason
Hi. I enjoyed reading about your adventures in the South Pacific. I work for a automotive glass company. Do you have experience scanning very large, curved bus-sized windshields? Thanks
17 Nov '09
Patrice Parent
Hi all, My latest adventures have once again taken my outside our Head Office, this is why I've been a little bit late in answering. However, rest assured that I do read everything that's posted here. Mr. Bahgat: Unfortunately the owner of the ship as well as the shipyard have both requested to remain anonymous so I cannot mention their name. Is there anything specific you would like to know? Mr. Jason: We, as well as many of our customers, have done exactly what you are suggesting many times in the past. It is actually quite easy to accomplish and provides good and easy to understand quality information on whether the glass is the correct shape or not. To give you an example, we have actually scanned the front windshield of public transportation city bus to validate if there was any buckling effect when they were mounted on the frame. The collected information can also be used for design purposes like it was the case with the application I'm describing in this post. Cheers!
7 Jan '10
Vishal Sharma
Hi, I have got a project for scanning the rear & Front FRp panels of a Luxury Coach.I have scanning such a large component for the frst time.Any Precautions i should take to reduce measurement problems because the comp.is really big & dont want to take chance with alignment issues. thnx.
12 Jan '10
Patrice Parent
Mr. Sharma, I assume you are one of our customers and already using one of our scanners? With large parts it’s obviously important to make sure that they are properly secured so that they do not flex or change shape during the scanning process. Otherwise, if you plan ahead what needs to be done and take your time it shouldn’t be a significant challenge. We have done sort of part multiple times in the past without problem. As I’ve explained in my post, I find that planning is usually the most important in any project. In your case for example, you should probably decide ahead which resolution level is required, how many scans will be needed to cover the whole part and where they should be, etc… That way when you start scanning you only have that to take care of. If you require more details explanation I encourage you to contact our technical support team who will be happy to provide you with details explanations. Cheers!