September 20, 2024
Revolutionizing Custom Engine Fabrication with HandySCAN BLACK Elite & VXmodel See the articleWhat is a CMM machine?
A coordinate measuring machine, also known as a CMM, is a piece of equipment that measures the geometries of physical objects. CMMs using a probing system to detect discreet points on the surfaces of objects.
The very first CMM made its appearance in the early 60s. Originally developed by Ferranti Company in Scotland in the 50s, this 2-axis CMM used a 3D tracing device with a simple digital readout that displayed XYZ positions. Ferranti used its CMM to measure precision components for their military products. Three-axis models were developed in the later 60s.
CMMs are most often used to test a part or assemble to determine whether or not it respects the original design intent. CMMs are integrated within quality assurance or quality control workflows to check the dimensions of manufactured components to prevent or resolve quality issues.
The advantages of using CMMs over manual inspections or checks performed with conventional metrology instruments, such as micrometers and height gauges, are: accuracy, speed and the reduction of human error.
There are several different types of CMMs. Typically, CMMs are categorized based on their structures. Each structure has its pros and cons. Let’s take a look at different CMM types in more detail.
What are the different CMM types?
Bridge CMM
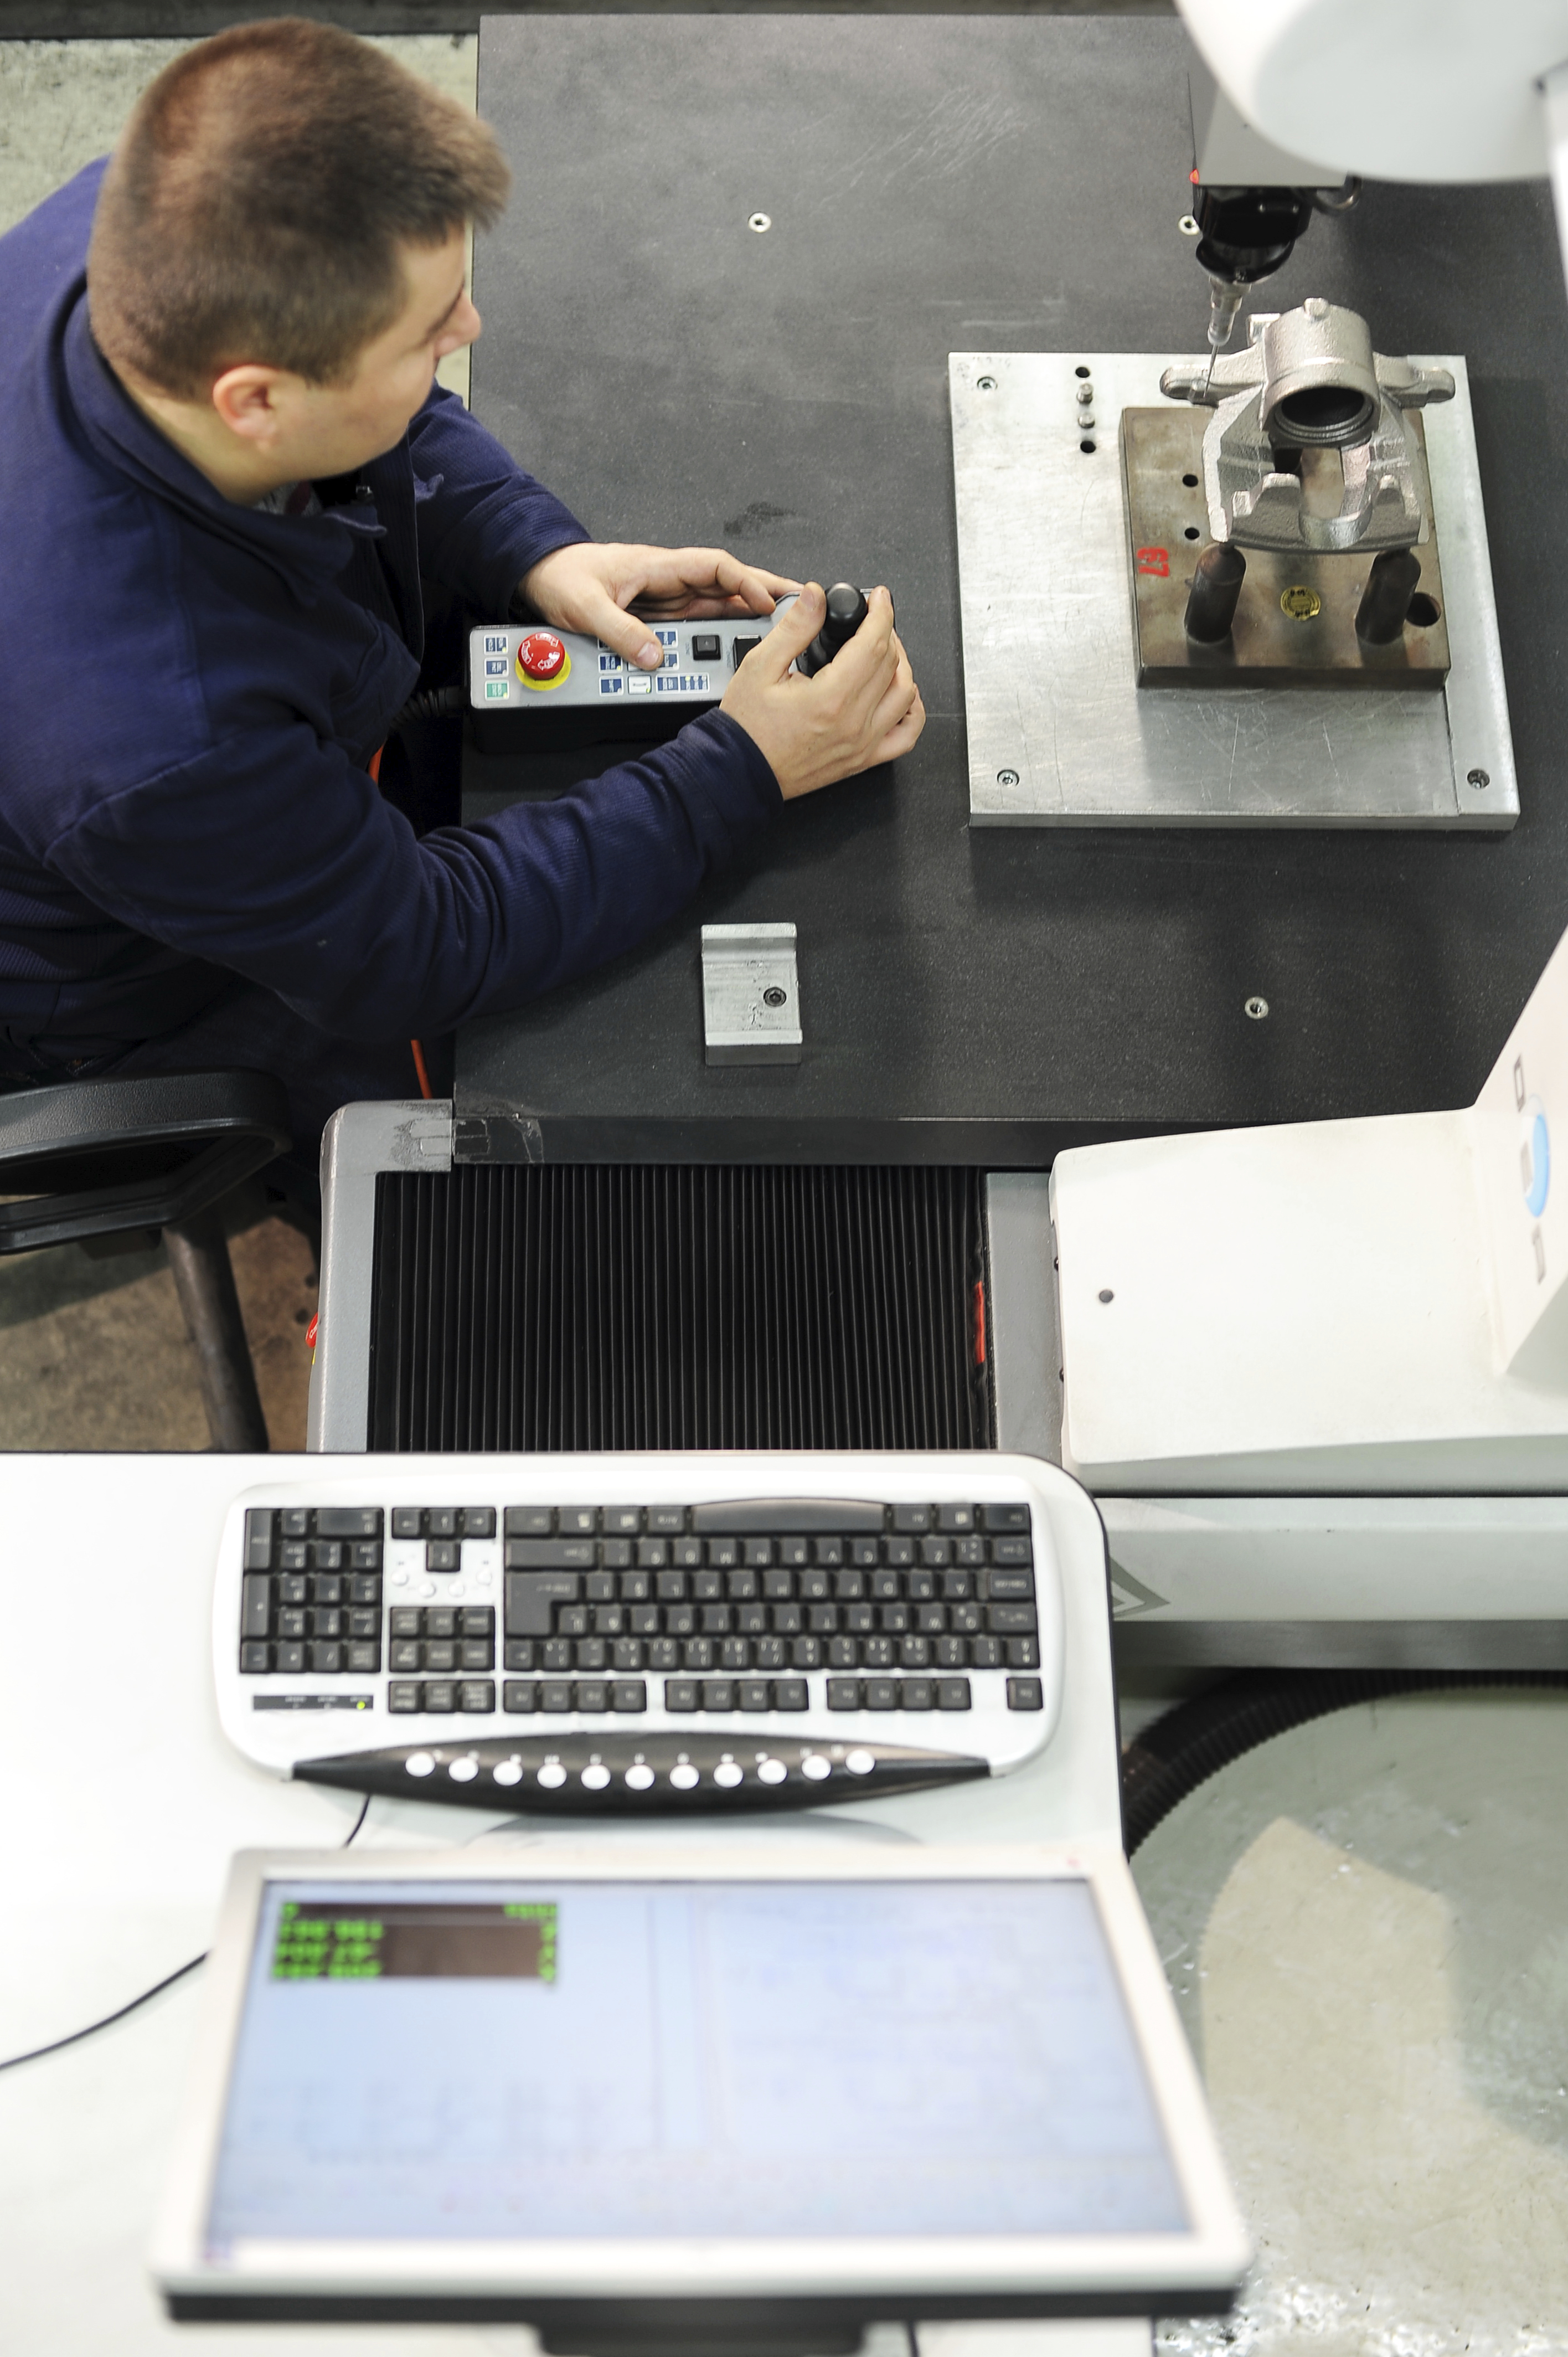
Bridge CMMs feature a probing system that moves along three axes: X, Y and Z; these axes are orthogonal to each other in a Cartesian coordinate system. Each axis has a sensor that monitors the probe’s position (in micrometres) as it moves along an object and detects points on the object’s surface. These points form what is called a point cloud, which “illustrates” the surface area users are interested in inspecting. Bridge CMMs can be divided into two CMM sub-types: moveable-table and moveable-bridge CMMs.
The pros of bridge CMMs
- One of the most accurate types of CMMs
- Ideal to measure machined parts with high tolerances
- Perfect for small- to medium-sized components
- Enabled for multi-sensor measurements, such as probing and scanning
The cons of bridge CMMs
- Can be expensive
- Have a fixed measurement volume
- Lack of portability; you need to bring the part to the system or use machinery to move them around
- Sensitive to vibrations and must be used in a metrology lab
- Require rigid setups for each inspected part
- Complex to operate and needs skilled workers to program the device
Gantry CMM
Gantry CMMs are somewhat like bridge CMMs; however, they are usually much larger. Because they are designed to eliminate the need to lift a part onto a table and offer similar accuracy levels as bridge CMMs, Gantry CMMs are regularly used for very heavy or large parts. Gantry CMMs must be mounted on a solid foundation, directly on the floor.
The pros of gantry CMMs
- Highly accurate
- Large measurement volume, which facilitates inspections of large/heavy parts
- Easier to load and unload components than a bridge CMM
The cons of gantry CMMs
- Can be expensive
- Have a fixed measurement volume
- Lack of portability; you need to bring the part to the system or carry out significant assembly/disassembly to move the CMM
- Takes up a lot of floor space
- Sensitive to vibrations and must be used in a metrology lab
- Require rigid setups for each inspected part
- Complex to operate and needs skilled workers to program the device
Cantilever CMM
A cantilever CMM differs from a bridge CMMS as the measuring head is only attached to one side of a rigid base. Cantilever CMMs provide open access to inspection technicians on all three sides for ease of operation
The pros of cantilever CMMs
- Highly accurate
- Suitable for smaller parts
- Access to three sides makes it easier to manually or automatically load and unload components
The cons of cantilever CMMs
- Can be expensive
- Have a fixed measurement volume
- Lack of portability; you need to bring the part to the system
- Sensitive to vibrations and must be used in a metrology lab
- Require rigid setups for each inspected part
- Complex to operate and needs skilled workers to program the device
Horizontal Arm CMM
Horizontal arm CMMs, as their name implies, have horizontally mounted probes as opposed to vertically mounted probes like other CMMs. They are designed to measure long and thin objects that could not be inspected with vertical CMMs, like sheet metal. Horizontal arm CMMs are also often used to inspect geometries that are difficult to reach. There are two types of horizontal arm CMMs: plate-mounted and runway-mounted.
The pros of horizontal arm CMMs
- Long measurement volume (long and thin parts)
- Good for parts requiring low tolerances
- Does not require a significant foundation system
- Quick and easy installation
- Smaller footprint
- Requires less ceiling height than other types of CMMs
- Cost-effective
The cons of horizontal arm CMMs
- Less accurate than other CMMs
- Have a fixed measurement volume
- Lack of portability; you need to bring the part to the system
- Sensitive to vibrations and must be used in a metrology lab
- Require rigid setups for each inspected part
- Complex to operate and needs skilled workers to program the device
Portable measuring arm CMM
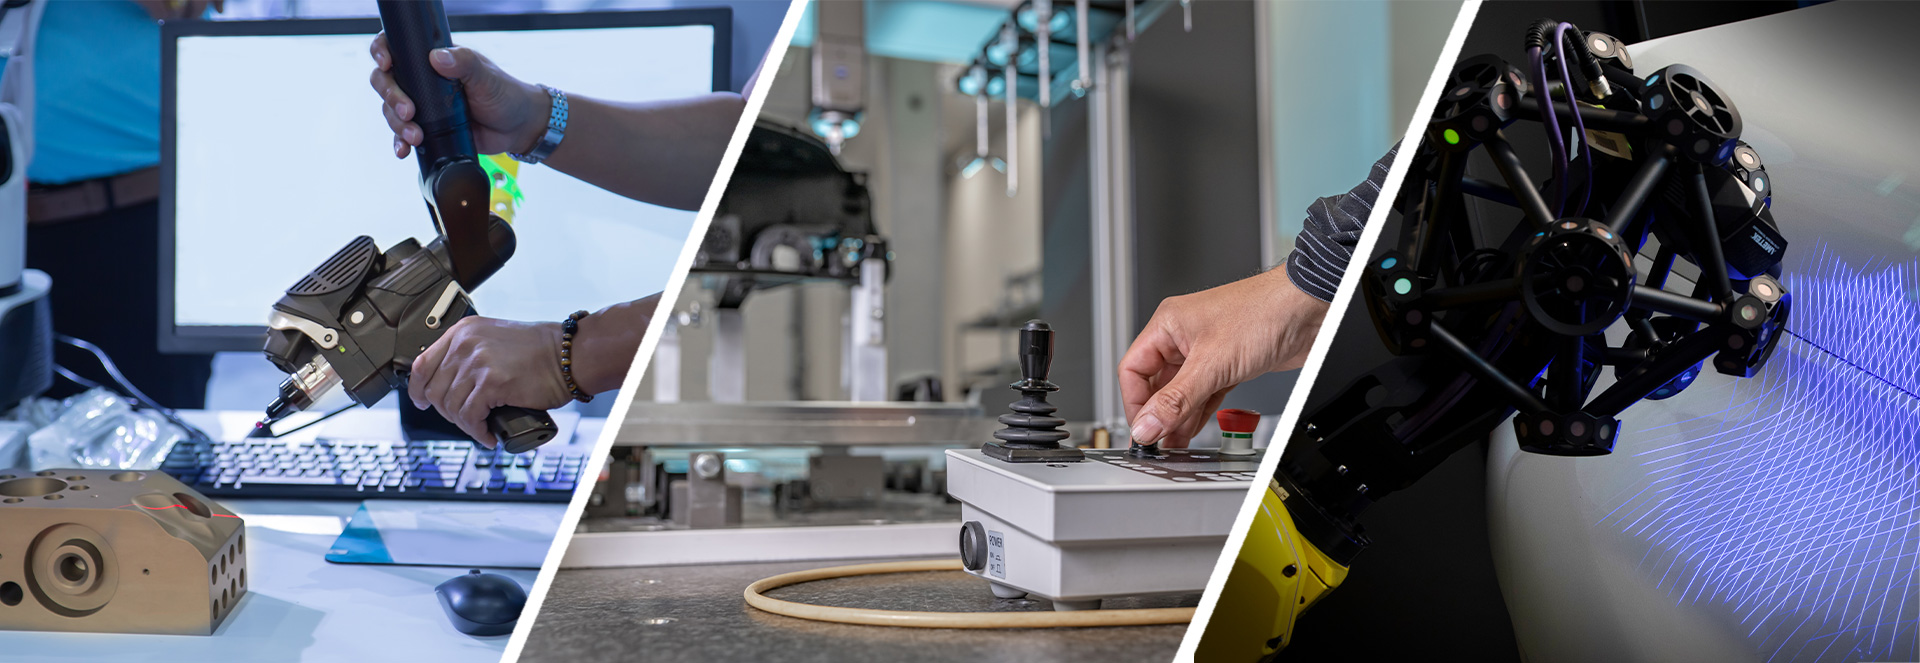
Portable measuring arm CMMs are coordinate measuring machines that can take measurements of parts right on shop floors, allowing for quick results and real-time analysis. As opposed to inspectors bringing components to a lab to be measured, technicians use an articulated arm, with either a six- or seven-axis system, to measure components wherever required; this is particularly useful to analyze parts while still integrated into their fixtures or assemblies. Portable measurement arms.
The pros of measuring arm CMMs
- Portable and lightweight: you can bring the CMM to the part
- Extendable measurement volume (leapfrog)
- Enabled for multi-sensor measurements, such as probing and scanning
- Relatively inexpensive
- Easy to operate (no programming)
The cons of measuring arm CMMs
- Less accurate than other types of CMMs
- Sensitive to environmental vibrations
- Requires rigid setups
Optical CMM
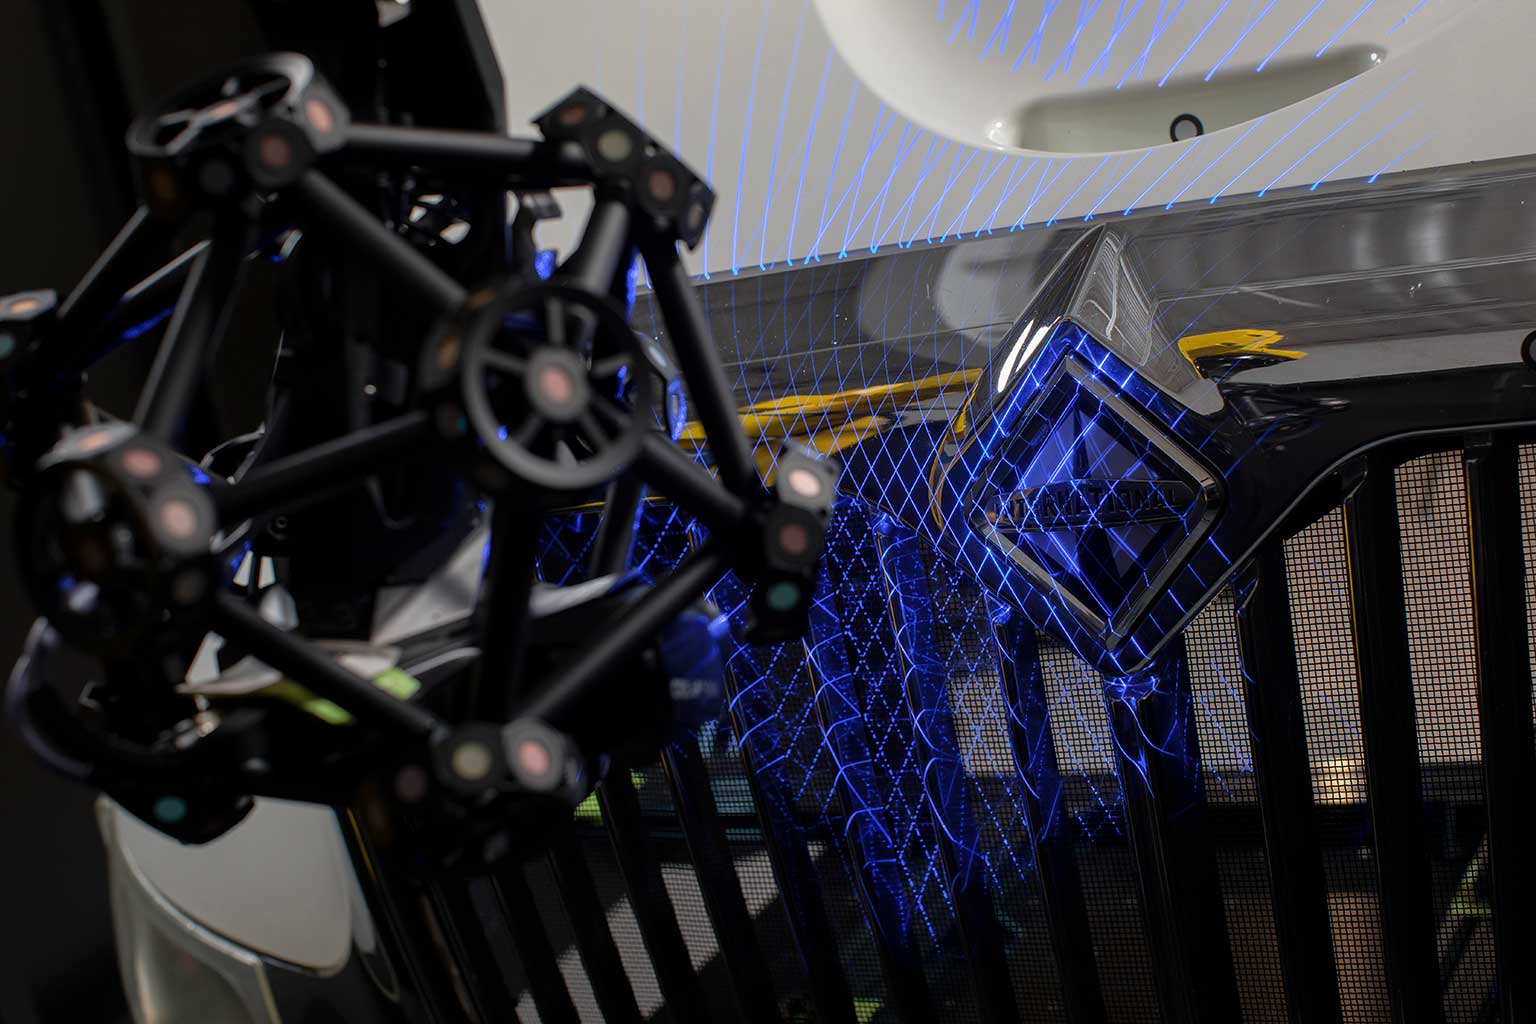
Optical CMMs are portable non-contact devices. These CMMs use an arm-free system with optical triangulation methods to scan and acquire 3D measurements of objects. Thanks to sophisticated image processing technology, optical CMMs are ultra-fast and guarantee metrology-grade accuracy. Optical CMM scanners are particularly conducive Industry 4.0 manufacturing.
While optical CMMs have a slightly lower level of accuracy, they are nevertheless accurate for a wide range of applications. In fact, optical CMMs are used in conjunction with traditional CMMs in order to free up production bottlenecks. Therefore, parts that require the critical level of accuracy are inspected with a conventional CMM. All other components can be assessed using a more cost-effective optical CMM, which provides satisfactory accuracy—but also portability, flexibility and speed.
The pros of optical CMMs
- Portable and lightweight: you can bring the CMM to the part
- Extendable measurement volume (leapfrog)
- Enabled for multi-sensor measurements, such as probing and scanning
- Very fast acquisition times
- Relatively inexpensive
- Easy to operate (no programming)
- No rigid setups required
The cons of optical CMMs
- Somewhat less accurate than conventional CMMs, depending upon the application
Why are we talking about CMM speed all the time?
Today’s manufacturers are under more pressure to increase throughput, offer just-in-time delivery schedules, and accelerate their time to market—all while significantly reducing costs to a minimum. When bottlenecks at the CMM occur, inspection procedures extend cycle times and ultimately increase non-value-added quality costs. CMM speed and efficiency is therefore critical.
As previously mentioned, gridlocks at the CMM are often caused by the sheer volume of work that has to be carried out by a limited number of qualified metrologists. CMM programming times also significantly lengthen inspections as the CMM has to be configured for each type of component or sub-assembly to be assessed.
Conventional CMMs that are equipped with CMM probes are slow and not suitable for efficiently measuring complex shapes. Other CMMs, which have CMM sensors, tend to speed up inspection processes; however, they still need to be operated by experts.
Manufacturers are therefore increasingly looking for inspection technologies, like innovative optical CMMs, that can keep up with the breakneck pace required in demanding production environments and stringent quality assurance and quality control standards.
Discover our Automated Quality Control for optimal measurements
Interested in taking advantage of both the accuracy and speed of cutting-edge optical CMM scanners? Looking to implement an optical CMM in your upcoming automated quality control projects?


