November 4, 2024
Improving Construction Processes with 3D Metrology See the articleInspections with coordinate measuring machines (CMMs) and surface reconstructions

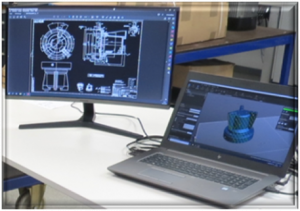
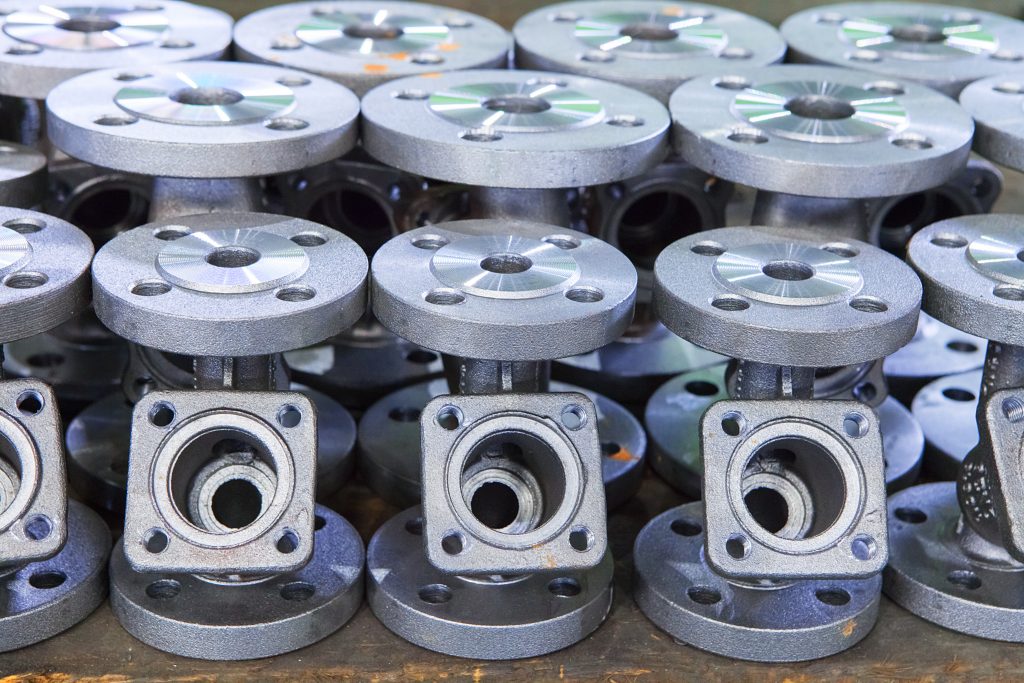
At the WILO Group, one of the world’s leading premium suppliers of pumps and pump systems for building technology, water management, and industrial applications, the challenge was the exponential development of the number of sample parts as well as their sampling and inspections. A measuring system was sought that would close the gap between measurements made with a 3D coordinate measuring machines (CMMs) and surface reconstructions. The requirements explicitly called for a flexible system that was easy to use. It also had to generate highly accurate results and enable fast processing of the recorded measurement data.

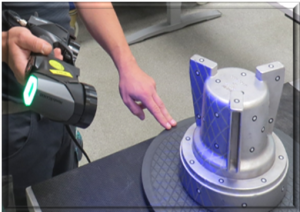
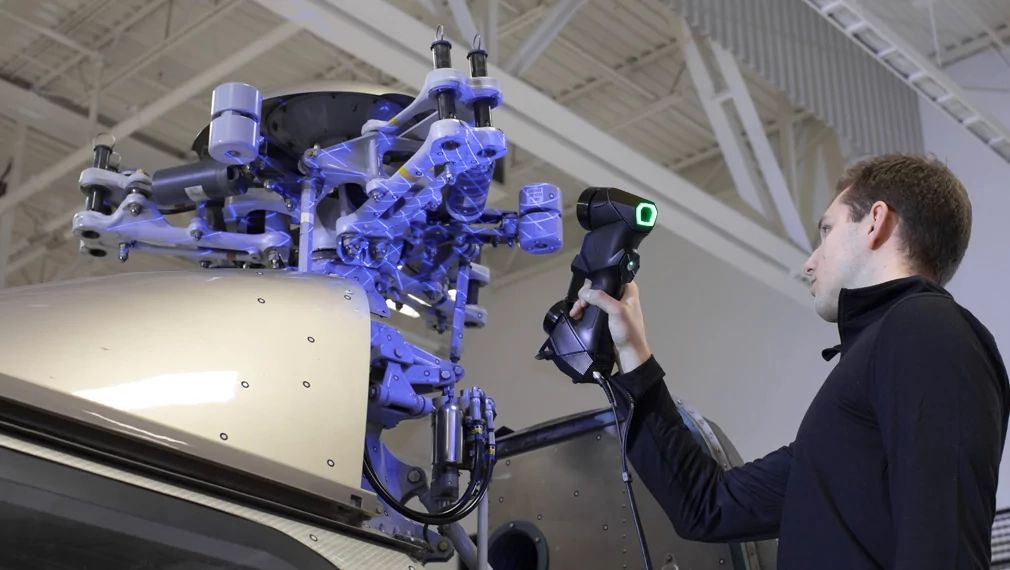
The scanner is now an integral part of WILO’s sampling process for components that will ultimately be installed in pumps and pump systems. A decisive advantage is that the parts can now be partially verified without the complex hydraulic measuring procedure of a measuring laboratory with the corresponding test tanks. Another advantage is that even reflective surfaces can be easily digitalized with the HandySCAN BLACK, which was an important capability for WILO.
“Currently, the scanner is not only used in our approval process for new product development, but also for existing components and the creation of digital drawings and CAD models. All in all, we are very satisfied with the scanner. We were definitely not disappointed in our expectations of the product’s features,“ says Ralf Schinnerling, Operations Quality Engineer at WILO.


