September 13, 2024
The Impact of 3D Scanners on NASCAR Stock Car Racing See the articleThe path to building perfect parts can be hazardous. Manufacturing defects can arise at any time in the manufacturing process, even if the mold, die, or jig is engineered according to the CAD model. Some phenomena can interfere with the tooling, causing problems and imperfections on the parts. Consequently, the produced parts do not correspond to the technical requirements. Adjustments and iterations are required to ensure that the tools and molds, even if they correspond to their nominal models, produce parts that meet inspection standards and customer demands. Quality control (QC) must achieve this while minimizing inspection time and the production costs associated with rejected parts.
This blog aims to illustrate the different manufacturing challenges leading to product defects and highlight how 3D scanning technology allows for more features and parts to be inspected. It also describes how QC managers can shorten inspection time and reduce production costs associated with scraps. The objective is, of course, to improve the detection of manufacturing defects and produce parts of better quality—according to specifications and within tolerances.
The Most Common Causes of Product Defects
The reality of an industrial environment differs from the theory illustrated in CAD models. Multiple unforeseeable phenomena come into play when producing parts. Because metal fusion is a complex phenomenon, the manufacturing process does not follow a linear and repeatable path from the mold to the final part. Spring backs when stamping a die, shrinkage when building a mold made of composite material, or thermal forces when welding two elements together are other good examples of unpredictable phenomena that can impact tooling precision. Difficult to control, these phenomena make it impossible to predict the final result before getting the parts in hand.
Initially, the tooling is built according to the theoretical model, which is developed to create manufactured parts that meet the technical requirements. But, in the reality of the industry, the phenomena above interfere with the molded or stamped parts. As a result, the parts do not meet the technical requirements and must be adjusted, corrected, and altered to pass the quality controls.
Defect Classification
We can classify defects into four main categories:
- Manufacturing defects (part not conforming to requirements)
- Assembly defects (part not assembled correctly)
- Defects related to the raw material (ex: wrong type of steel that causes more or less spring back, poor surface finish, etc.)
- Defects related to the general wear of parts or components (ex: mold that crumbles)
Several causes are possible in each of these categories. Human error is undoubtedly the most current.
The Best Method to Detect Product Defects
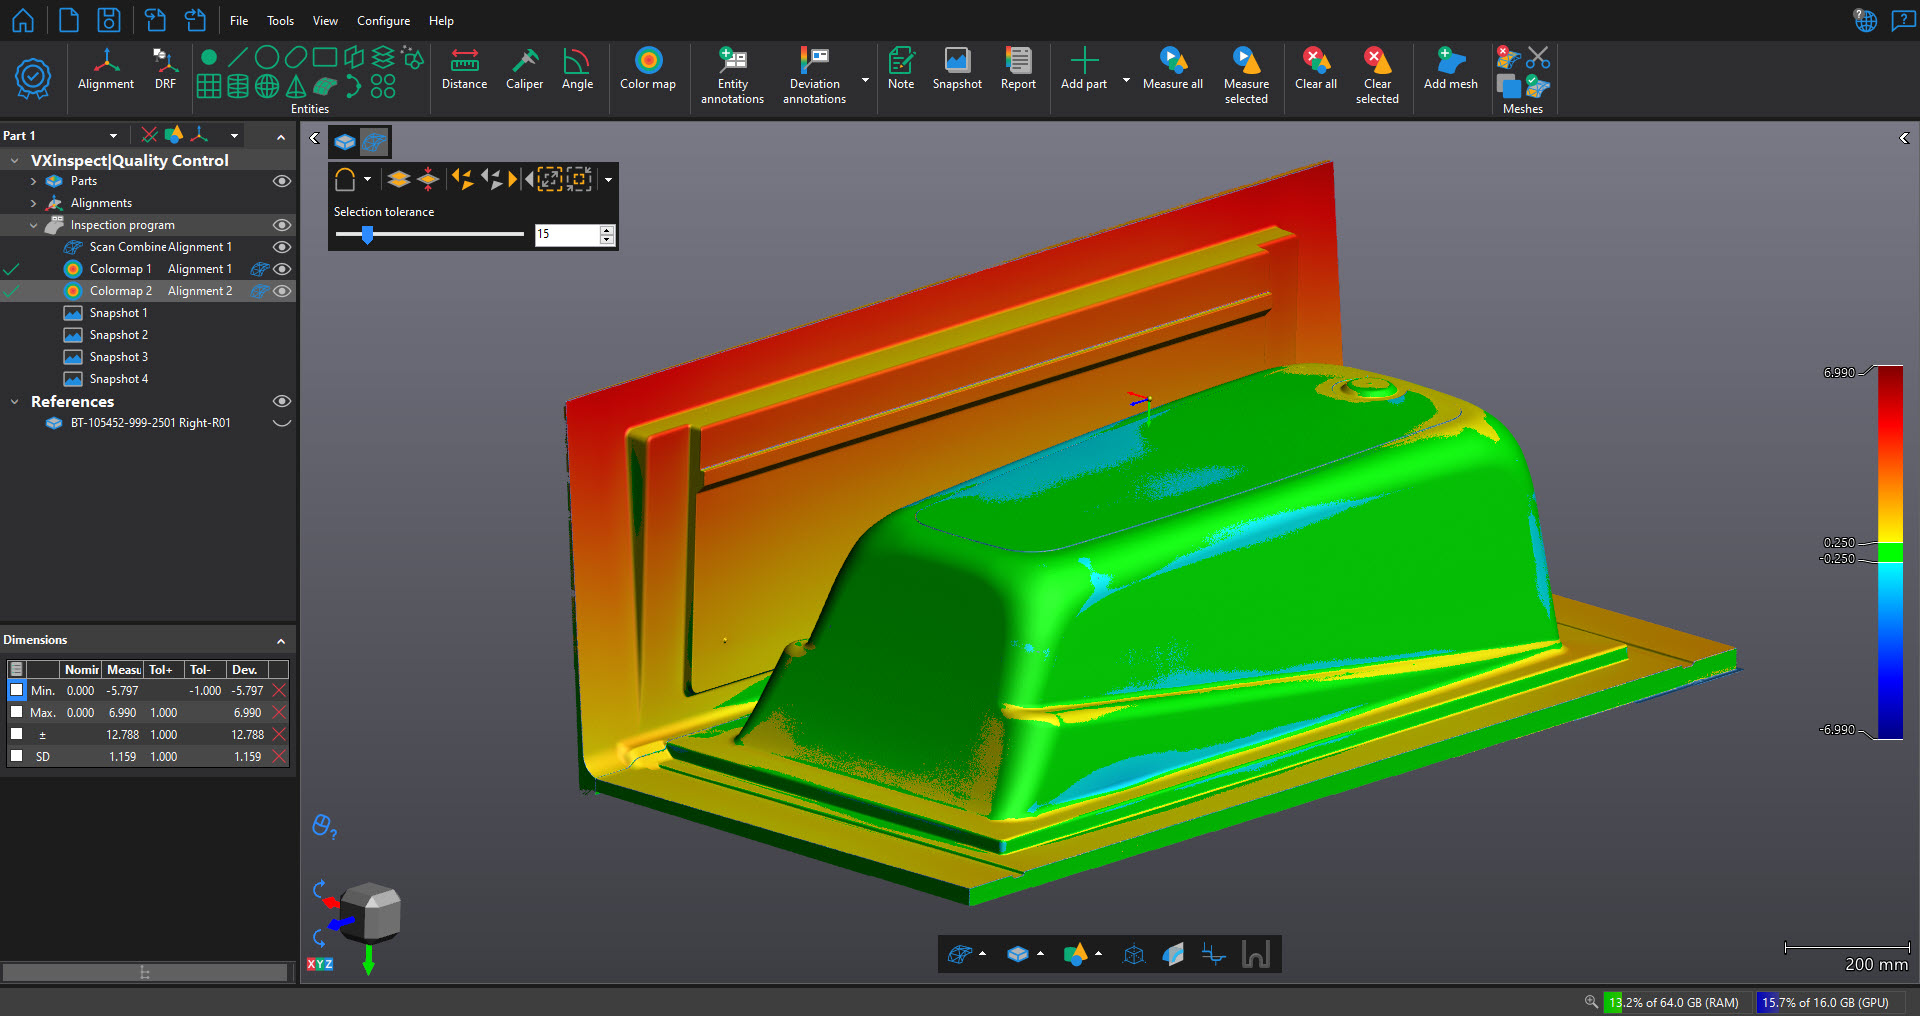
When unpredictable phenomena alter manufactured parts, an iterative quality control process starts. The best method is to work on the part before adjusting the tooling. More precisely, this method involves producing a part, measuring it with quality control equipment and inspection software, and analyzing deviations between the part and the CAD model. Hence, if we notice some missing (or extra) mms in one place, we will go to the corresponding surface on the mold, die, or jig to grind or add material. The iteration is thus performed on the tooling after measuring the manufactured part.
Once this operation is completed, we restart the manufacturing process to produce a new part that will be measured again to verify any remaining deviations. This iterative process will continue on a loop until we obtain the desired part (i.e., when the manufactured part corresponds to its CAD model).
The Best Solution to Build Parts with Fewer Defects
This iterative quality control process requires fast measurement equipment that promptly supplies the complete dimensional information to produce the next part without delay. The measuring tool must also be portable to measure parts directly on the shop floor. This way, parts no longer have to be brought to the coordinate measuring machine (CMM), saving precious time and allowing for more inspections. The measuring instrument should also be easy to use, with a digital Go/No-Go feature that lets operators quickly evaluate dimensional measurements and easily identify parts that do not meet the required tolerances. Finally, it should offer the capacity to measure all types of sizes, surface finishes, and geometries without surface preparation.
3D scanning technology, with its speed, portability, and versatility, meets these requirements, allowing production and quality teams to inspect parts and detect defects—particularly those in the first and second categories. In fact, 3D scanners help reduce human impact in manufacturing processes by reducing visual inspections or the use of manual tools. They are also helpful in measuring the wear of parts, i.e., to know when it is the right time to replace a tool or a mold.
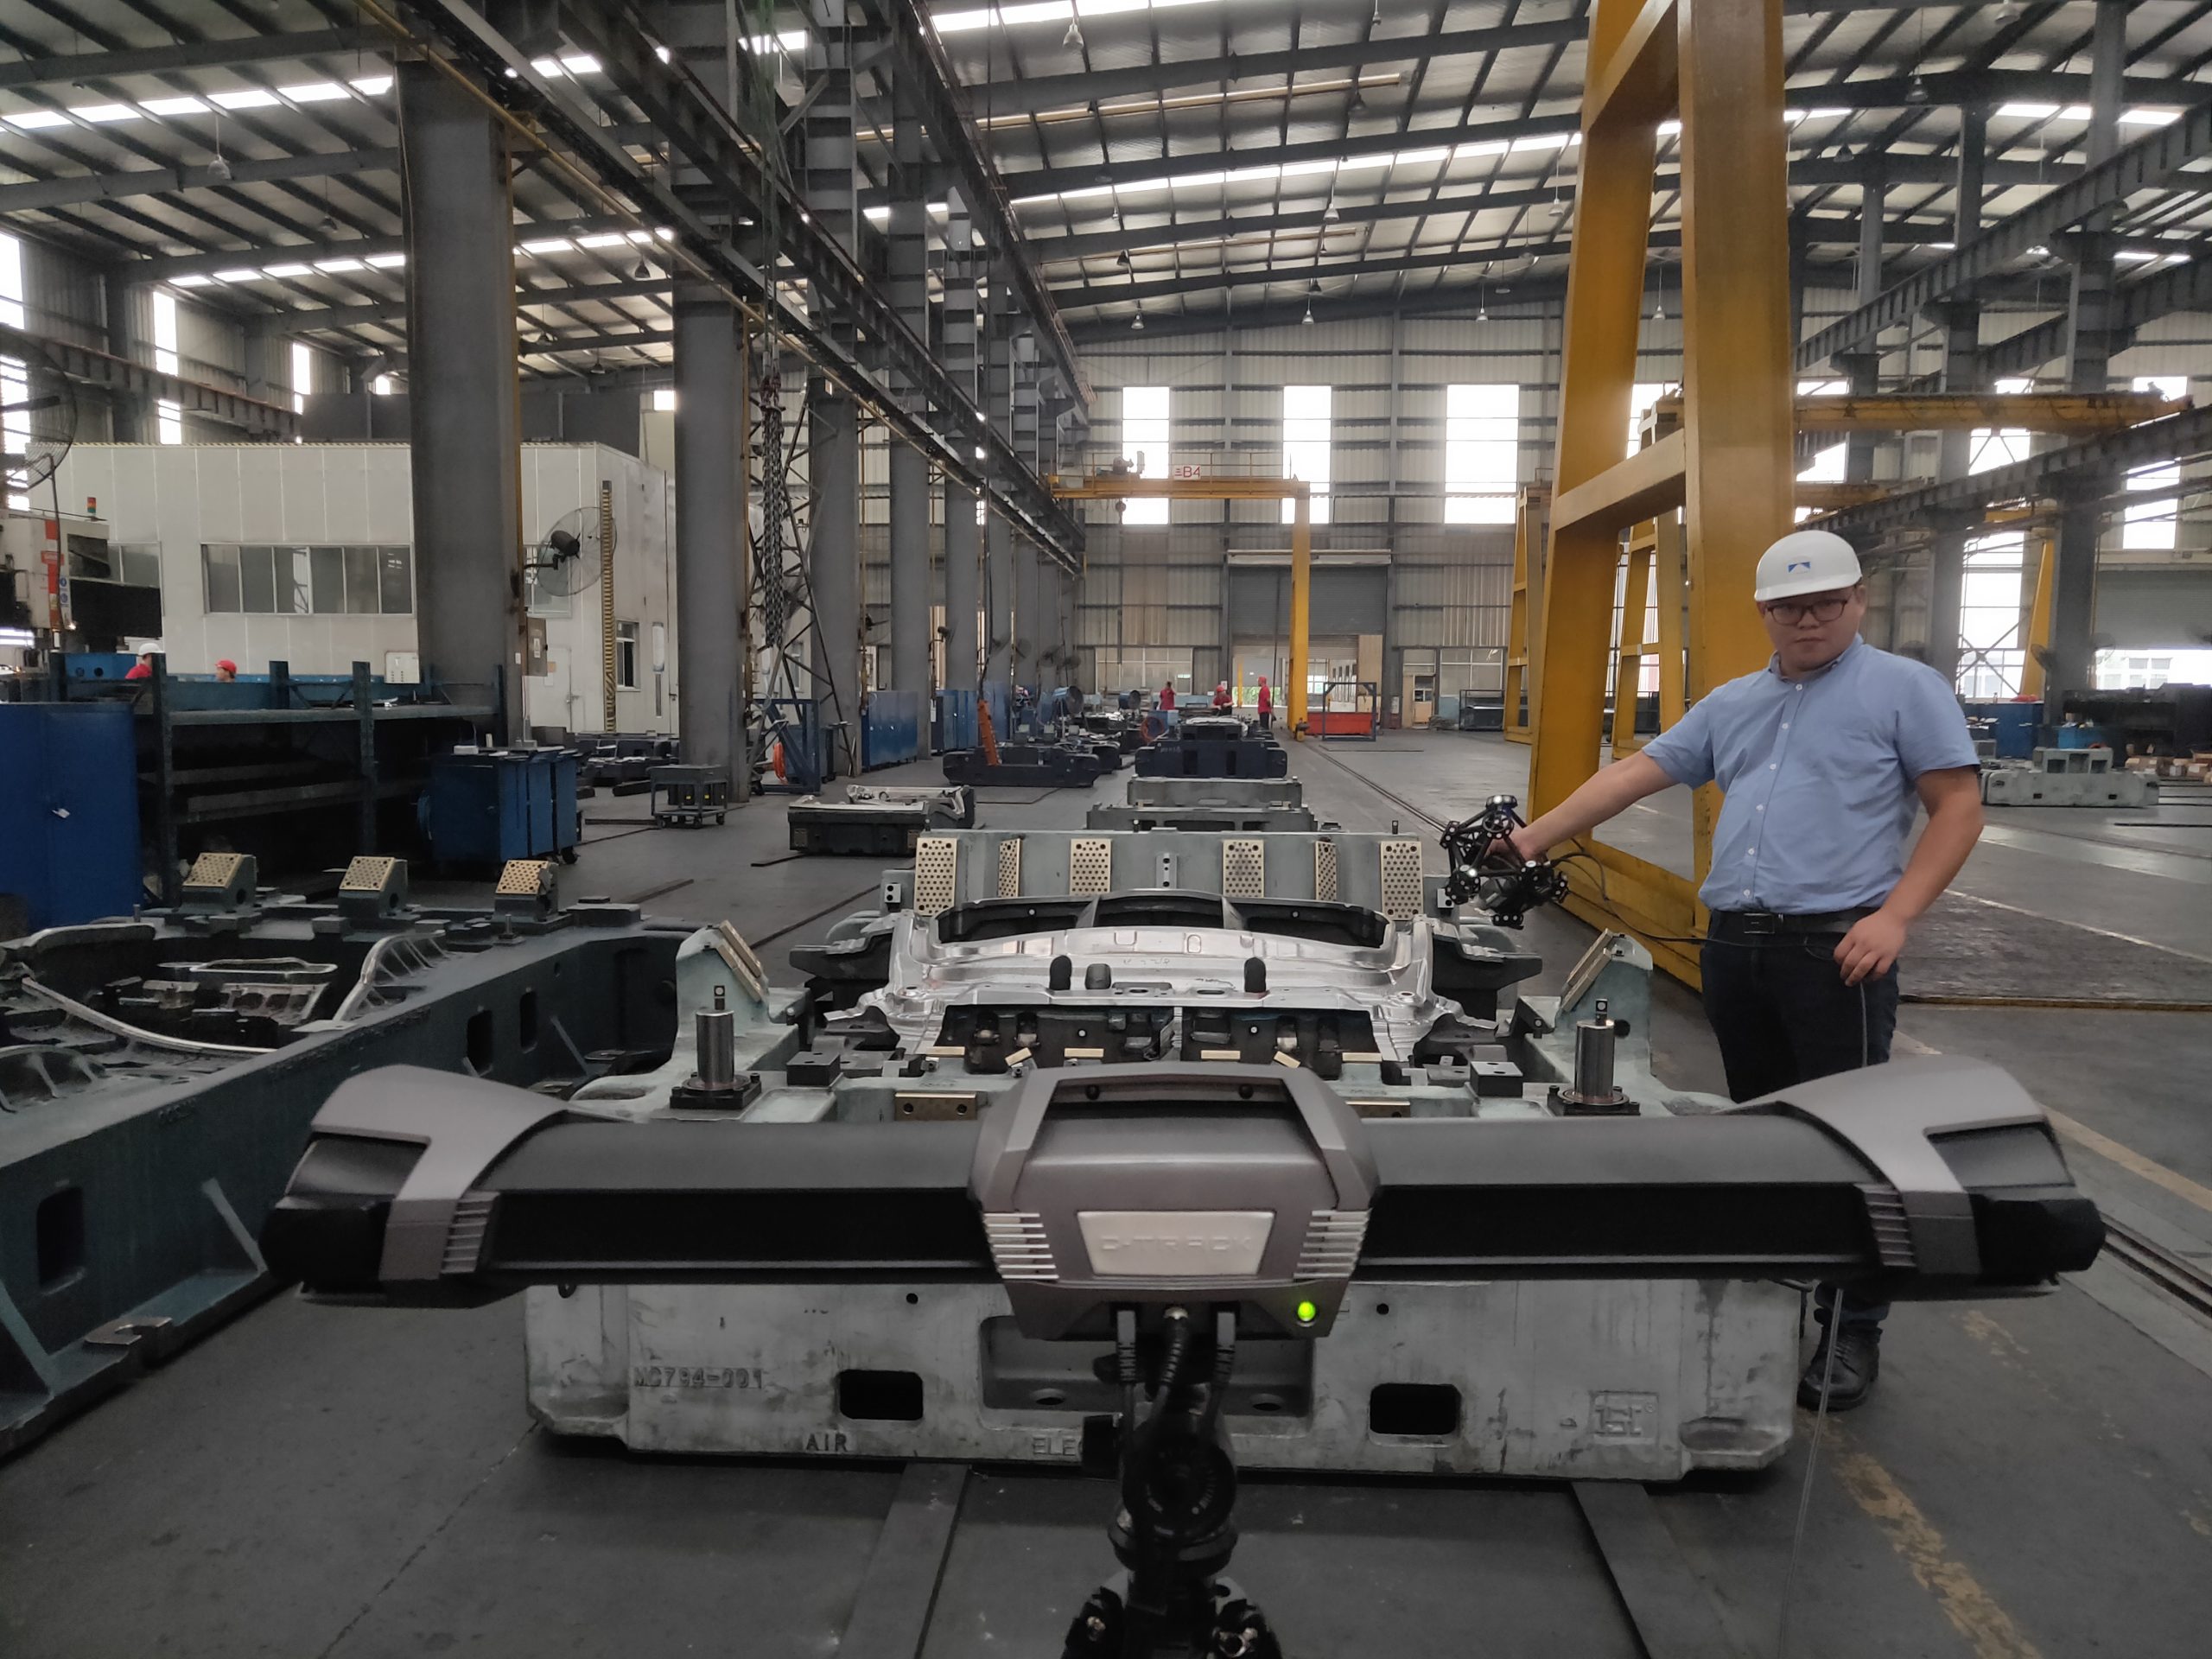
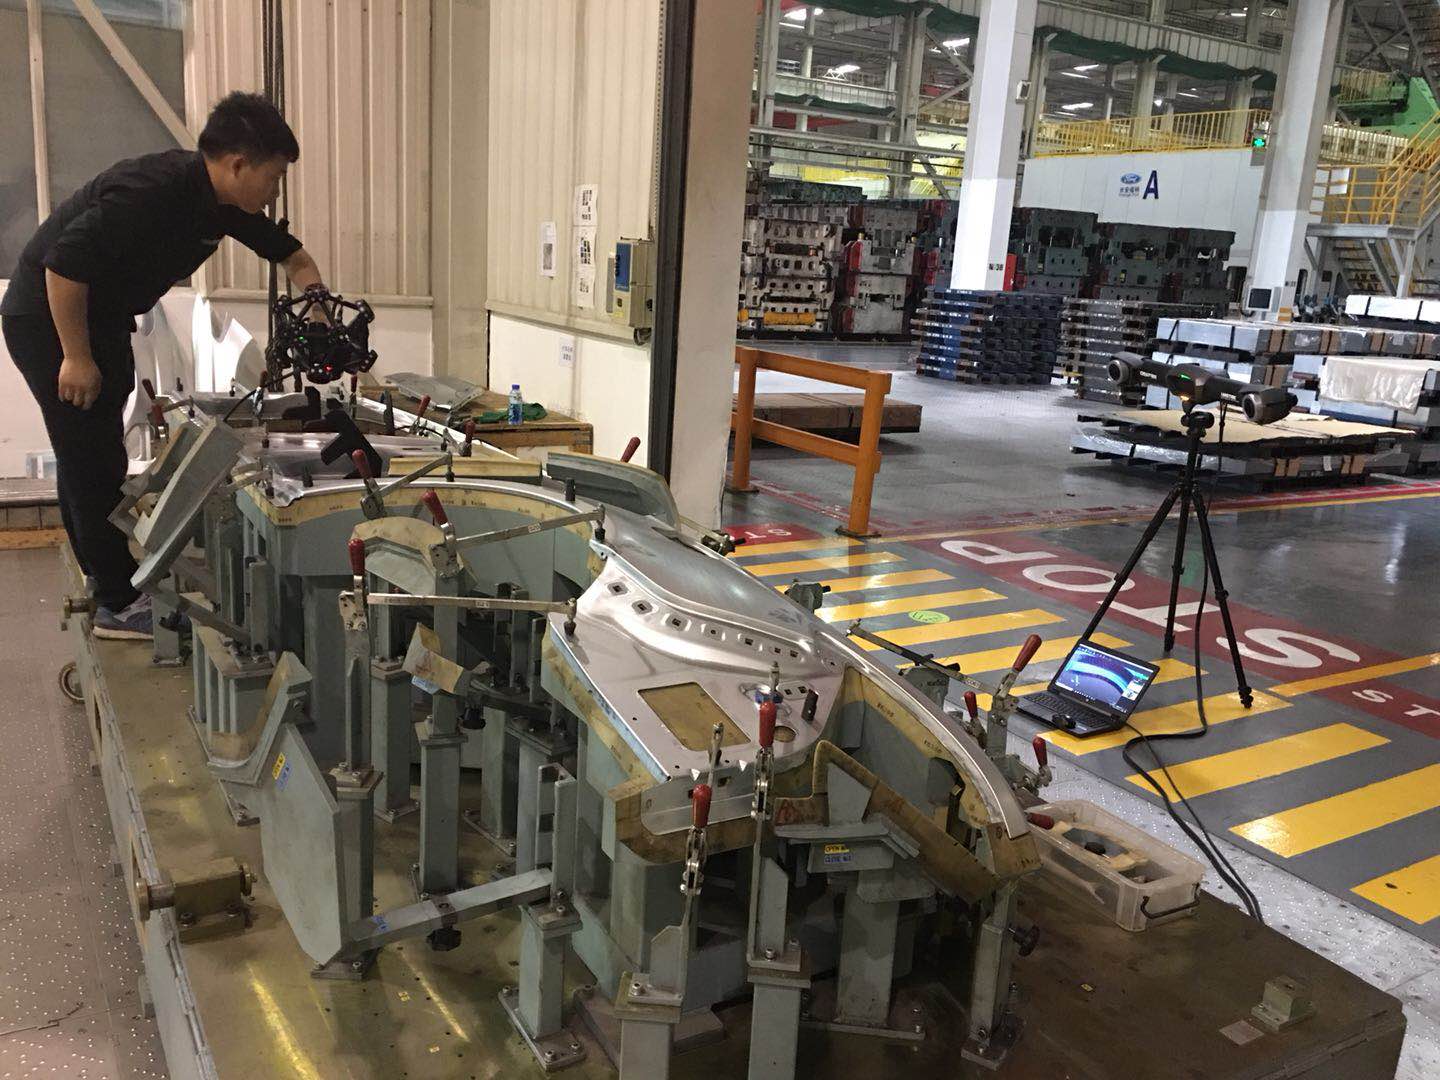
A metrologist is performing a scan of a sheet metal on jigs with the MetraSCAN 3D scanner combined with the C-Track optical Tracker
The Benefits of 3D Scanning: Better Part Quality with Optimized Inspection Time
More Effective Inspection
When quality control detects manufacturing defects (i.e., when manufactured parts do not match technical requirements), the company falls into an investigation mode, which can cause stress and uncertainty. But with 3D scanning, the quality team can now intervene without further delays and find the root cause by quickly acquiring a lot of data and investigating directly on the shop floor.
More Parts and Features Inspected
Because 3D scanning technology is faster and acquires more data than the CMM, it can measure more parts or inspect more features with more detailed information. This way, managers can make better decisions to optimize manufacturing processes. In addition, by measuring parts directly on the production floor without bringing them to the metrology lab, the quality team saves time that can be recovered to inspect even more parts.
Optimized Iteration Process with Reverse Engineering
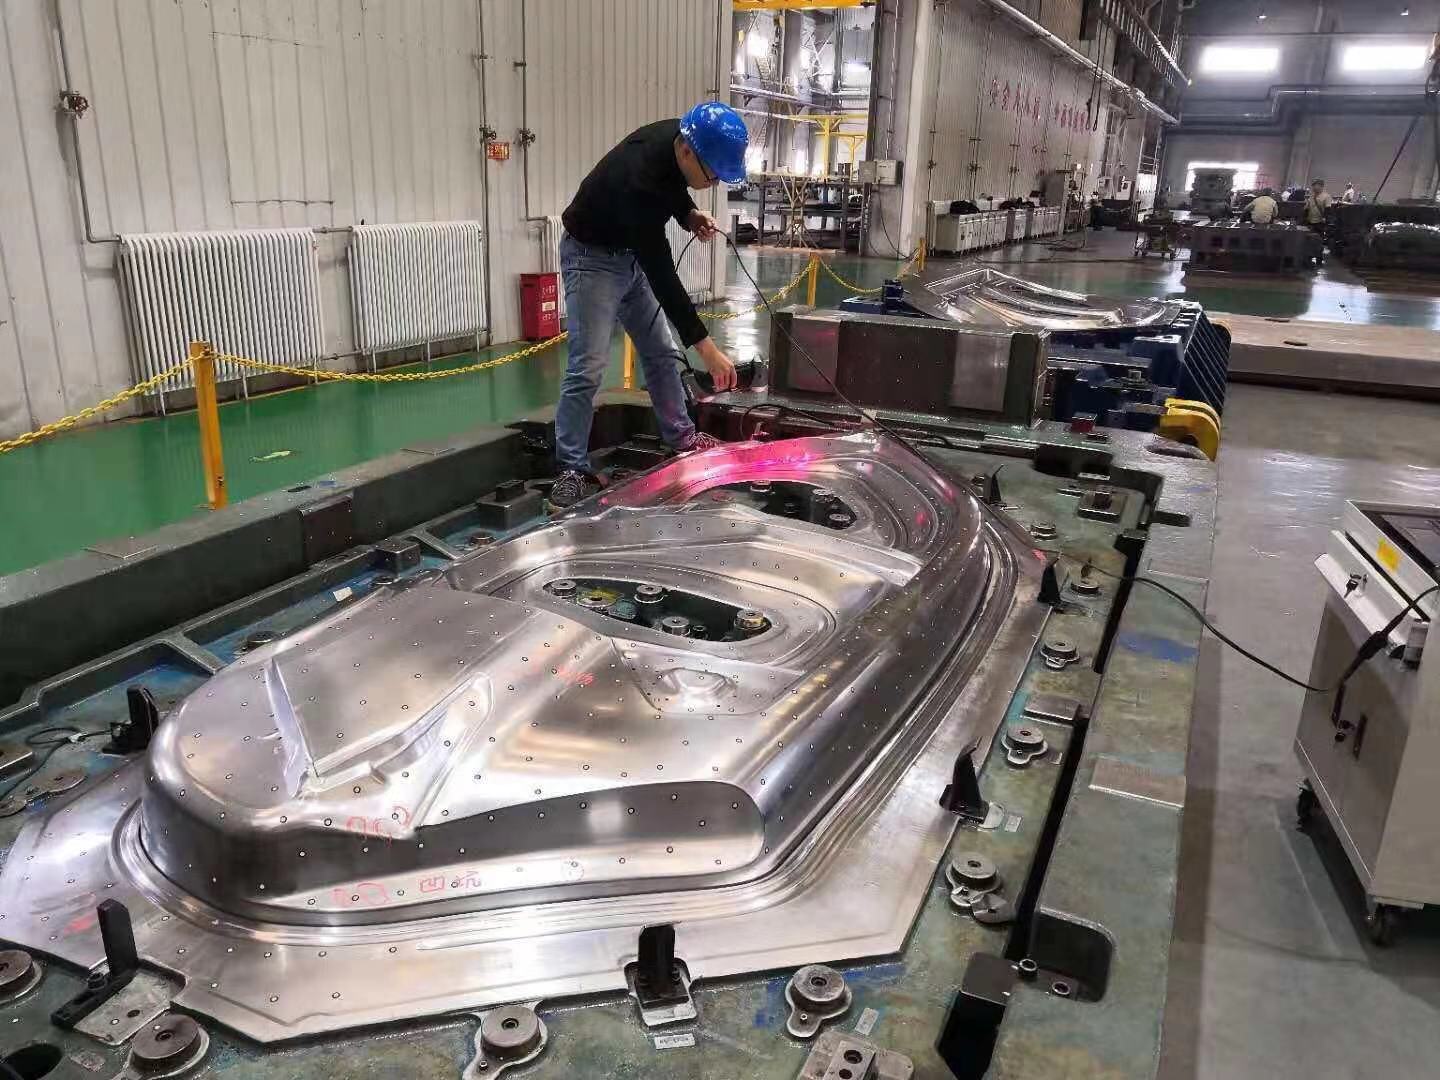
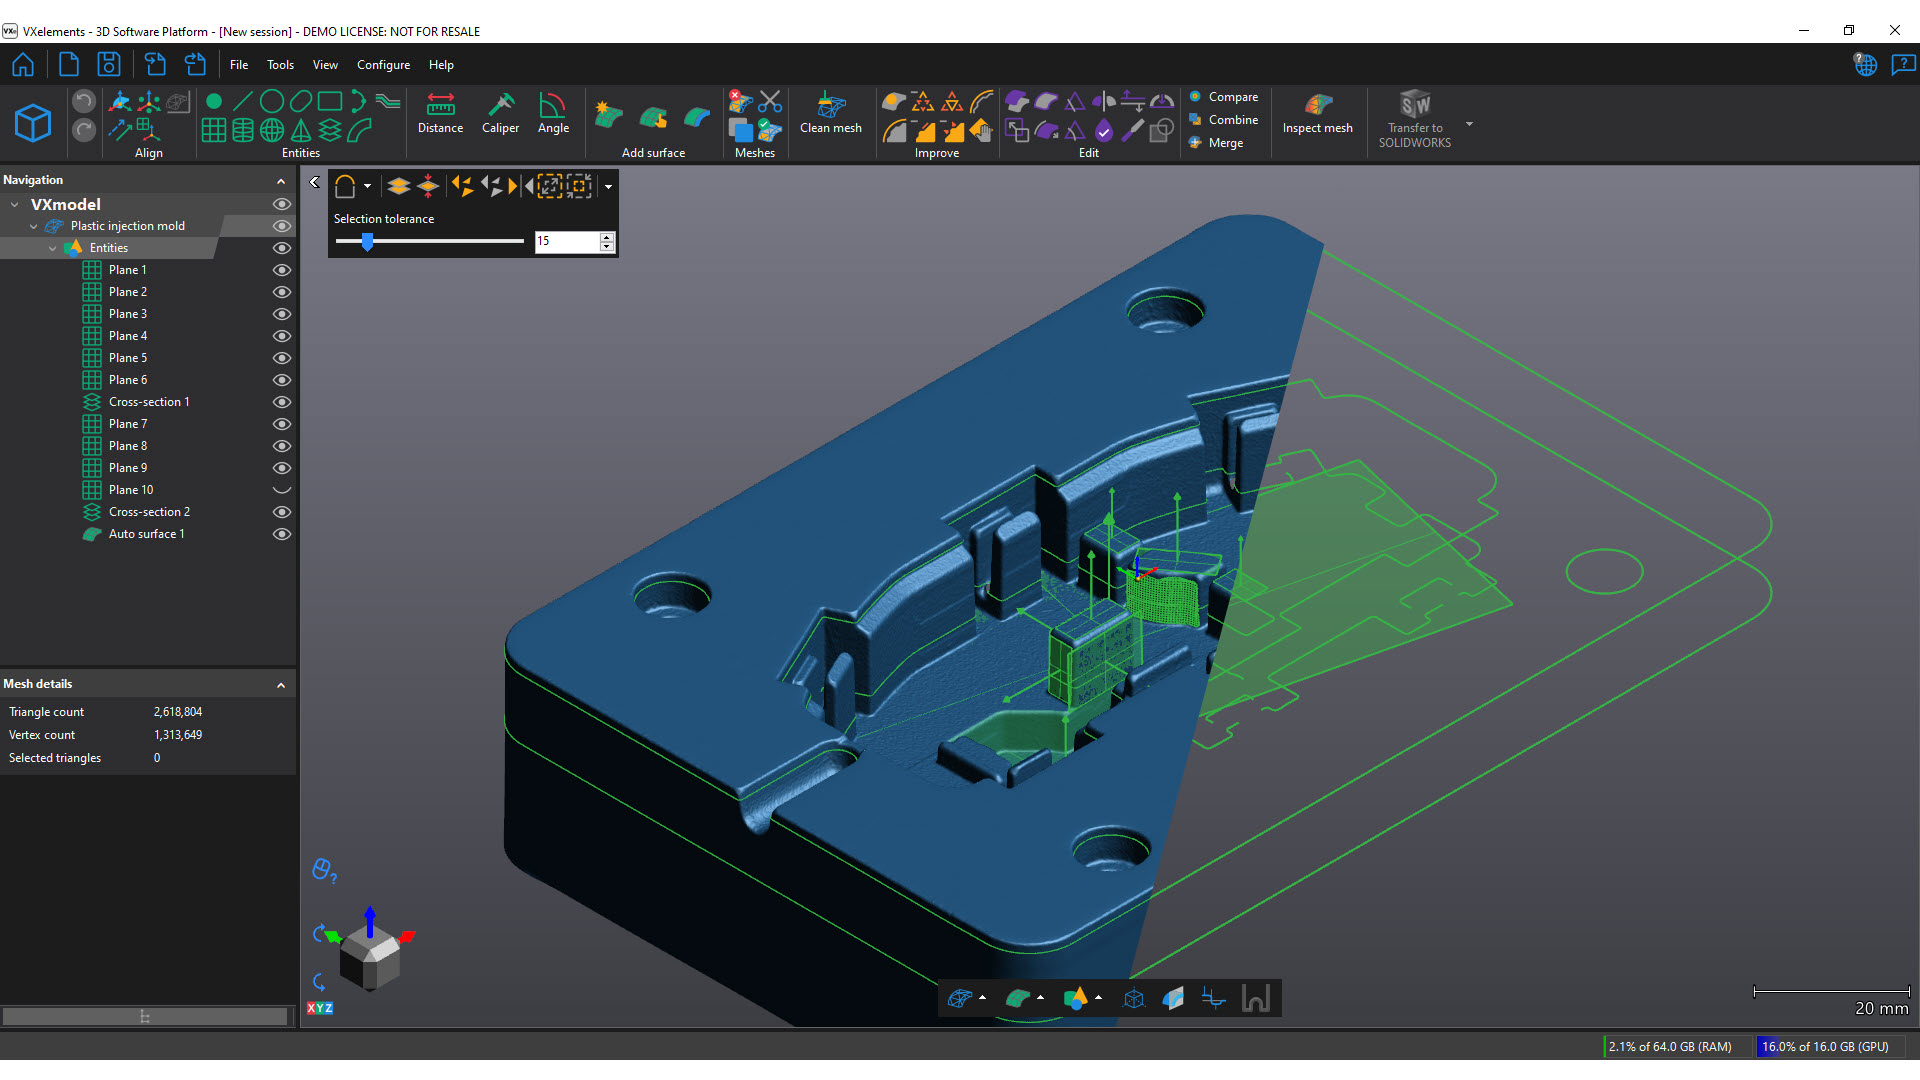
Once certified tooling produces manufactured parts according to technical requirements, the mold, die, or jig can be scanned for reverse engineering. Thus, if the tooling wears out and a new one is required, we will not use the nominal model for the next manufacturing process. Instead, we can work directly from the model that builds parts within inspection standards. This way, the initial iteration process is optimized for future productions.
Unpredictable phenomena can occur at any time during manufacturing. Because these phenomena can cause unexpected spring backs or shrinkage, adjustments are necessary to ensure that the tooling, even if it matches its nominal model, produces good parts that meet customer demands. Consequently, quality teams must have the right measuring equipment to detect and correct defects quickly.
3D scanning facilitates these required iterations. Due to its speed, portability, and versatility, it is an effective alternative to the CMM that can remain free for critical and final inspections. In addition, 3D scanning offers the possibility of reverse engineering the tooling that produces the good parts, performing more quality controls, and quickly correcting unexpected issues that may occur at any time.
In short, 3D scanning equipment provides the manufacturing industry with more information and enables quality inspectors to measure more parts and features faster. 3D scanners not only help to free up CMM time but also guarantee to minimize inspection time and production costs, resulting in parts of better quality.

