September 6, 2024
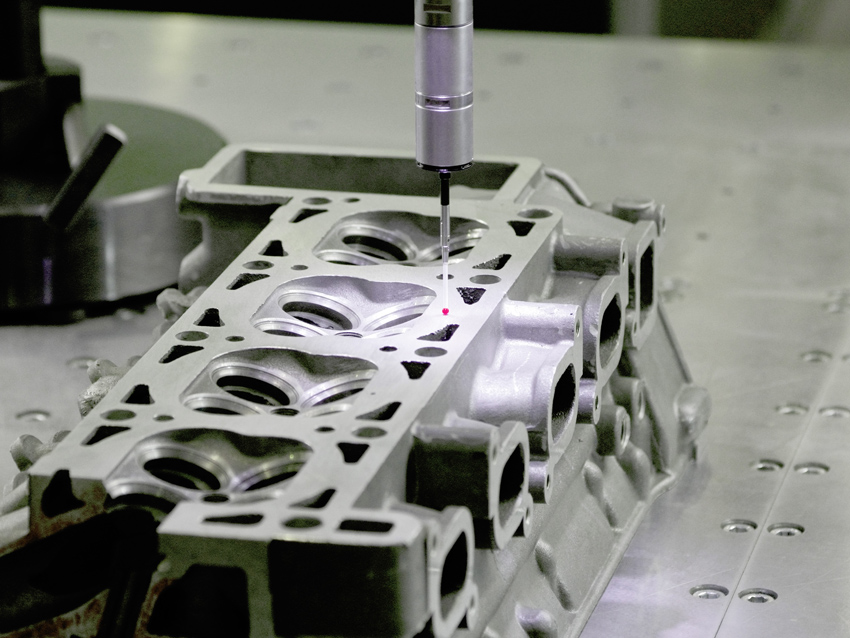
Creaform on Board to Help American Magic Win the 37th America’s Cup See the articleFor manufacturing companies, quality control and part inspection are requirements for customer approval. To do this, production managers generally choose coordinate measuring machines (CMMs), which are one of the most common types of metrology equipment used to inspect and ensure quality control of manufactured parts. However, this detour from the production floor to the metrology lab may often be long and arduous because the CMM, being very popular, is often loaded by all operations. In addition to not being the fastest metrology tool (in terms of programming and operating times), it requires to move the parts, which often have large dimensions.
These mandatory stops at the CMM—and all the delays they cause—are far from being your favorite moments, as they slow down the execution of your work. Thus, as a production manager, you might be wondering how to solve these CMM bottleneck issues? We analyzed five tactics to enable you to unload the CMM and, therefore, speed up the manufacturing process.
- 1 But, before diving in, it is important to know the characteristics specific to CMMs:
- 2 The solutions to unload CMMs must, therefore, take into account these specificities.
- 2.1 1. Use the CMM only if necessary
- 2.2 2. Look for alternative solutions
- 2.3 3. Use metrology equipment that requires less training
- 2.4 4. Prioritize inspection directly on the production floor
- 2.5 5. Make more measurements at intermediate steps
- 2.6 How does the environment really impact your measurements?
But, before diving in, it is important to know the characteristics specific to CMMs:
- Advantage: CMMs are automated and very precise measurement instruments.
- Limitation: CMMs are fixed laboratory equipment that requires moving the measured part to the lab, and they have a defined and non-extendable measurement volume.
The solutions to unload CMMs must, therefore, take into account these specificities.
1. Use the CMM only if necessary
Due to its characteristics, select the measurements that should always be performed on a CMM and decide what others could be allocated to alternative solutions that, although less accurate, will be sufficient for certain applications.
Use the CMM for highly accurate measurements, for example:
- To Perform final inspections
- To Make final compliance reports
- To Analyze contentious cases
2. Look for alternative solutions
Now that you’ve considerably reduced the inspections done on the CMM, it is judicious to develop a toolbox of alternative metrology solutions for the other stages of the manufacturing process, namely:
- First Article Inspection (FAI): By using an alternative solution, a large number of measurements can be performed on a maximized number of parts without being limited by the capacity of the CMM, which corresponds to the measuring time added to the time it takes to move the parts to the laboratory.
- Mass production with systematic control: With an alternative solution, good and bad parts can be sorted rapidly—and cheaply. Dubious parts can still be brought to the CMM to remove any doubt. This tactic alone can help unload the CMM by almost 80% of the measured parts.
- Mass production with sampling control: An alternative solution offers better monitoring of any possible drift—to anticipate adjustments—and ensures a seamless detection of random faults. CMMs can then be used to analyze only the most complex cases and determine corrective actions.
3. Use metrology equipment that requires less training
Because the CMM is a complex metrology instrument, it needs to be handled by highly trained and experienced operators. When a more friendly tool is used to perform inspection at different stages, the intervention of a CMM operator is not required.
In addition, because the measuring tool does not require an advanced technician and is more accessible, more operators can use it, which increases the number of measurements that can be performed. The more measurements that can be carried out by an alternative solution, the more accessible the CMM will be to perform final inspections, make final compliance reports, and analyze contentious cases.
4. Prioritize inspection directly on the production floor
As previously said, some measurements should always be performed on a CMM. When these measurements are necessary, the CMM must be available. Thus, prioritizing measurements taken directly on the shop floor provides more accessibility to the CMM.
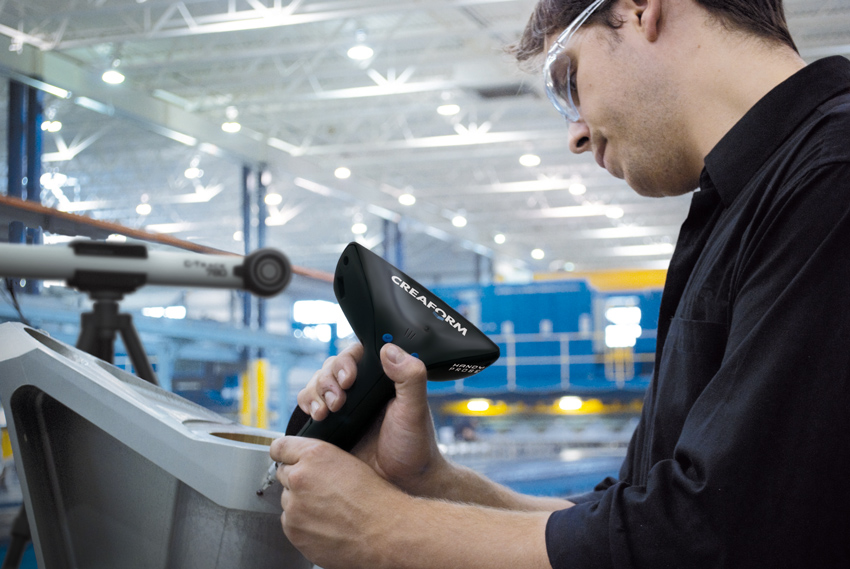
If a measured part has large dimensions and can hardly be moved, why loose time and energy bringing it to the lab? In this case, it is preferable to use a portable metrology tool that enables measuring parts directly on the shop floor.
5. Make more measurements at intermediate steps
Each step of a production process can present various issues (for example: shrinkage, part thickness, distortion, and tooling quality). Because of that, the CMM is used abundantly, which provokes a lot of back and forth at the beginning of production, creating a significant bottleneck effect that clogs the manufacturing process.
Performing inspections at intermediate steps avoids workload bottlenecks at the CMM and puts less pressure on the quality control operators. These operators are then able to supply more complete and documented inspection reports that will facilitate and improve the customer’s verification and approbation.
Portable metrology equipment enables them to make more measurements at each stage of the production process.
Portable metrology equipment, therefore, is a great alternative solution to unload the CMM and improve quality controls. Portable technology enables more reliable and efficient measurements, directly on the production floor, at every step in the manufacturing process.


