September 13, 2024
The Impact of 3D Scanners on NASCAR Stock Car Racing See the articleQuality control managers in the automotive and aerospace industries are responsible for ensuring that manufactured parts meet customers’ requirements, specifications, and tolerances. To do so, they rely on coordinate measuring machines (CMMs), which are the most precise metrology equipment available for quality inspection. Getting this level of precision, however, comes at a price (often in the form of inconvenience). The CMM may not be available to practice first article inspection (FAI), or, worse, it may be totally loaded because a fault has been found at the end of the production of a part. Then, lots of back and forth between the CMM and the shop floor is necessary to locate where the issue has occurred.
In those situations, quality managers are handcuffed by the technology and limited in the execution of their work. What if they had a secret weapon to deploy when the CMM is loaded? What if they could have access to a portfolio of alternative solutions that they could rely on to improve the quality inspection?
In order to make sure that you are never restricted in the exercise of your duties, we’ve compiled the following list of different metrology tools available to QC managers, with the pros and cons of each.
1- Hand measuring tools
The most common hand measuring tools include micrometers, slide callipers, indicators, and gages. These tools are mainly used for simple inspections and basic measurements such as measuring a diameter or a thickness or any other dimensions that do not justify or require a report.
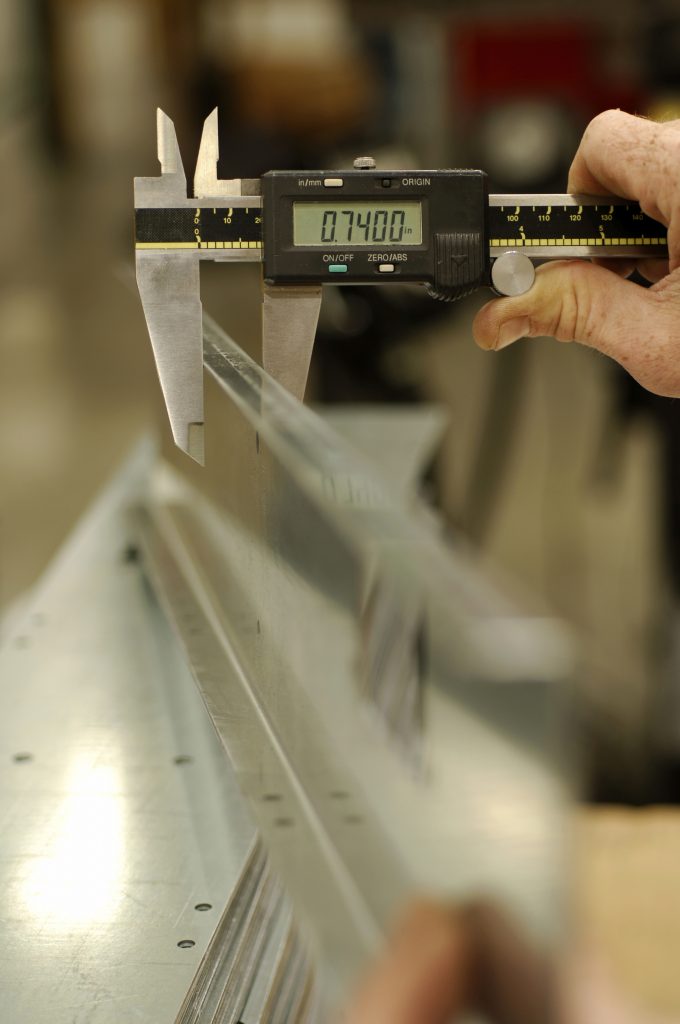
Pros:
- Simplicity of use
- Only requires a basic level of technical expertise
- High precision
- Quick use for simple measurement and features
Cons:
- Repetition: because the measurement depends on the operator’s manipulations
- Difficulty selecting the most suitable tool, because each measurement requires a different tool
- Difficult to use for complex parts
2- Fixed CMMs
Fixed CMMs are definitely a better choice than hand measuring tools for complex parts. Indeed, they can measure any type of feature with a high level of precision. Because of that, they are the no.1 metrology equipment choice for quality control managers. They are so popular that they are often loaded by different operations.
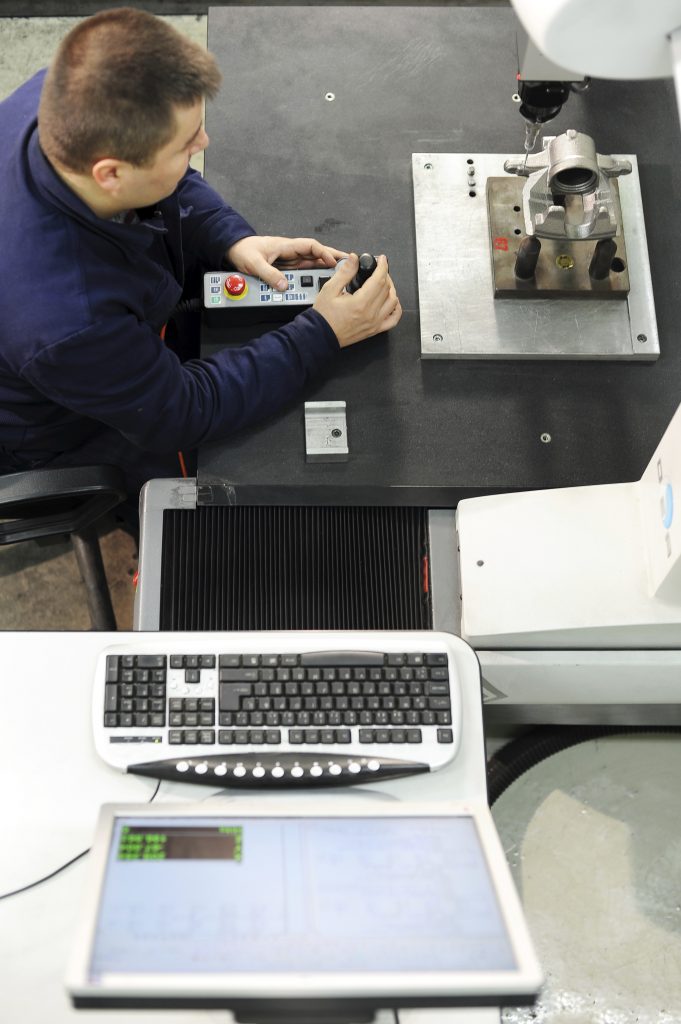
Pros:
- Efficiently measure complex parts
- Flexible
- Access to automated reports
- Ability to measure and inspect any types of feature
- Unbeatable precision
Cons:
- Shape of measured parts is limited due to the size of the measuring table
- High cost of utilization
- Requires a high level of technical expertise
- Fixed to the ground
- Requires a rigid setup
Sub-category: Laser trackers
This subcategory offers the same advantages of portable CMMs, with an extra: a rigid setup is no longer required. This means that everything (i.e., the tracker, the measuring tool, and the measured part) can move during the measurement. Therefore, it reduces the pressure placed on operators. In addition, their level of expertise does not need to be so high because fewer errors will be caused by extra manipulations and alignments. In short, optical portable CMMs are perfectly adapted to shop-floor measurements.
3- Portable CMMs
Portable CMMs are the alternative solution when a part cannot be moved from the production floor to the measurement lab. These include the advantages of fixed CMMs, as well as portability, which enables one to move the CMM to the shop-floor, another building, or a supplier’s facility.
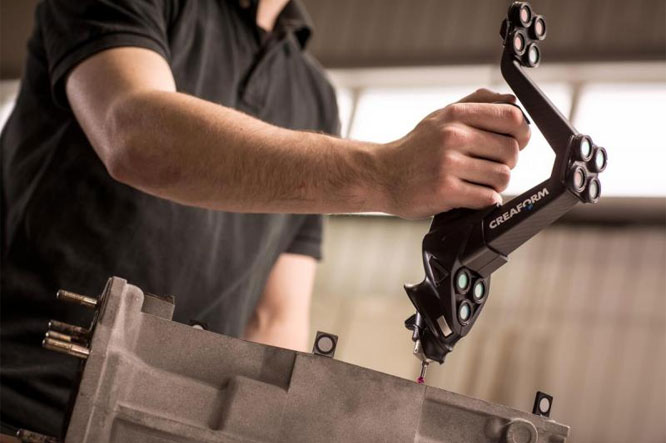
Pros:
- Portability: the measurement tool goes to the measured part (rather than the opposite)
- Simplicity of use
- Ability to measure directly on the production floor
Cons:
- Sensitive to vibrations, not adapted to unstable shop-floor measurements
- Requires a rigid setup
- Operator experience and sklls can affect the measurement accuracy
- Loss of precision
Sub-category: Optical portable CMMs
This subcategory offers the same advantages of portable CMMs, with an extra: a rigid setup is no longer required. This means that everything (i.e., the tracker, the measuring tool, and the measured part) can move during the measurement. Therefore, it reduces the pressure placed on operators. In addition, their level of expertise does not need to be so high because fewer errors will be caused by extra manipulations and alignments. In short, optical portable CMMs are perfectly adapted to shop-floor measurements.
4- 3D Scanners
Metrology-grade 3D scanners complete our portfolio of alternative solutions to rely on to improve quality inspection. Like portable CMMs, most 3D scanners can be moved around on the production floor, but they also have the capability to measure in a complex production environment—just like optical portable CMMs—that is often influenced by temperature variations, vibrations, inexperienced operators, etc., However, It is through the information density they can acquire and analyze that 3D scanners distinguish themselves from other measuring equipment. Because of that, 3D scanners are the preferred solution for first article inspection (FAI), where each dimension measurement is critical. The complete part (dimensions and aesthetics) must be inspected and approved during the FAI. Therefore, it is risky to omit defaults with a probing unit that only measures a restricted number of points (or samples of points).
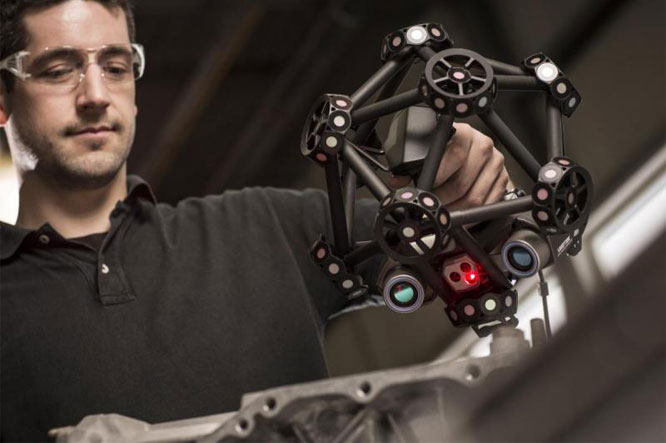
Pros:
- Speed of acquisition and density of information analyzed
- Short time required to characterize a complete part
- Efficiently digitizes complex shapes with a very large number of points and without contact
- Best solution to inspect freeform surfaces
Cons:
- Requires the measured part to be in the line of sight of the scanner
- Overkill solution to inspect simple geometrical features like pins and holes
The secret weapon for quality control teams, therefore, is to have different measurement options to inspect parts. Because each solution has its pros and cons, being able to rely on different tools according to the type of inspection being performed or the shape of the piece being measured is the key to performing excellent quality controls.

