November 4, 2024
Improving Construction Processes with 3D Metrology See the articleAs manufacturers transition towards Industry 4.0 in order to speed up production cycles and accelerate their time to market, they nevertheless continue to face many challenges, particularly with respect to automating quality control.
Reducing costs drives the need for automated quality control
Automating inspection processes and quality control is indeed a compelling strategy for manufacturers to not only improve product quality, drive innovation and address the manufacturing skills gap but also to reduce down direct quality control costs as well as the expensive ripple effect of poor quality or lack of conformance.
In fact, according to the American Society for Quality, quality issues cost manufacturers 15-20% of sales revenue—with some going as high as 40%. Just think of all the quality control costs that can be incurred because of non-compliance:
- Rework and scrapping
- Production line downtimes
- Recalls and repairs
- Purchasing new materials
- Changes to the production planning to accommodate a new run
- Retesting
- Etc.
The push towards automated quality control in manufacturing processes has never been stronger. However, achieving it means rethinking how quality control is conducted in the manufacturing environment.
Why traditional measurement systems impede automated quality control
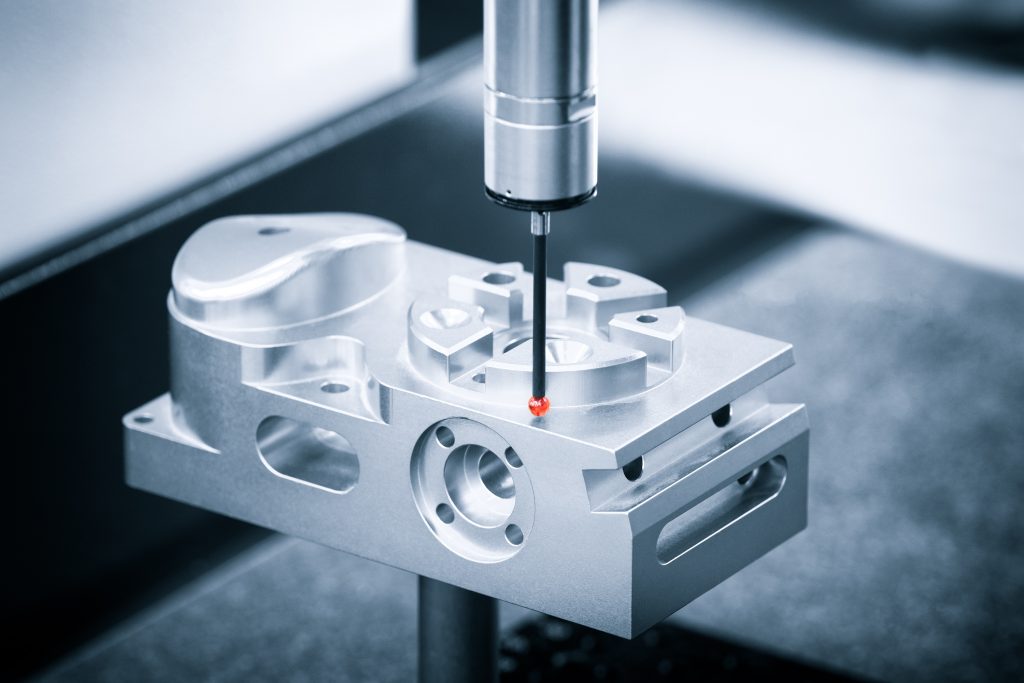
For many manufacturers, first article inspections (FAIs) are still often carried out in a dedicated metrology lab with a coordinate measurement machine (CMM). Bottlenecks are rampant due to the volume of inspections to be conducted. Oftentimes, there is only one CMM specialist or metrologist on hand to load, operate and unload the machine, which slows down output. Time is wasted moving parts back and forth from the lab, making the quality control workflow inefficient. By sheer logic, automating quality control in a lab simply does not make any sense.
Other factories have tried to somewhat automate quality control by making the switch to using measurement arms right on their shop floors to eliminate CMM bottlenecks. However, measurement arms cannot afford the level of accuracy required for rigorous quality control because of ambient vibrations, dust, changes in temperature and humidity. What’s more, measurement arms still need to be operated by a skilled worker, meaning that output is nevertheless sacrificed.
In other words, traditional measurement systems used to carry out inspections no longer cut it. They actually prevent factories from keeping up with cycle times, maximizing output and lowering quality control costs. They also hinder automated quality control as well as the shift from preventative to proactive quality control.
And yet, there is a better way.
In-line and at-line metrology solutions: Making automated quality control easier
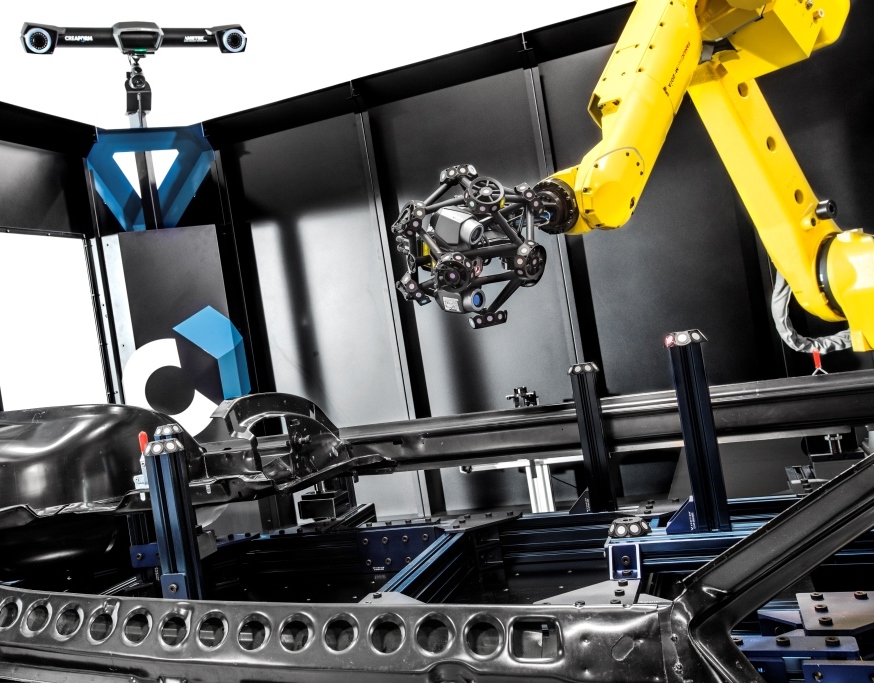
Many manufacturers are turning to in-line and at-line metrology solutions, which include 3D scanners, to automate their inspections and quality controls. Solutions, such as the MetraSCAN 3D-R robot-mounted optical 3D scanner and CUBE-R, a turnkey and completely customizable automated 3D scanning CMM, are changing the game and enabling manufacturers to achieve completely automated quality control.
They are being used for a wide variety of different applications, including in-process inspections of parts and tooling, in-line and at-line FAI, inspections of supplier parts before entering into production, and digitalizing quality control records for archiving, traceability, and upgrading legacy drawings.
Benefits of in-line and at-line metrology solutions
These next generation 3D measurement solutions offer many benefits. For one, they have been specifically designed for in-line and at-line quality control; they are impervious to harsh production environments and generate the high level of accuracy most manufacturers want.
Secondly, they afford exactly the ease of use manufacturers are looking for in a context of a lack of skilled workers. Operators of any skill level can load a part, get a result and take action. Onboarding and training are also kept to a minimum, meaning that workers can be-up-and-running very quickly.
Third, the productivity gains are tremendous. With more operators being able to operate these in-line and at-line metrology solutions, manufacturers can:
- Measure more parts per hour with the same number of dimensions
- Measure only the critical dimensions on a larger number of parts, increasing the number of parts measured per hour
- Measure the same number of parts, but get more information on each of these parts to build a history in order to present better traceability
- Measure more parts and more dimensions per hour
Fourth, thanks to the unprecedented accuracy of solutions like the MetraSCAN 3D-R and CUBE-R, even if they are on the production floor, inspection measurements are no longer compromised, allowing manufacturers to continuously improve their quality control strategies. Accurate 3D measurement results help manufacturers inspect parts, regardless of size, complexity, material and surface, pinpoint errors that may have gone undetected in the past as well as provide deep insights into how to reduce internal quality control costs as well as conformance appraisal costs.
The future of automated quality control in smart factories starts with using new quality control approaches, including using in-line and at-line dimensional inspection systems like the MetraSCAN 3D-R and CUBE-R. Faster, more flexible and more tolerant to production environments than traditional CMMs and measurement arms, these solutions will streamline manufacturers’ transition to automated quality control, improve quality, accelerate production cycles, and slash quality control costs.
Curious about how automated 3D quality control can help manufacturers tackle Industry 4.0 inspection challenges? Check out this insightful presentation by Creaform at the American Manufacturing Summit. Peter Martinez, Creaform’s Manager of Enterprise Business, delivers a presentation on overcoming Industry 4.0 inspection challenges with automated 3D quality control. He emphasized the evolution of industrial processes, from the steam engine (Industry 1.0) to the current era of cyber-physical systems and automation (Industry 4.0). His presentation covered key insights into how Creaform helps companies meet Industry 4.0 demands by offering metrology and inspection solutions that improve quality control, reduce inspection time, and enhance profitability.


