November 11, 2024
Mining engineering firm opens new service segment thanks to 3D scanners See the articleYou work in transportation, energy, aerospace, mining, or heavy industries. You manufacture large parts and assemblies, some with black or shiny surfaces. You want to measure these large parts with high accuracy and fine detail without having to move them from their production environment. And, above all, you don’t want to siphon off all your budget. If these sentences describe you, the blog below will surely be of interest.
It’s Hard Enough to Manufacture Large Parts…
Manufacturing and assembling large parts involve several challenges that are not present in the fabrication of smaller, lighter components. Specifically, oversized parts are produced in harsh environments where oscillations, vibrations, and thermal variations are ubiquitous. These parts are often heavy and bulky, which means a single human cannot move them easily.
As these parts have larger surface areas, their fabrication processes may require additional quality checks to locate and fix deviations and distortions promptly before these errors are magnified or multiplied. In fact, these inspection steps are crucial for maintaining quality standards throughout the manufacturing process and achieving strict tolerances.
The same challenges arise when it comes to developing, producing, and installing replacement parts that have suffered damage or wear, as well as aftermarket parts and accessories designed to enhance vehicle performance, comfort, or safety. These newly built parts that can reach significant sizes must be designed to seamlessly adapt to and easily fit with the equipment already in place without necessarily having access to the CAD files of the platform where the parts will be attached. At this large scale, aftermarket manufacturers need sufficient accuracy and adequate resolution to avoid fitting issues, project delays, and additional costs. Consequently, they must have a measuring method that allows them to find the perfect fit on the first try.

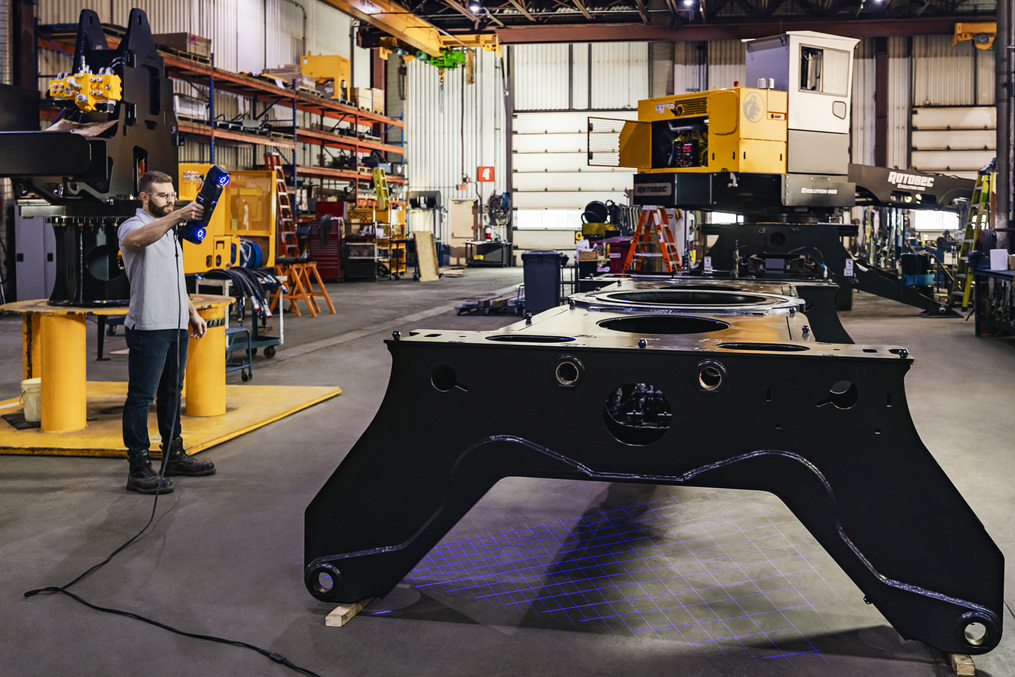
Engineer scanning a massive and complex part with the Creaform HandySCAN 3D|MAX Series in a production environment
It Shouldn’t Be Harder to Measure Them
Until now, nothing was well-suited and affordable for measuring large parts on the shop floor. Methods for scanning large parts did not have the required accuracy and resolution. Those that could offer precision only measured specific probing points, not entire surfaces. Anything that could scan 3D surfaces with good accuracy was simply unaffordable. And products that could provide affordable long-range surface measurements did not meet the accuracy standards. Further complicating the process, contrasting and reflective surfaces were hazardous to measure with optical technology.
In short, measuring large parts and complex 3D surfaces with a handheld device was previously laborious and challenging or, in some instances, even impossible.
Thankfully, the situation has now changed with the new CREAFORM HandySCAN 3D|MAX Series.
The Creaform Solution to Accurately Measure Large Parts
The new MAX Series possesses all the attributes that made the HandySCAN 3D line-up the go-to approach for the industry—portability, speed, accuracy, and simplicity; on top of that, Creaform has added an extra-large measuring volume. And all this is enhanced with blue laser technology, integrated photogrammetry, and live meshing.
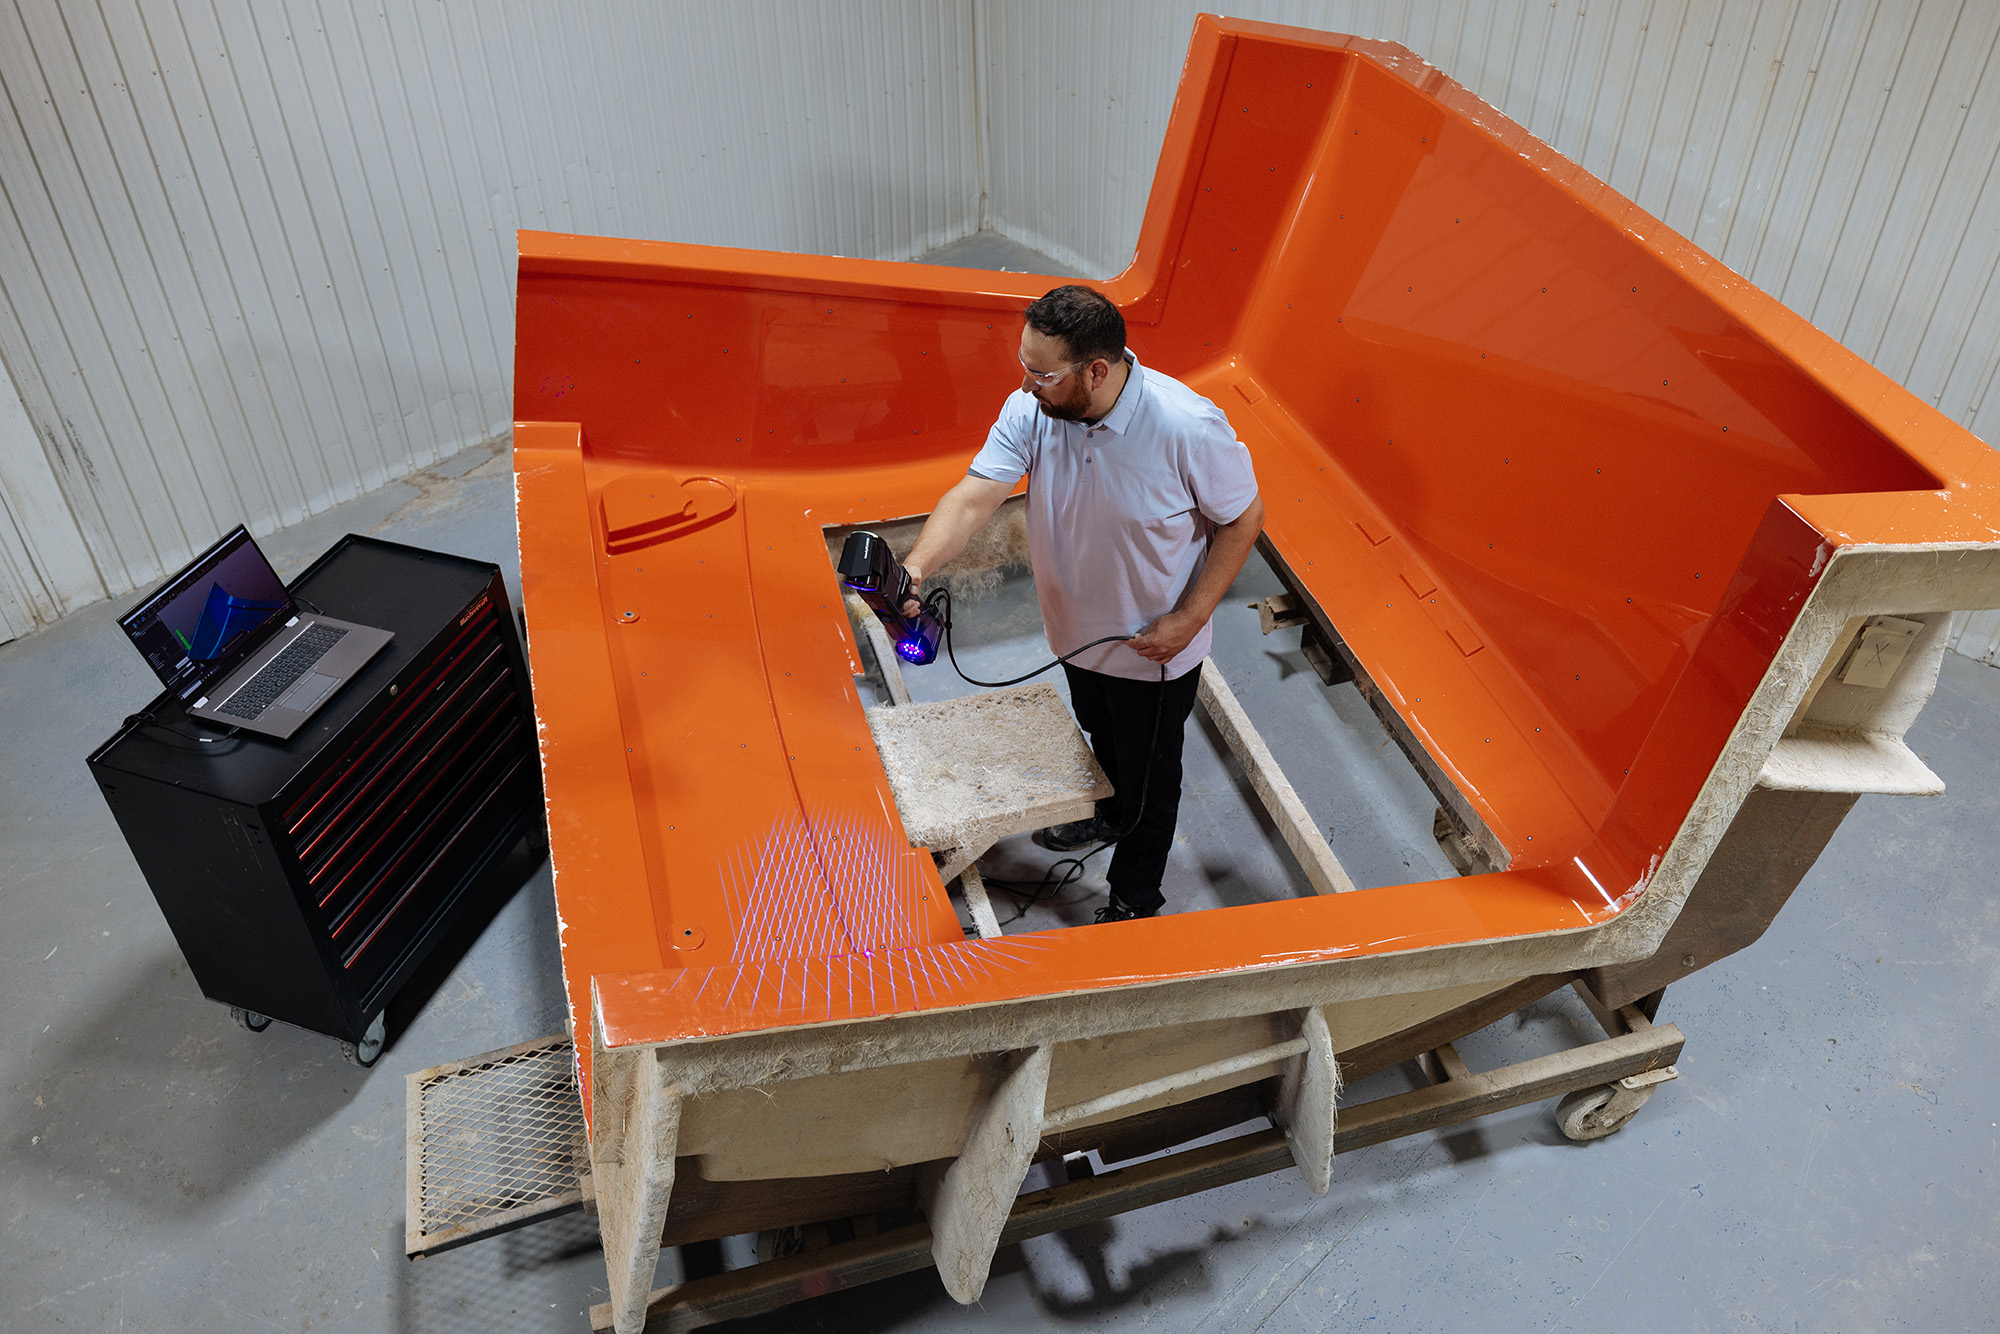
This means that you no longer have to move these heavy and bulky parts to measure them, as the HandySCAN 3D performs the scanning session right on the shop floor.
Featuring dynamic referencing and volumetric accuracy optimization, the MAX series is engineered to work in harsh environments while delivering high accuracy on large measurements, regardless of the user’s experience level. With its ISO 17025 accreditation and compliance with the VDI/VDE 2634 Part 3 standard, you get metrology-grade results for your quality controls with tight tolerancing. Its 38 blue laser lines offer better performance and deliver better readings of difficult, contrasted surface finishes while allowing you to scan large parts and assemblies—up to 15 m (50 ft)—in just a few minutes. In addition, its large scanning area—up to 1.8 x 1.8 m (70.87 x 70.87 in)—allows you to scan vast surface areas rapidly.
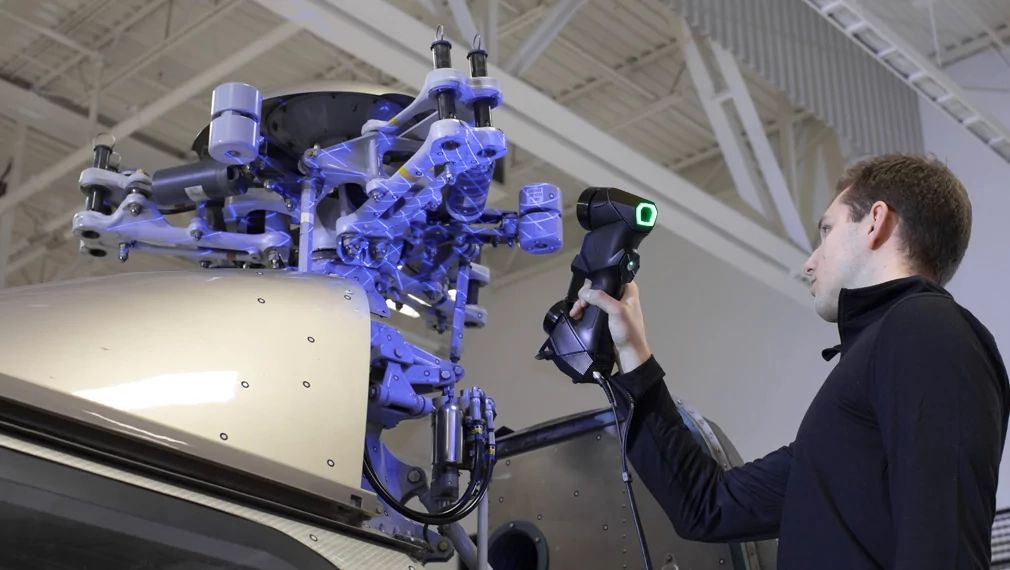
Trucks, impeller turbines, castings, airplanes, heavy machinery, and more can now be measured quickly and easily with the new CREAFORM HandySCAN 3D|MAX Series.
Watch Creaform scan an entire minivan with high-resolution data in just a few minutes.
Three New Key Features
The MAX series also offers new key features developed by Creaform engineers to simplify your scanning process, improve the scanner’s performance on difficult surfaces, and provide the flexibility to scan both at a short distance with fine detail and from a longer distance at high speed.
1.Flex Volume
The Flex Volume feature allows you to choose from multiple scanning modes based on whether you value fast speed, maximum resolution, or speed without compromising resolution. With the 3D scanner in hand, you have the flexibility to scan large parts at very high speed from a longer distance (Far Mode) or measure smaller areas with remarkable quality at a short distance (Near Mode). A nominal mode is also available to enable you to benefit in terms of both speed and resolution.
See the Flex Volume in action.
2.Real-Time Calibration
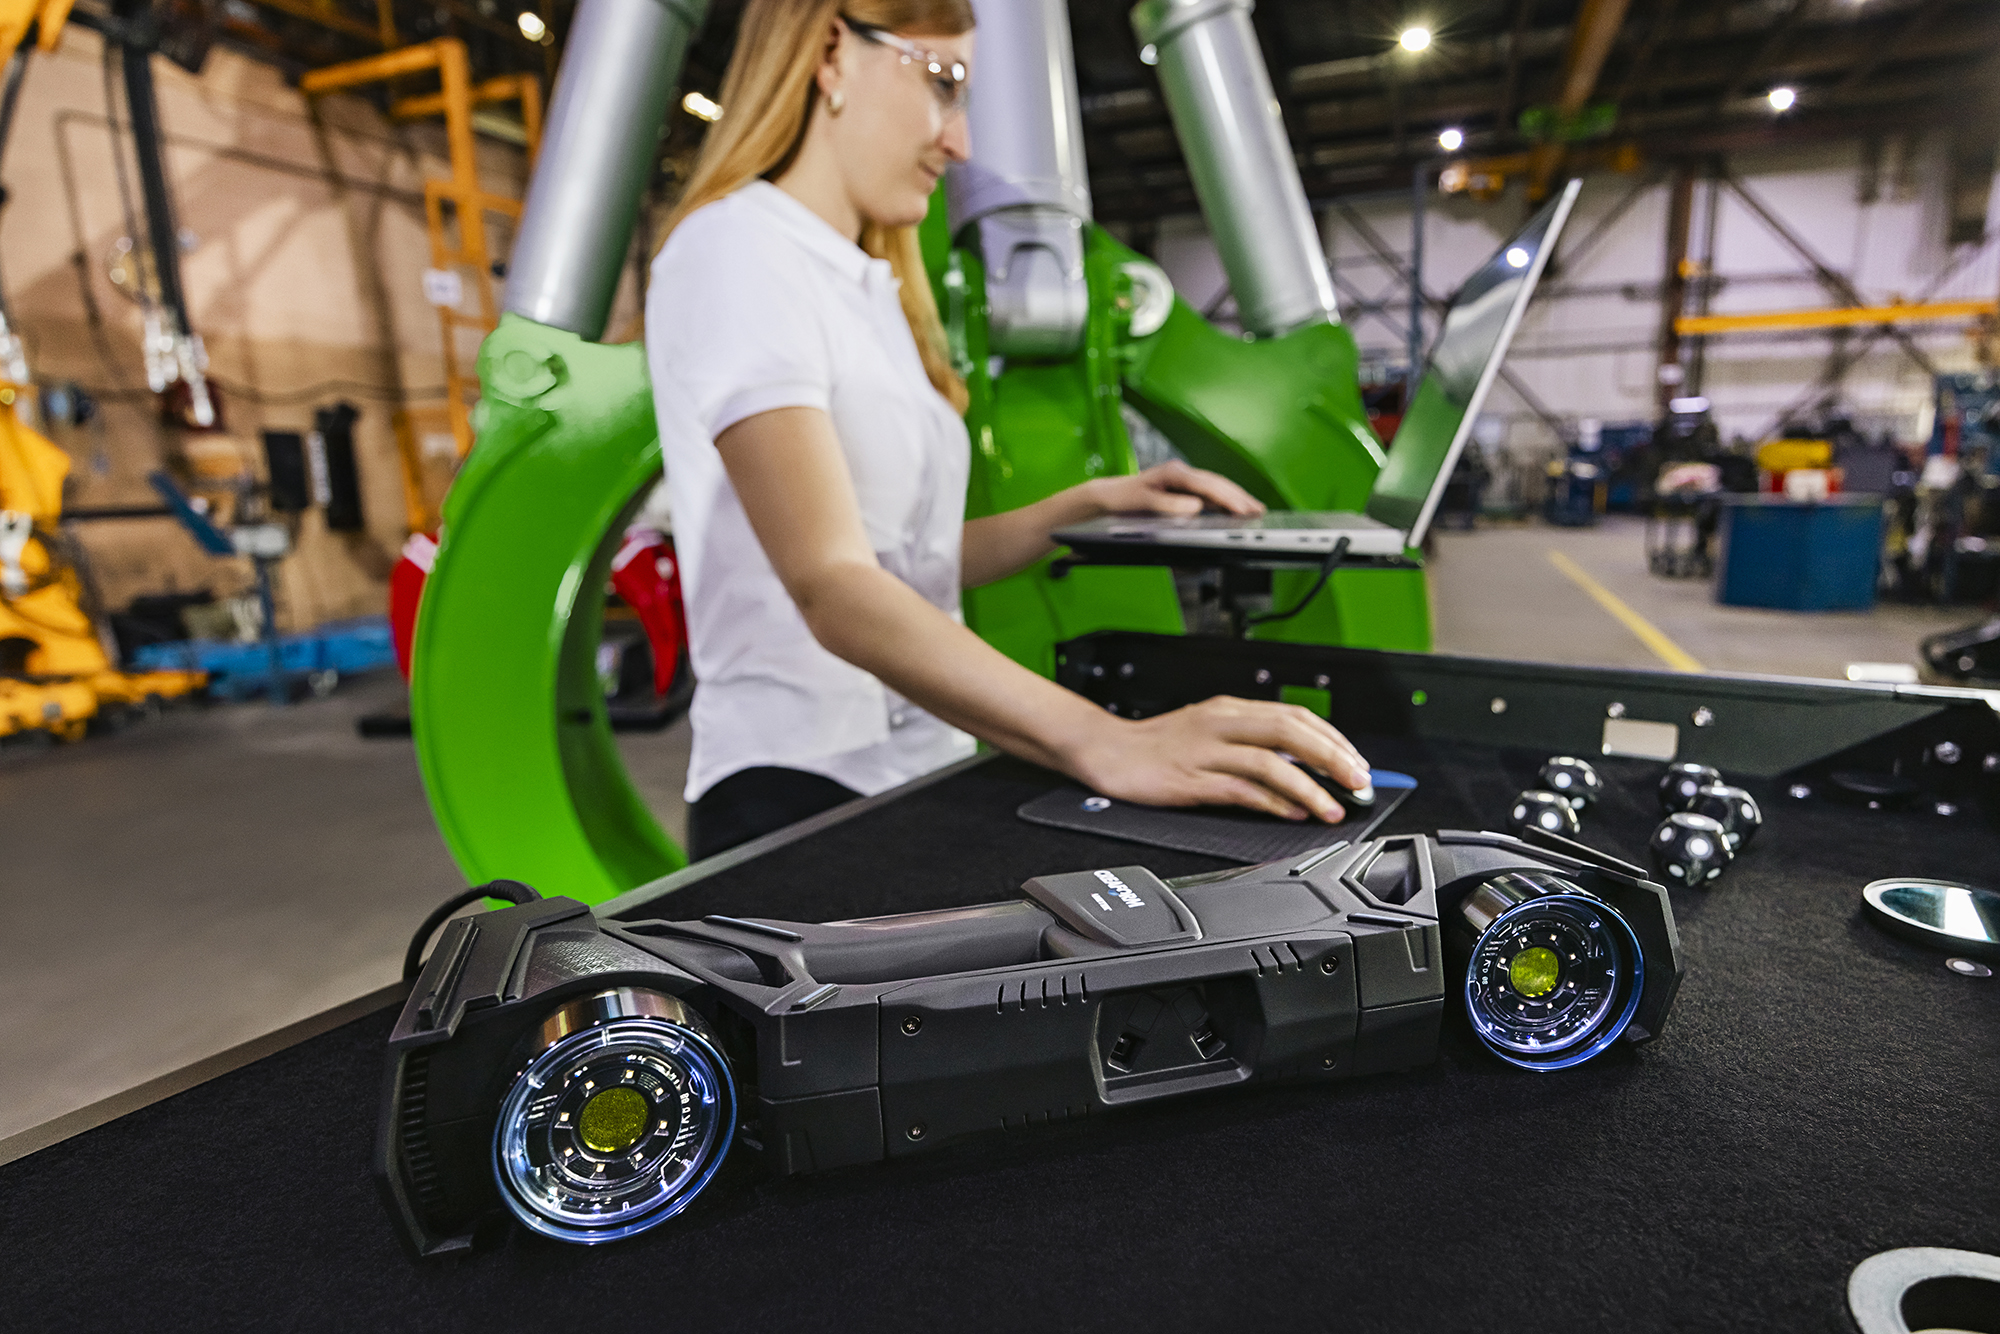
With the Real-Time Calibration feature and the guidance of two scale bars, the 3D scanner adjusts its internal components during the scan, integrating the calibration step directly into the scanning workflow. There is no need for any extra calibration steps; everything is done automatically and seamlessly. The use of these scale bars guarantees the best accuracy for large parts and assemblies.
See how the Real-Time Calibration works.
3.Smart Surface Algorithm
The Smart Surface Algorithm feature optimizes surface measurement with its sophisticated image processing combined with artificial intelligence. This means that the MAX series offers better performance and better readings of difficult contrasting finishes, which means that you can enjoy a simpler and more straightforward scanning process.
Watch as Creaform scans shiny finishes with the Smart Surface Algorithm.
Measuring LARGE Parts Is Now Faster and Easier Than Ever
With the game-changing HandySCAN 3D|MAX Series, Creaform opens up new opportunities by making possible the large-scale scanning of parts that were previously challenging, if not impossible, to measure.
This plug-and-play, quick-to-install, and easy-to-learn measuring system is engineered to capture fine details and scan large volumes equally well, providing you with high-resolution 3D scans of large parts in just a matter of minutes.
Without a doubt, the MAX Series’ new key features and sophisticated algorithms make scanning large parts with difficult surfaces simpler than ever. Your product development, reverse engineering, and quality control processes will only improve. Ultimately, the most significant enhancement will be visible on the faces (and smiles) of the people performing the scan.
If you manufacture large parts, you should have a look at the new CREAFORM HandySCAN 3D|MAX Series.


