September 13, 2024
The Impact of 3D Scanners on NASCAR Stock Car Racing See the articleFaster Quality Control Using 3D Scanning
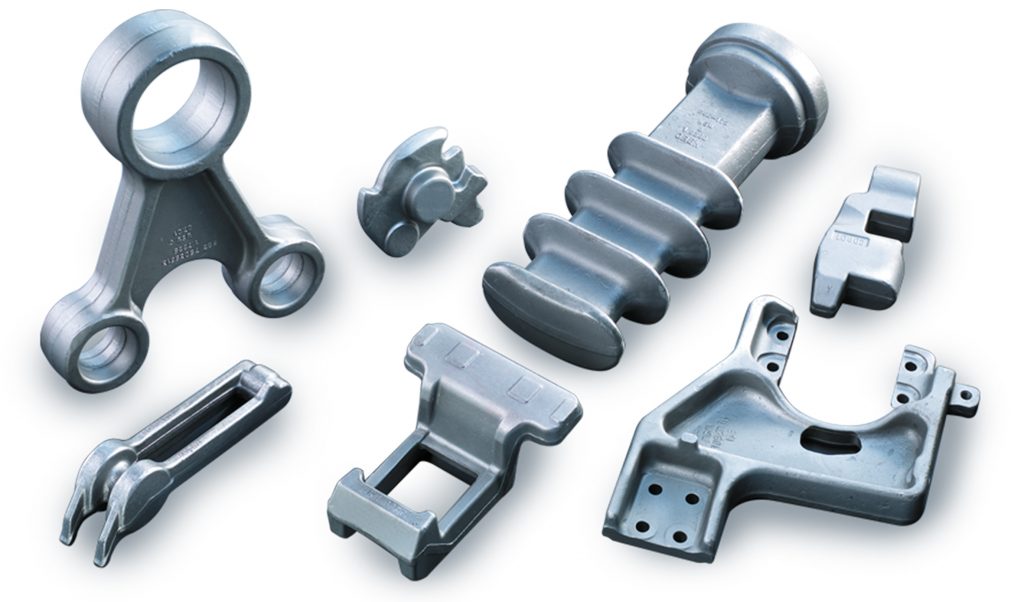
Many manufacturers source ready-to-install forged parts and assemblies from suppliers. Before manufactured parts are delivered to the end customer, they usually undergo a quality control process. The Wilhelm Schulte-Wiese Gesenkschmiede GmbH & Co.KG (WSW) based in Plettenberg, has specialized in the production of drop forgings for more than 60 years and has been using Creaform’s HandySCAN 3D Scanner for quality control for some time.
Where are drop forgings used?
Purchasers of drop forgings include mining, railroad, and mechanical engineering sectors, as well as the commercial vehicle, agricultural machinery technology, and special vehicle manufacturing industries.
In the field of railroad technology, drop-forged parts are used in many applications due to their durability, such as in pivoted bogies, couplings, and suspensions of rail vehicles, but also in track and switch construction in the form of base plates or slide rods. Furthermore, forged parts are also used in signaling technology.
In mechanical and special-purpose engineering, forged parts are used in the electrical industry (e.g., for electrical switchgear and transformers) and in the construction machinery industry (e.g., for pipe-laying equipment). Forgings can also be found in the field of cardan shaft technology or in compressors, including rotary piston or screw-type compressors.
In the commercial vehicle industry, agricultural machinery technology, and special vehicle construction, forged parts are used in the area of axle suspension and power transmission and as wear parts in conveyor systems.
The forged parts produced by Wilhelm Schulte-Wiese have a gross weight of 300 g to 100 kg. The production lengths are up to 1,370 mm.
Quality Control of Forged Components
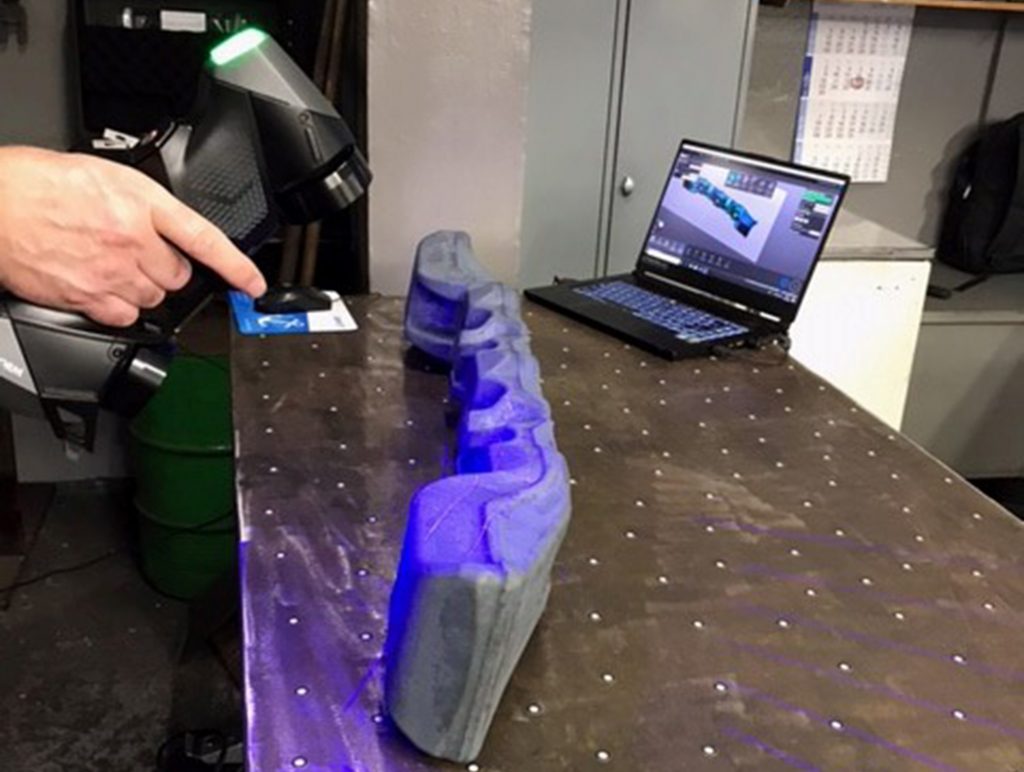
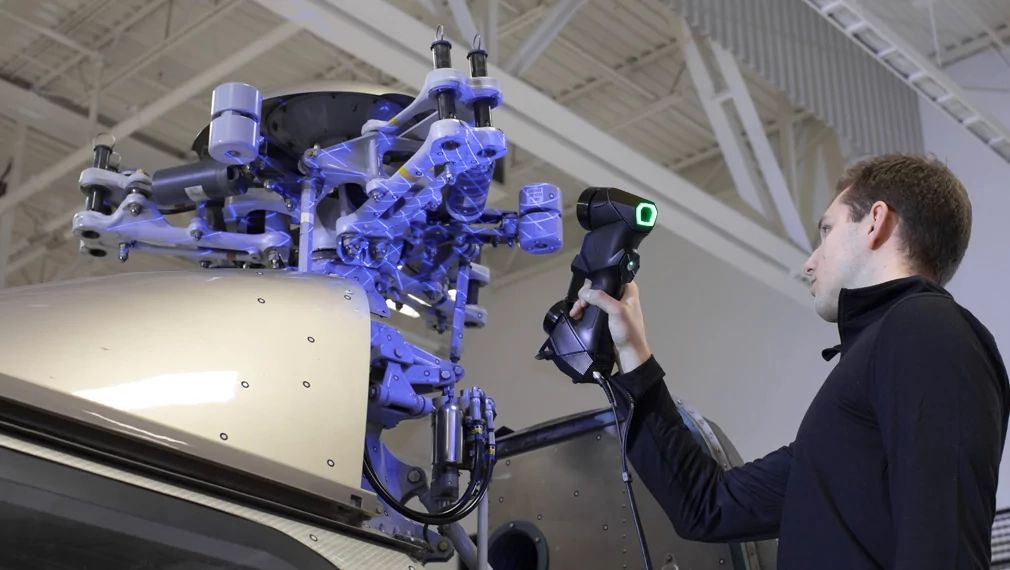
Recently, WSW began using the HandySCAN 3D Scanner with VXelements data acquisition software from Creaform for quality control in the forging inspection department to check manufactured components for shape and dimensional accuracy.
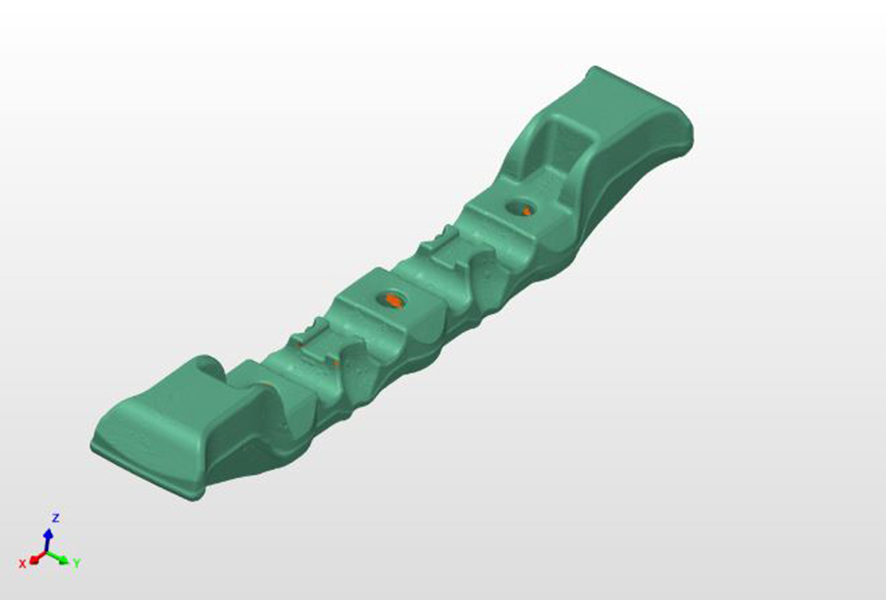
The components are scanned and thereby measured during production according to the specified inspection interval (statistical process control). During the process, the three-dimensional data set from the design department is compared with the data generated by the scan, and a target/actual comparison is performed. A measurement report is then automatically generated based on the previously defined characteristics for the item (length, width, thickness or shape, and position tolerances) that need to be checked. The forging inspectors can see the deviation from the nominal geometry at any point on the component by means of a color map comparison. This has the advantage that wear on demanding geometries in the die can be detected and evaluated.
In the past, inspection characteristics were documented manually with gages and calipers, which had the disadvantage of having measurement results only available on paper. This meant that the creation of statistical reports required considerable effort.
The quality control process has been greatly simplified by the use of the HandySCAN 3D. A forging can now be quickly digitized and then checked for dimensional accuracy using the CAD data. This data is evaluated using the Polyworks software. The measurement results are then stored on the server, making them more easily accessible to anyone.
Decision Criteria
The decisive factor for the acquisition of a portable 3D-Scanner for quality control at WSW was the flexible and versatile application possibilities offered by the HandySCAN 3D. The scanning system can be used directly in quality control, toolmaking, maintenance, and forging, and helps in the preparation of initial sample inspection reports, production line inspections, the manufacturing of spare parts, and the transfer of manual form changes to dies in CAD.
“The Creaform Scanner has already been used in just about every area of our operation. The main reason we chose the system was to be able to detect quality changes at an early stage and take appropriate action. We have had good experience with the HandySCAN 3D so far. When the device is fully established and the handling is solidified, we expect to be able to carry out our ongoing quality controls in the forge in half the time,” explains Mr. Renè Henn, Project Manager at Wilhelm Schulte-Wiese.
About Wilhelm Schulte-Wiese Gesenkschmiede GmbH & Co.KG
Since its founding in 1957, Wilhelm Schulte-Wiese Gesenkschmiede GmbH & Co.KG has been active in the field of mining technology. Over time, other customers in the field of railroad technology, mechanical engineering, commercial vehicle industry, agricultural machinery technology, and special vehicle manufacturing sectors were added, to whom the company supplies ready-to-install forged parts and assemblies. The company specializes in the production of small to medium-sized batches. In drop forging – also known as die forming – the company’s strengths as a supplier lie in drop forgings with a gross weight of 300 g to 100 kg. The production lengths are up to 1,370 mm.
The company demonstrates the high quality requirements of its customers through certifications according to ISO 9001 and ISO 14001 and, especially for Deutsche Bahn, through HPQ Superstructure and HPQ Rail Vehicles (manufacturer-related product qualifications).

