November 4, 2024
Improving Construction Processes with 3D Metrology See the articleMore time—this is a luxury that many people wish they could afford. What about engineers who work long hours to design and manufacture molds to produce automotive performance parts, such as engine devices, transmissions, and electronic controls? What would they do if they could save 85% of the time required for mold inspections?
The possibilities are numerous, but chances are high that they would opt to inspect more molds or proceed with more in-depth inspections on each mold. They could also recover this valuable time and invest it in innovation, such as in the development of new processes and new products or in the improvement of their existing techniques.
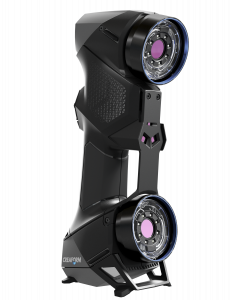
Sound too good to be true? It’s not; it’s just a question of challenging the status quo and measuring the performance of the existing equipment used for inspection against another technology that is more innovative and more efficient. That’s exactly what engineers working for an important company in the automotive mold industry did. They compared a renowned blue light 3D scanner to the Creaform HandySCAN 3D|BLACK Elite.
The time difference to perform the same scanning process was light years apart in terms of inspection time—i.e., 294 minutes with the blue light 3D scanner versus 45 minutes with the HandySCAN 3D|BLACK Elite.
- How can this significant time gap be explained?
- How did the HandySCAN 3D|BLACK Elite work so fast?
- What interfered with the blue light 3D scanner?
In this blog post, we will explain the process the engineers followed and the results that they obtained. It shows the performance of the portable laser-based 3D scanners compared with the blue light-based 3D scanner, and the data is unequivocal. It reveals that the handheld device has a significantly faster scanning process while obtaining the same level of accuracy as its tripod-mounted companion.
Benchmarking Data1
The benchmark occurred on the factory production floor. The engineers placed the mold on the shop floor overnight to reach thermal equilibrium so that they could get a fair comparison between the HandySCAN 3D | BLACK Elite and their existing measuring system. The mold dimensions used for the benchmark were roughly 800 mm x 1000 mm x 1000 mm (31.5 x 39.5 x 39.5 in). The part was composed of tubes and electromechanical components, which made the design relatively complex, including some hidden areas that are difficult to capture with measuring equipment. Finally, the material was moderately shiny, which required a powder application in the case of the blue light 3D scanner.
| Part Size | 800 mm x 1000 mm x 1000 mm (31.5 x 39.5 x 39.5 in) |
| Design Complexity | Complex with tubes and electromechanical components attached |
| Surface Reflectivity | Shiny |
| Measurement Environment |
Shop Floor |
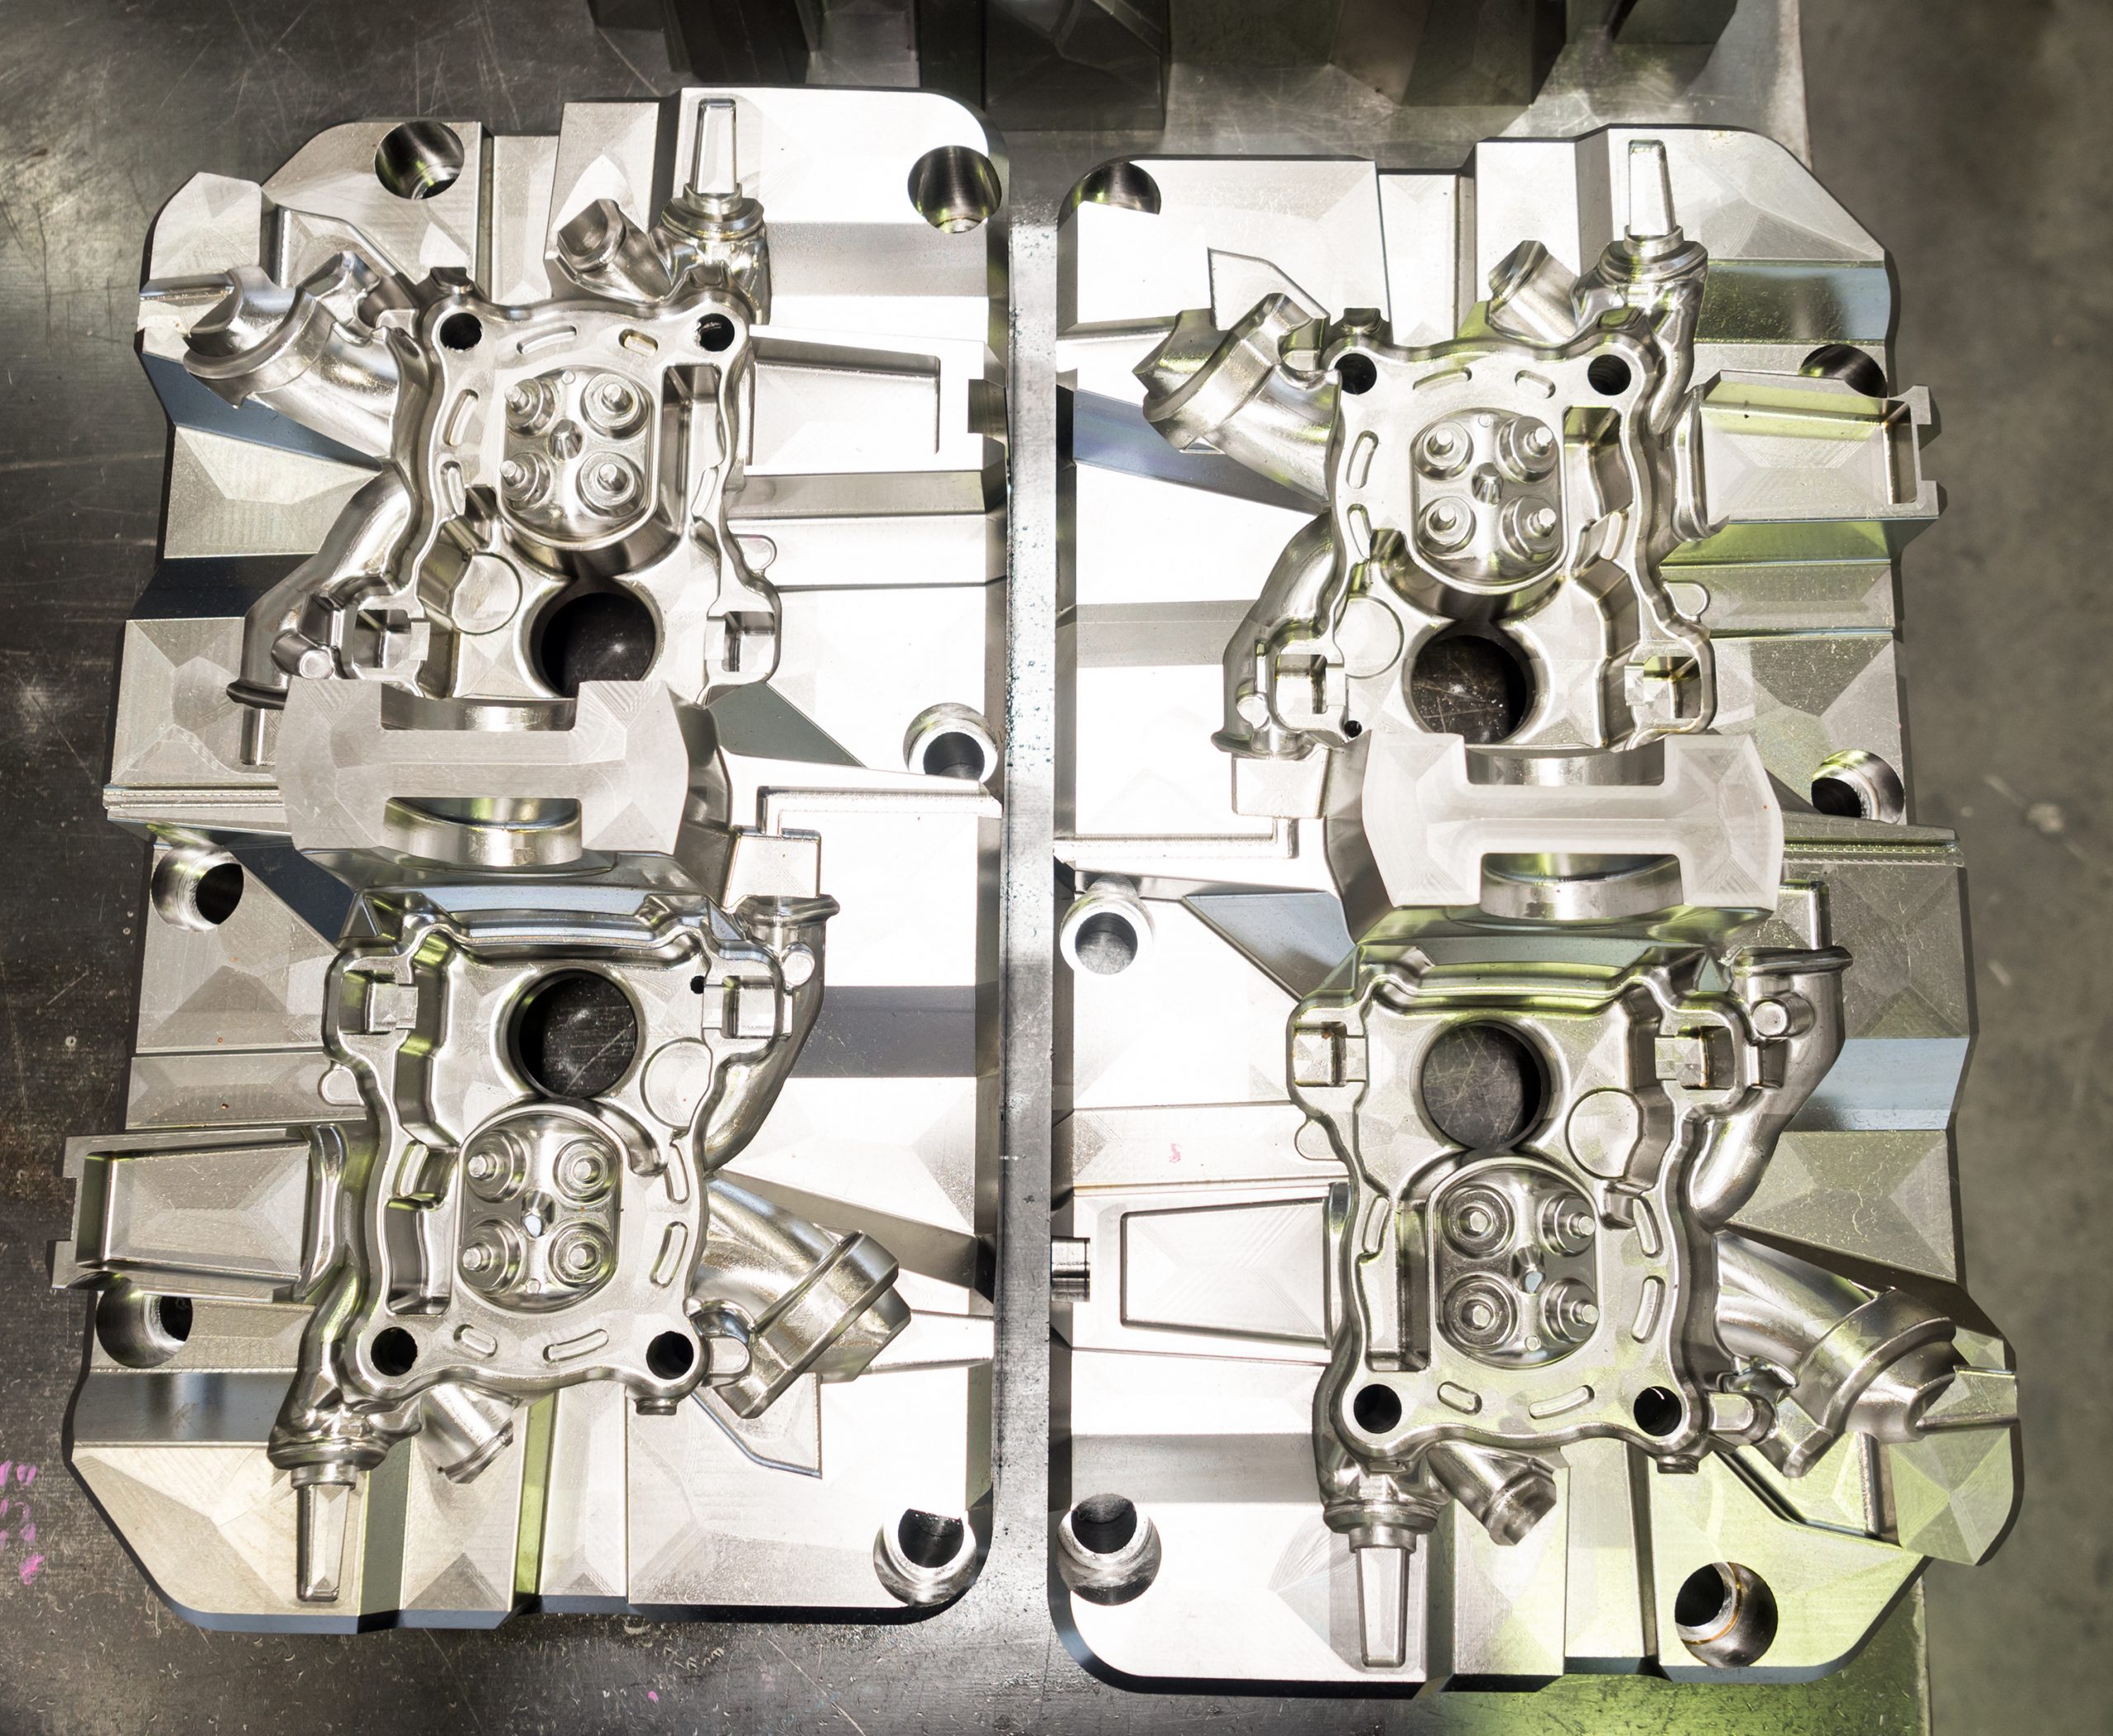
high precision mold and die manufacture for automotive and aero space, high accuracy cutting part for casting mold of die casting and low pressure casting, finishing machining of mold and die
Scanning Process
- Setup and Part Preparation: For both measuring instruments, engineers started by applying approximately 40 positioning targets on the surface of the mold. In the case of the HandySCAN 3D|BLACK Elite, they plugged in the device. In the case of the blue light 3D scanner, they installed the tripod and mounted the scanner on it. Due to the mold’s shiny surface, they also had to apply powder on the part—a step that was not required with the HandySCAN 3D|BLACK Elite.
-
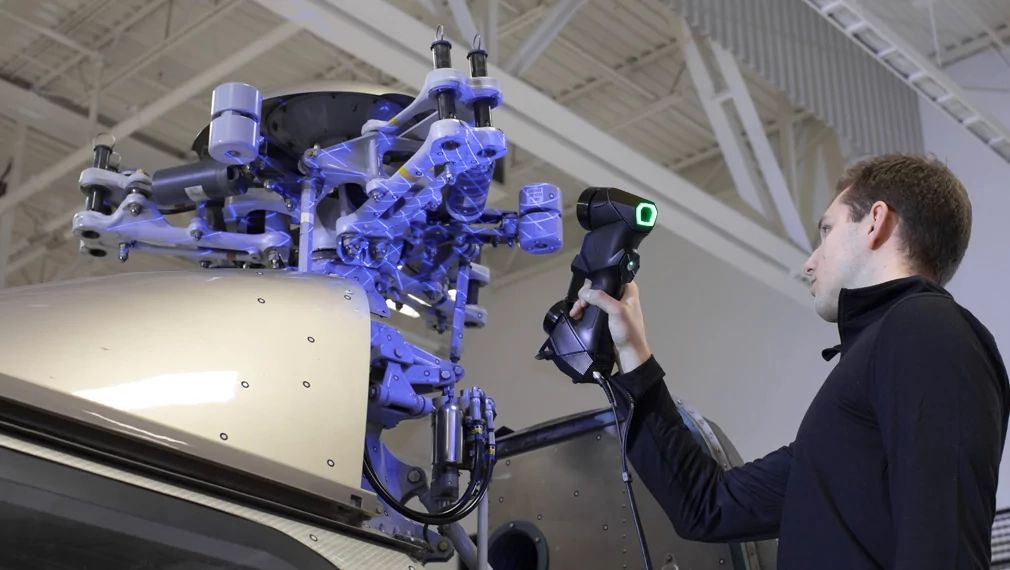
- Scan and Post Processing: Then, engineers proceeded with the scan by collecting measurements and acquiring data. With the laser-based system, they simply had to wave the HandySCAN 3D | BLACK Elite over the mold, as if they were scattering spray paint. With the light-based system, they had to move the tripod at different positions and angles and add extra pieces of cardboard to avoid external interference. Following these steps, engineers could process the scan data and get a clean STL file.
- Part Cleaning: Finally, engineers completed their inspection by removing the positioning targets. With the blue light 3D scanner, they also had to clean out the powder from the surface of the mold.
Inspection Time
The total inspection time required to set up, prepare, scan, process, and clean the mold took 45 minutes with the laser-based, handheld, portable 3D scanner compared to 294 minutes with the blue light 3D scanner.
| Steps | HandySCAN 3D|BLACK Elite | Blue Light 3D Scanner | More time needed with the Blue Light 3D Scanner |
|---|---|---|---|
| Setup and Part Preparation | 5 | 84 | 16.8x |
| Scan and Post-Processing | 30 | 180 | 6x |
| Part Cleaning (after scanning) | 10 | 30 | 3x |
| TIME (minutes) | 45 | 294 | 6.5x |
In short, when compared with the Creaform HandySCAN 3D | BLACK Elite, the renowned blue light 3D scanner required 6.5x more time to inspect the same mold under the same environmental conditions and with equivalent accuracy.
The Stark Time Difference Explained
Expeditious Speed from Setup to Scan
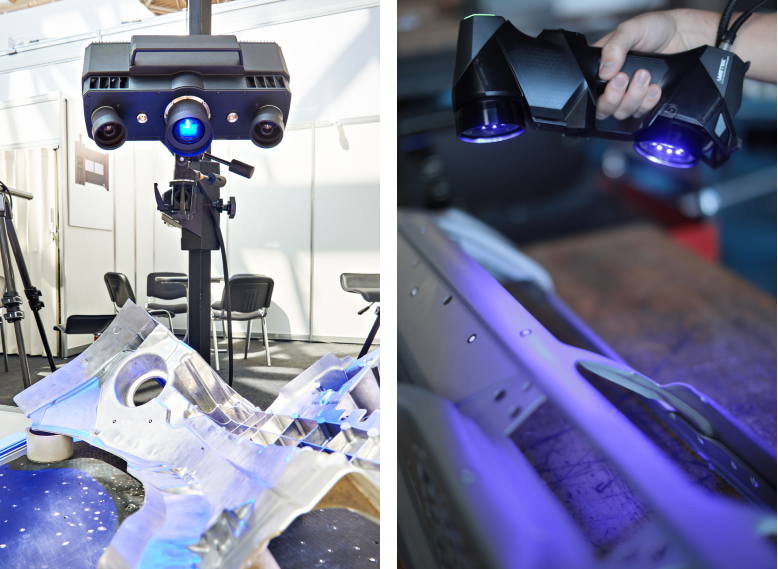
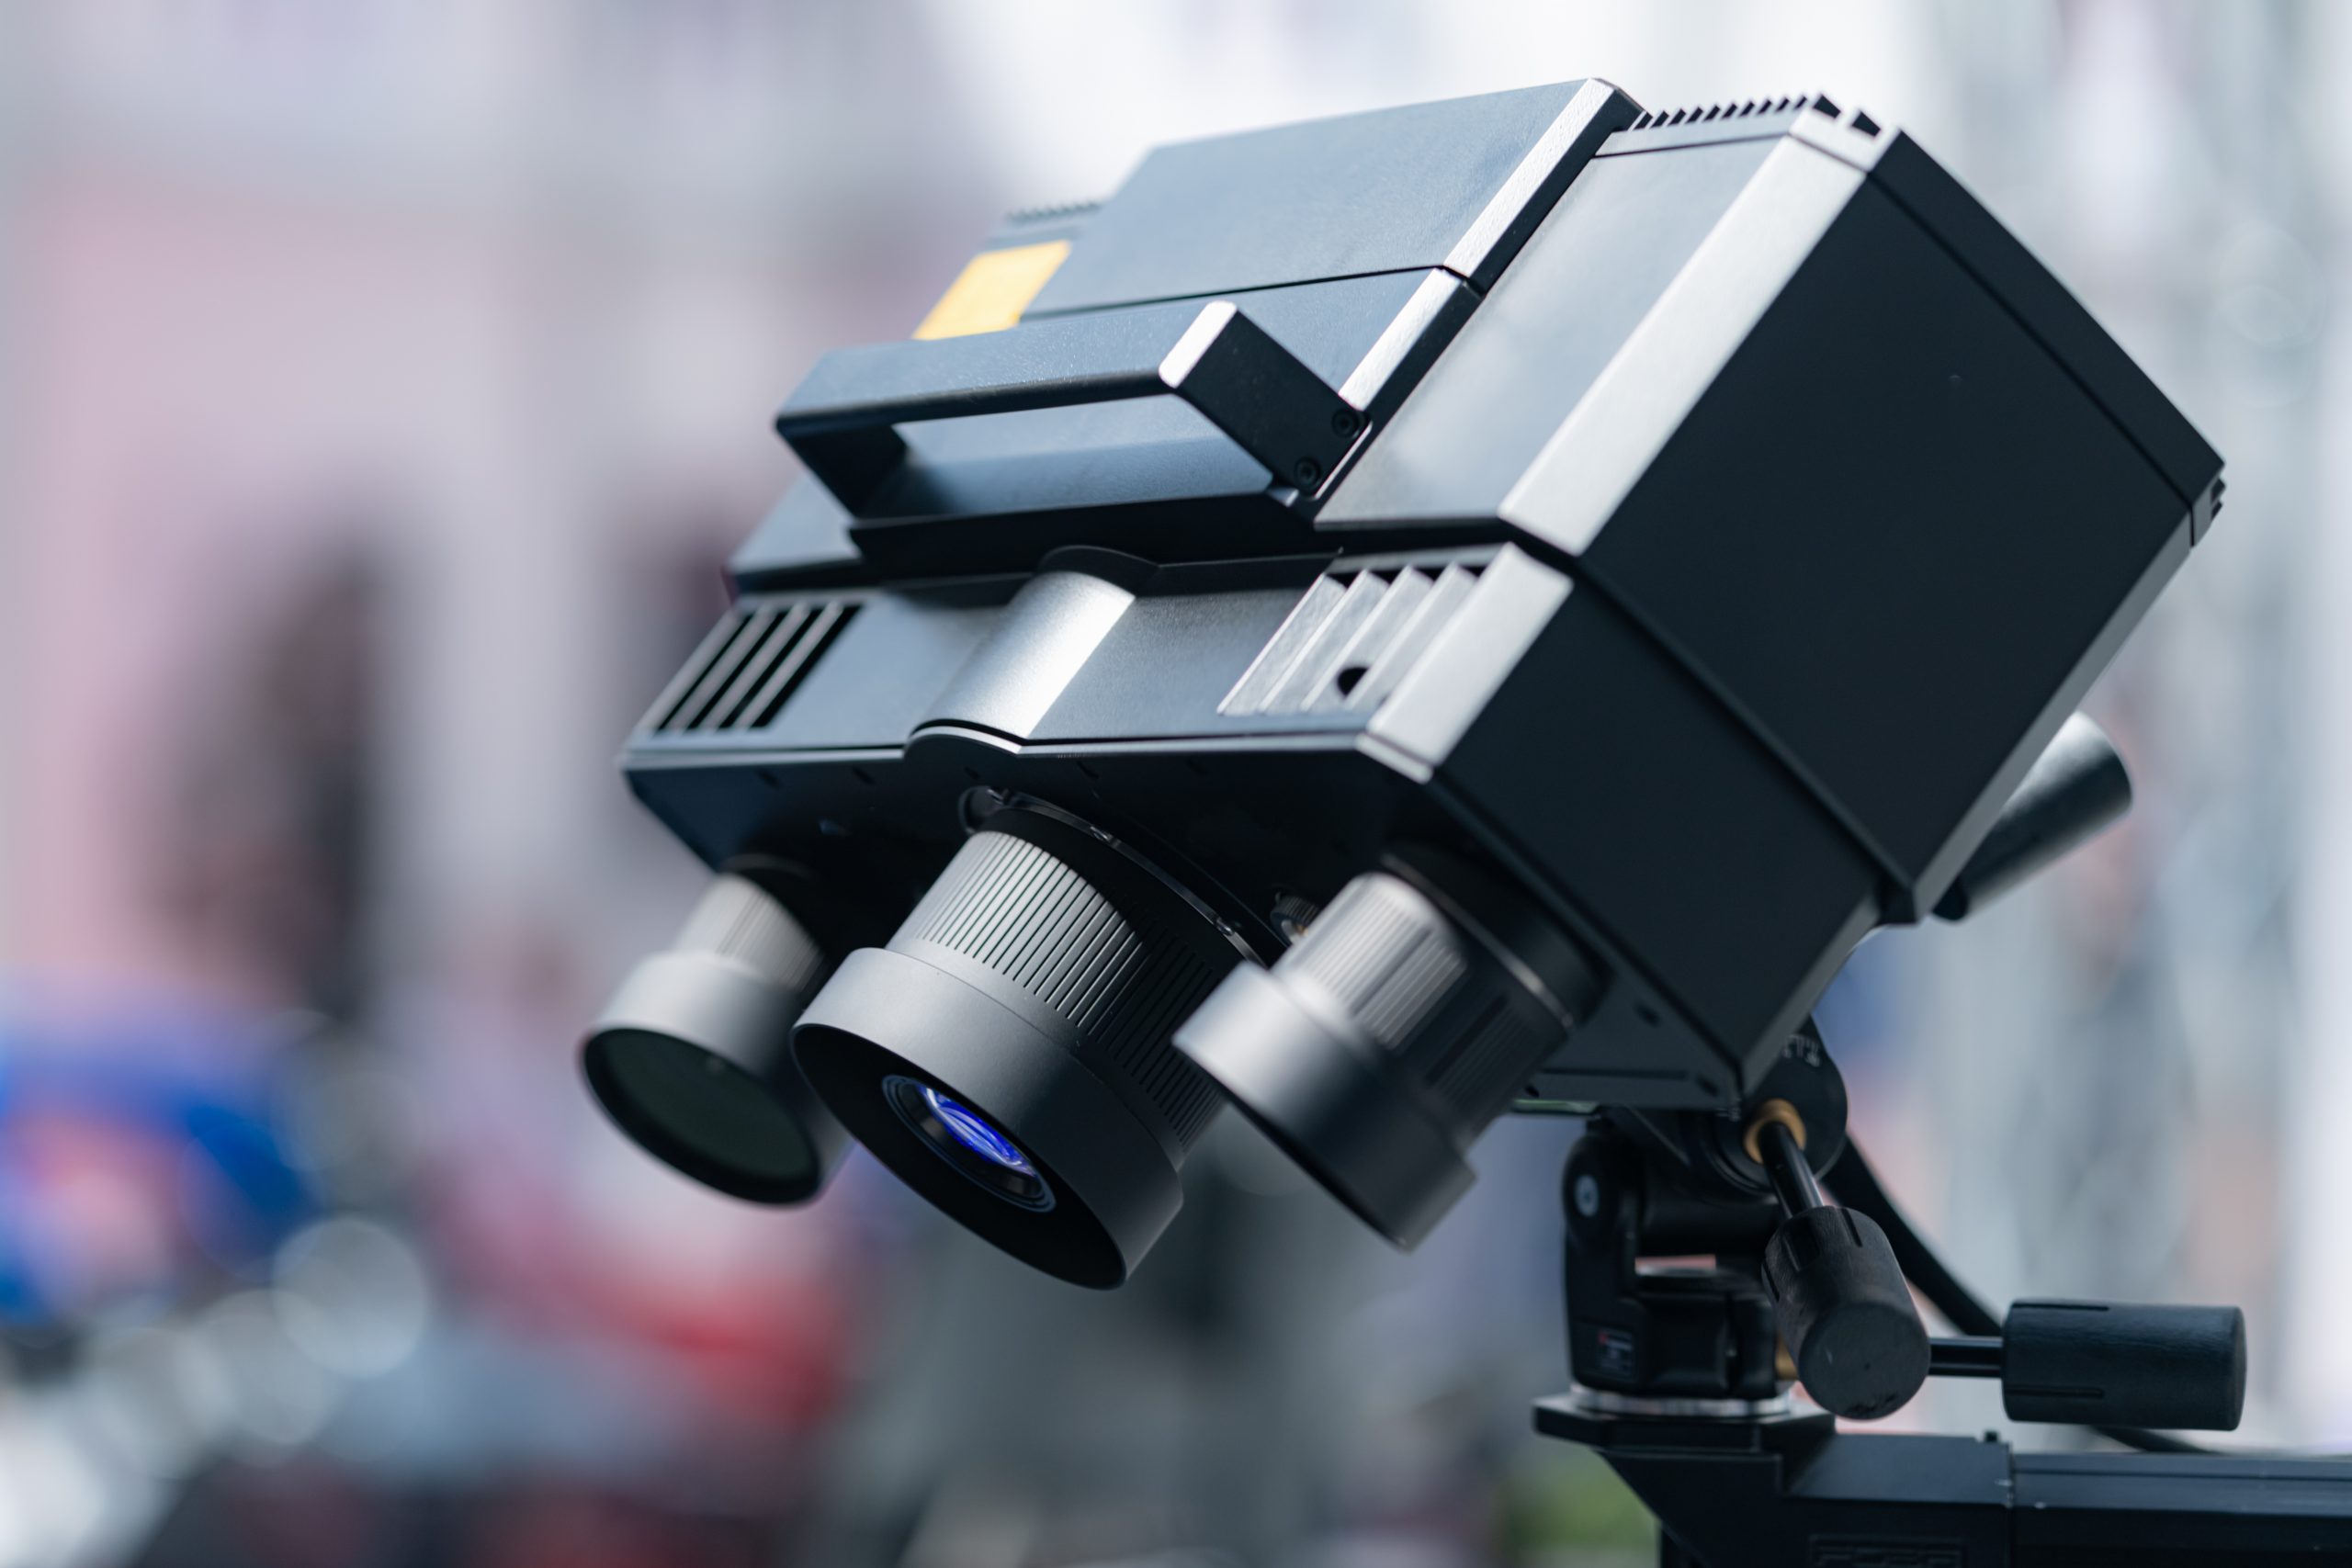
Unlike the handheld HandySCAN 3D|BLACK Elite, the blue light 3D scanner had to be mounted on a tripod and placed at the right position and angle prior to activating the camera. Consequently, multiple adjustments were needed.
Because each mold has a unique shape with its own geometry and specific features, engineers must define the right combination of angles and positions to capture the entire profile of the mold. Based on their current internal procedure, the tripod had to be moved to 16 different positions in order to fully scan the part. First, engineers placed the tripod in 10 different locations around the mold with the camera positioned at 45°. Then, they moved it to 6 additional positions, this time oriented at 85°. Between each manipulation of the tripod, 4 distinct and precise steps had to be performed to properly change the camera angle and position.
These laborious manipulations largely explain why the preparation and scanning sessions were more time-consuming with the blue light 3D scanner.
Slick Ergonomics and Light Portability
Because the structured light metrology system mounted on a tripod had to rotate 360° around the mold to fully scan its shape, engineers had to allocate enough space on the shop floor to accommodate both the mold and the light-based 3D scanner.
Engineers noted that the light-based system had to be positioned in the exact location to capture hidden features effectively. Repositioning the camera at the right angle involved a lot of trial and error, which was tedious and, again, time-consuming. In contrast, restricted areas were easier to scan with the HandySCAN 3D | BLACK Elite. Engineers could easily orientate the optics at the right angle to acquire the mold’s complex geometry since they were holding the device in their hand and could see the data capture live. If details were lacking, they knew right away and could browse the 3D laser scanner back over the specific area to easily capture the missing data, saving precious time during the scanning process.
Versatility on any Surface Finish
As previously mentioned, the mold’s reflective surface had to be coated with powder spray prior to using the blue light technology. Consequently, extra time was also required to remove all of the powder coating at the end of the inspection. In contrast, because the laser scanning technology could scan any type of material finish without surface preparation, the setup and part preparation took almost 17x less time with the versatile HandySCAN 3D|BLACK Elite.
Shop-Floor Accuracy and Reliability
In order to avoid external interference and reflectivity that could have affected the performance of the light-based 3D scanner, engineers surrounded the mold with pieces of cardboard. This way, they were assured that light and the surrounding environment would not impact the measurement results. This precaution was not necessary with the laser-based 3D scanner, which also contributed to shortening the scanning process.
Brilliant HandySCAN 3D|BLACK Elite
The HandySCAN 3D|BLACK Elite outshone the renowned blue light 3D scanner in every way for this benchmark. Not only was 85% of the inspection time saved and invested in more in-depth inspections, but also the mold inspection was easier and simpler, regardless of the environmental instability, material reflectivity, or engineers’ level of expertise in 3D scanning.
The engineers summarized their experience with the Creaform HandySCAN 3D|BLACK Elite as follows:
- Portability made the inspection straightforward: the measuring system was brought to the part, not the other way around.
- Part preparation was minimal: simply place targets, plug in the device, and you are ready to scan.
- Blue laser performance on highly reflective surfaces was impressive.
- Scanning motion was intuitive and easily comprehensible, even for beginners.
- Real-time visualization helped users identify and patch any missed areas while scanning.
- Minimal cleanup was required after the inspection.
HandySCAN 3D|BLACK Elite’s distinct benefits of speed, portability, versatility, and accuracy were clearly demonstrated, which resulted in a successful experience and led to the replacement of the existing blue light scanning system.
[1] For this benchmark, both the blue light and laser 3D scanning technologies were equivalent in accuracy (25µm).

