September 20, 2024
Revolutionizing Custom Engine Fabrication with HandySCAN BLACK Elite & VXmodel See the article
Scanning tools for subsequent surface comparison against CAD
Incoming goods inspection is generally a tried and tested means of quality assurance for checking the quality of delivered parts for conformity and is performed by the majority of companies. It is usually carried out through an in-house quality control system or by external metering service providers.
In the case of geometrically complex components, some of which are only installed once for each aircraft (during initial manufacture), only very small numbers are produced in the aviation sector. Depending on the manufacturing process, these components may require only one or several production resources/tools. Each tool is then individually manufactured according to the customer’s specifications.
Incoming inspection of tools for the shop floor area
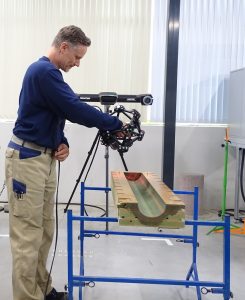
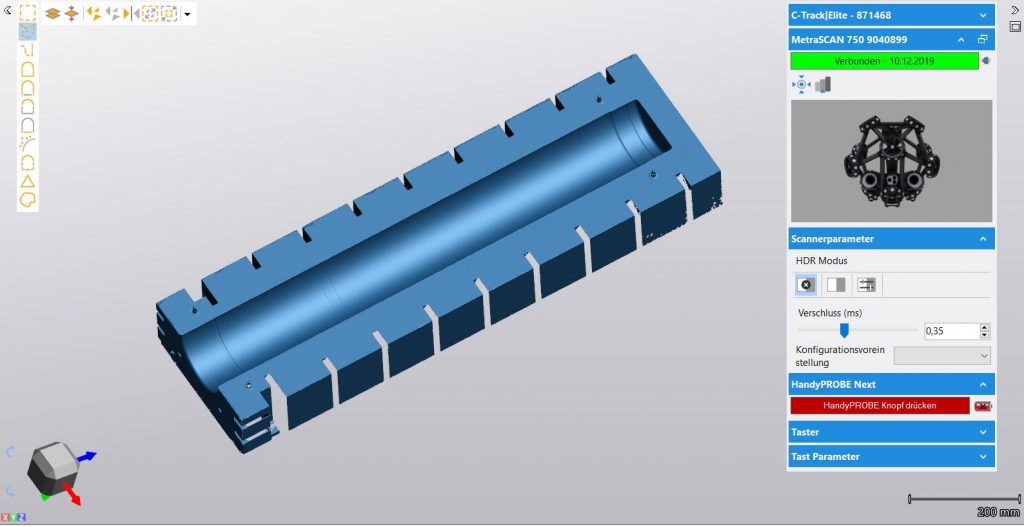
In addition to a fixed touch probe coordinate measuring machine, distributed in Germany by Duwe-3d, Hutchinson Aerospace GmbH, a leading system supplier to the aviation sector, has been using the portable 3D scanner MetraSCAN 3D from Creaform together with the software PolyWorks from Innovmetric for some time at its Nobitz site for incoming goods inspection of tools for the shop floor. When tools are received, they are scanned with this device and then assessed for conformity by surface comparison against CAD. In the event of suspected non-conformity with the specifications (e.g. specification sheet, 3D model), more extensive evaluations are then additionally performed. The tools that must be measured are made of various metallic and non-metallic materials, with sizes ranging from a few centimeters to over 3 meters. The accuracy required in the manufacture of the tools, which has a direct effect on the dimensional accuracy of the products manufactured with them, can be up to 1/100 millimeter.
 |
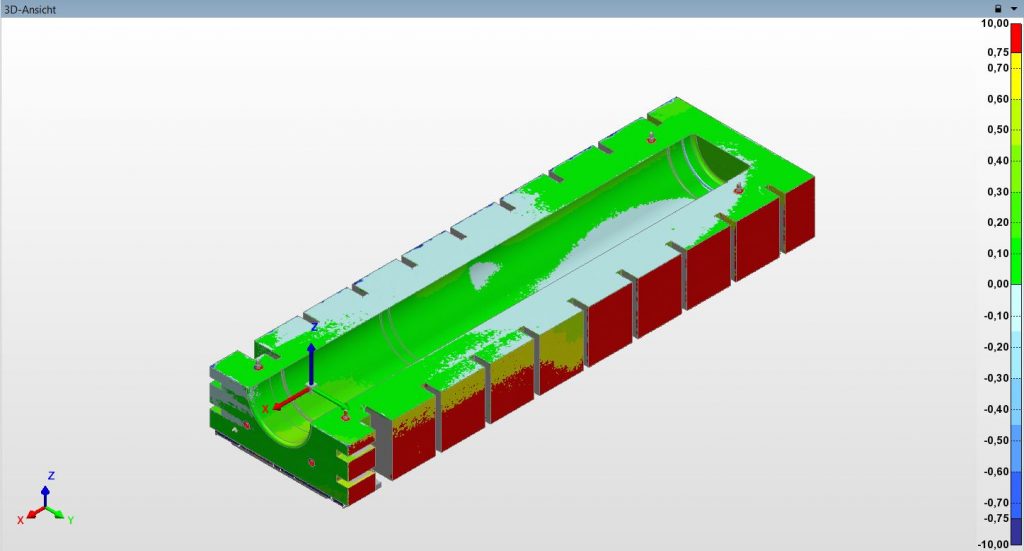 |
Evaluation of the scan in Polyworks and with color scaling
Purchasing the MetraSCAN 3D has significantly increased the options for measuring and analyzing products, as well as for manufacturing facilities. The mobility of the system and the accuracy of the multi-line scanner are particularly impressive. The disadvantages of trigger forces with touch probe measuring instruments on limp or dimensionally unstable components are now almost a thing of the past.
The MetraSCAN 3D is currently only used as part of quality control in the measurement laboratory at the Nobitz site. However, thanks to the high degree of mobility of the system, it is also possible to use it in other plants within the Hutchinson Aerospace Group, and to bundle capacities.
Reasons for purchasing the scanning system:
Given the diverse requirements with regard to materials, sizes, time, mobility of the measuring system and ergonomics, the Creaform system showed very good results when assessed both in terms of technology and profitability and emerged as the clear favorite from the benchmark for Hutchinson. Contributing factors:
- HandySCAN 3D already in use at Hutchinson Aeroservice
- Scanning speed
- Very little penetration behavior into fiberglass fabric, as no chalk spray may be used
- Good results with reflective materials as well as with contrast variations on the surface to be scanned
- High degree of accuracy in the comparison measurement with the coordinate measuring machine
- Very significant time savings with each subsequent measurement through automated alignment and evaluation
- Ergonomic and not very burdensome operation of the scanner
- Mobility of the system
- High measurement volume
Return on investment
Andy Schilling, Quality Engineer and Head of Measurement Technology at Hutchinson Aerospace, explains: “Before the benchmark for the acquisition of a new, non-touch probe measuring system, the manufacturer Creaform had been completely unknown to me. The inherent properties of the system, as well as the good support we received during the decision-making process, ultimately convinced me to argue in favor of the Creaform system and against systems from better-known competitors. After acquiring the system, its high degree of flexibility, accuracy and speed became apparent through a wide range of applications. Based on internal evaluations, we believe that the system will have paid for itself within 2 years – especially when you consider the speed of the scanning process and the evaluation of the data.”
Hutchinson Aerospace is a leading systems supplier to the aviation sector. Thanks to its expertise in the areas of materials, engineering and production, in combination with on-site and aftermarket services, the company can meet a wide range of requirements. At the composite production site in Nobitz, KTN (Kunststofftechnik Nobitz GmbH) produces air conditioning ducts/air distribution systems and interior components such as sidewalls and luggage racks, and has been a supplier to the aviation sector since 2001.
The various common production technologies in the area of GRP/CFRP processing are implemented with modern equipment: autoclave, high-temperature ovens, 5-axis milling, etc. At the Nobitz site, represented by Hutchinson Aerospace GmbH, the Research and Development, Construction and Strength Calculation departments are consolidated in one location. This leads to short and direct communication channels. Customers include Airbus, EFW, Diehl Aircabin, Bombardier und Siemens.

