November 4, 2024
Improving Construction Processes with 3D Metrology See the articleThe client who owns this success story specializes in the development, assembly, and logistics of automotive cockpits. Operating in over 20 locations in more than 10 countries around the world, the company supplies more than 5 million cockpits per year to its national and international customers. In fact, all leading car manufacturers figure among their customers, making this part manufacturer one of the main players in the constantly changing and growing global automotive industry.
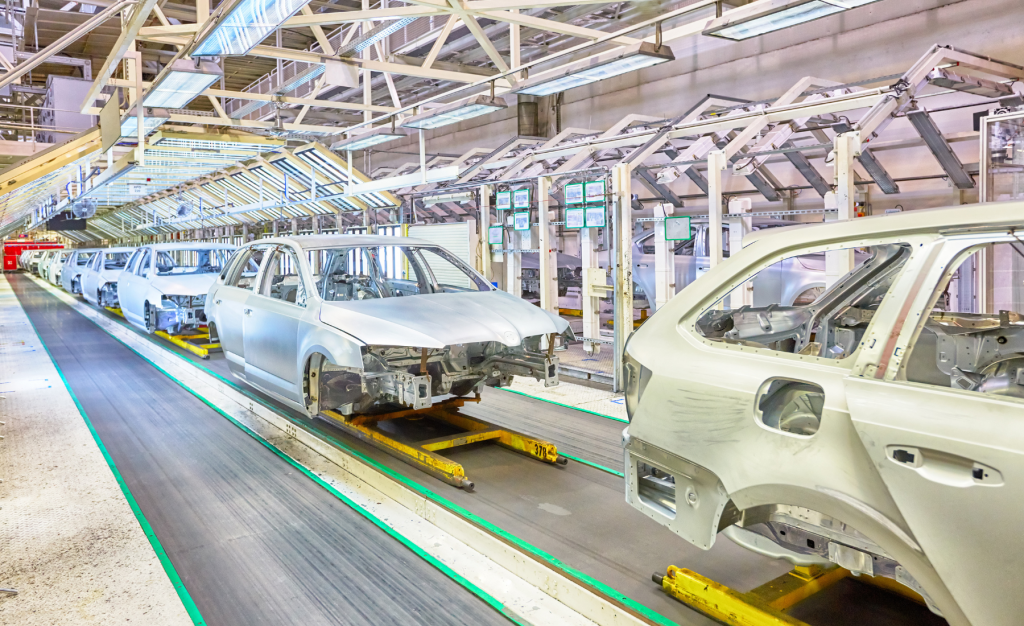
As a Tier 1 supplier for a major original equipment manufacturer (OEM), the company produces high-quality cockpit modules for a brand new car model. To fulfill their customer’s quality standards and satisfy their requirements, assembly occurs on highly standardized assembly lines equipped with leading technologies and specialized tools. Thus, the throughput time on the assembly line is kept as short as possible, and the manufacturing and logistics follow the Toyota Production System (TPS).
This article highlights the challenges that led the company to look for an automated measuring system to inspect their cockpits inline, their customer’s requirements for initiating production for new car models, and their discovery of Creaform’s technology, the MetraSCAN 3D-R.
Challenges: Knowing the Status of Every Cockpit Produced
A few years ago, the OEM plant made the decision to outsource its cockpit production. Following the practices of the management system developed by Toyota, the cockpits were now supplied “just in time” to the automotive manufacturer’s assembly line.
At that time, due to the very short cycle time, the manufacturer had neither the capacity nor the equipment to measure the cockpits inline. Only a small sample could be measured at the end of the assembly line. An operator was then taking a sample to a dedicated room and inspecting the sampling parts with a measuring arm.
However, at a certain point, the OEM developed a strong interest in knowing the status of all the cockpits. Of course, an automated measuring system integrated into the assembly line was the best way to measure each and every cockpit. This way, the company could monitor deviations, observe tendencies, and generate the reports that the OEM requested.
Requirements: Measuring all Cockpits in a Tight Cycle Time
When production of the new car model started, the OEM’s interest transformed into a formal requirement. The manufacturer had to find an automated measuring system capable of inspecting all of the cockpits inline without human intervention. The chosen system had to adapt to a very short cycle time. It had to be integrated into the production line and perform all of its movements around the parts and with a rotary table. It also had to be incorporated into the current assembly process with machines and equipment that included electric cabinets, conveyors, PLC control, and more. Finally, the measuring system needed to be versatile to easily switch between left-hand and right-hand side versions of the cockpit, as both were in production.
The automated measuring system had to fulfill all these requirements to demonstrate its added value and justify the investment.
Simultaneously, the company wanted to explore the possibility of using a probing device for other maintenance operations and quality support tasks. For instance, it could be used for daily verification of the checking fixtures used for the cockpit assembly.
Solution: Automated Measuring System for Inline Inspection
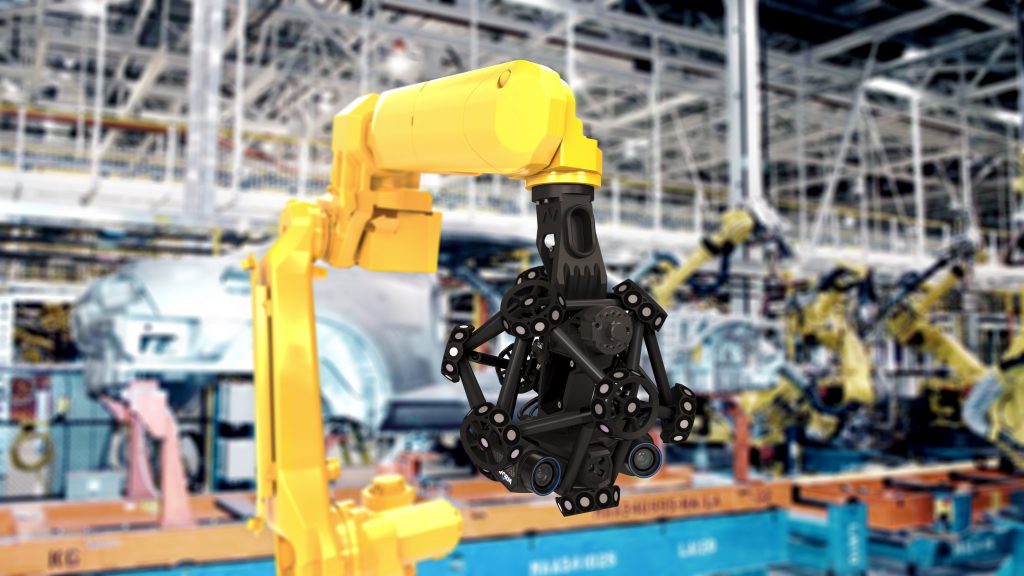
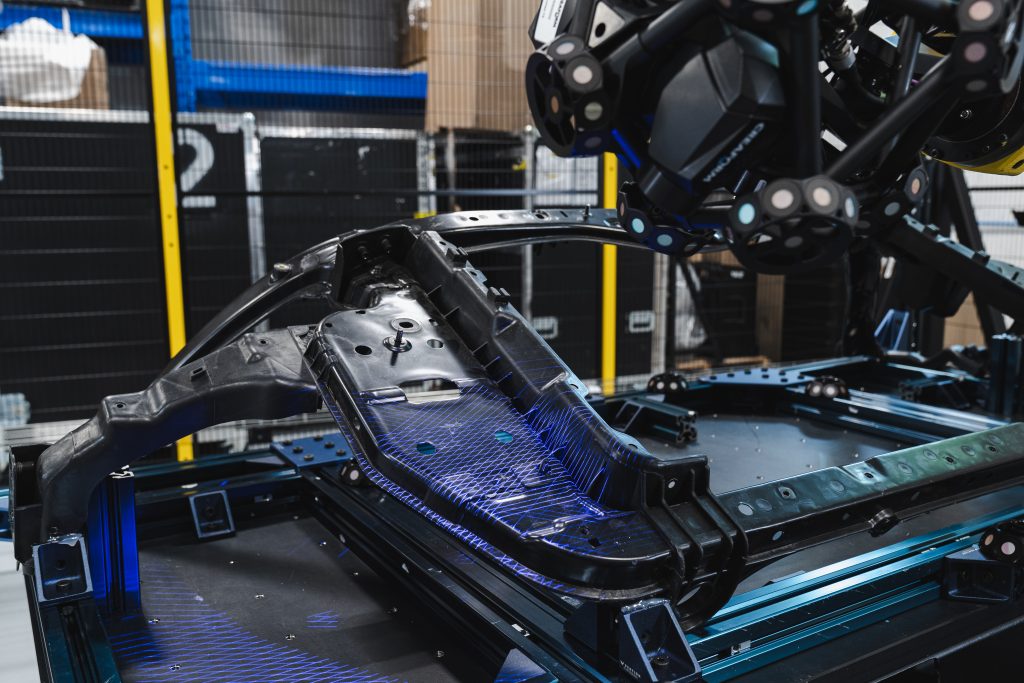
When the company started to look for a solution that could meet all these requirements, they discovered the MetraSCAN 3D-R, which is a robot-mounted optical scanner designed for automated quality control applications and inline inspection. They could quickly capitalize on the 3D scanner’s high-performance optics and laser crosses and see its power directly on their assembly line. In addition, they could seamlessly integrate the 3D scanner into their current production process and increase their productivity and efficiency by measuring all of the cockpits.
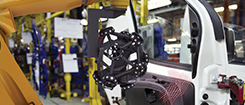
Now, once assembly is completed, the cockpit’s next step on the production line is inspection, which is performed by the robot-mounted optical CMM scanner. The MetraSCAN 3D-R measures each cockpit and generates a report showing how much it is in or out of tolerances. The OEM is informed of the status of each and every cockpit, as requested.
The manufacturer was also searching for a new probing solution to control the dimensions of production fixtures that are used to assemble the cockpits, investigate specific critical features, and act as a backup system for smaller quantities.
For this, they selected the HandyPROBE, which is an arm-free portable probing system. Designed for use directly on the production floor, it requires neither a rigid measurement setup nor a dedicated metrology lab. Thus, the measurement accuracy is not affected by the environmental instabilities—vibrations, changes in temperature, or humidity—that are common on production and assembly lines.
Benefits: Total Integration of the Measuring System into the Production Line
With the MetraSCAN 3D-R integrated into the assembly line, the company is now able to identify, according to specific features and rules, which measurements are within tolerances and which are not. When measurements are out of tolerance, light and sound signals advise the operator that something is wrong. Decisions to accept or remove the faulty cockpit from the line and perform repair within the production sequence can then be taken.
“It is impossible to measure this quantity of cockpits manually in such a short cycle time. Without the Creaform system, our project was simply not feasible.”
Head of Industrial Engineering and Information Technology at the Company
Quality Inspection on Large Quantities in Short Time
Following the tight cycle time of the automotive industry while measuring every produced cockpit was feasible only with an automated measuring system integrated into the production line. A manual solution can only measure a sample. However, a 3D scanner mounted on a robot, like the MetraSCAN 3D-R, can produce accurate measurements and abundant high-quality data while following a short cycle time. Therefore, the manufacturer is now able to perform inline inspection on almost 50 cockpits per hour.
Preventive Inspection and Proactive Corrections
By measuring all cockpits with an automated 3D scanning system, the company can now get complete information on dimensions, from one part to another and from one batch to another. This data enables the engineers to monitor deviations and observe tendencies. When numerous part dimensions are out of tolerance, the manufacturer has the flexibility to inform their suppliers. More importantly, they have the data and reports to explain the tendencies and justify corrective actions.
Metrology-Grade Accuracy in a Shop-Floor Environment
Although temperature, humidity, illumination, and noise are usually maintained as stable working conditions for people, a shop-floor environment remains unstable. Therefore, measuring instruments have to work accurately regardless of environmental instabilities. Thanks to the C-Track optical tracker that enables dynamic referencing, both the MetraSCAN 3D-R and cockpit can move during the inspection and still provide metrology-grade accuracy and high-resolution data.
Return on Investment
Because the quality of the cockpits has been enhanced, the OEM now sees the measuring system as an improvement on the production line. The car manufacturer has even recommended it to other plants. Moreover, human workers can be redirected to more value-added tasks that support the organization. Therefore, even if the investment was important, the return on this investment was more important. “We cannot expect a good system without investing in it,” says the head of industrial engineering. “Such measuring system is expensive indeed,” he adds, “but since it is working 24/7, our customer sees the worth and the payback is important.”
Conclusion
Demands on vehicles and their assembly have changed a lot in the last few decades. Nowadays, car manufacturers have to fulfill demanding standards in the areas of comfort, safety, performance, efficiency, user-friendliness, and interconnectedness. Cockpits are one of the core vehicle elements that must be built with care and meet high-quality standards.
To guarantee the quality of its cockpit modules, the manufacturer needed to choose a measuring solution that could meet all of the OEM’s measurement requirements: It had to follow the short cycle time, measure every cockpit produced, integrate easily onto the production line while remaining insensitive to shop-floor instabilities, work without anyone touching the cockpit, and reduce human interaction to the minimum. Thanks to their chosen robot-mounted optical CMM scanner, the company now measures almost 50 cockpits per hour.
In short, with Creaform’s MetraSCAN 3D-R and HandyPROBE, the manufacturer has been able to provide its customers with accurate measurements and exhaustive reports in order to satisfy their demand for close-to-perfection cockpits.

