September 6, 2024
Creaform on Board to Help American Magic Win the 37th America’s Cup See the articleMetrology has come a long way since its conception during the era of the pharaohs. It has particularly evolved in the last 25 years with the advent of lasers, 3D scanners, and optical technology. Therefore, it is logical to consider that this field will continue to evolve‑new specificities will improve quality control, inspection, and new developments will change manufacturing processes. This article aims to paint a portrait of what metrology solutions and metrology equipment might look like in 5‑10 years. Here are the revelations from our crystal ball.
Inspection will move from the metrology laboratory to the production floor. The keys to this transition will be the equipment portability, simplicity, and flexibility. Moreover, measurements will be performed without the need for human intervention, and manufacturing processes will self-correct based on these automated‑measurements.
3D measurements are moving closer to manufacturing
Now that metrology equipment is moving closer to the production floor, their simplicity and ease of use will become mandatory to enable those who manufacture the parts to also inspect them. Inspection and quality control will no longer be considered as a parallel procedure, but rather an integral part of the manufacturing process. 3D measurements will occur on several occasions during the manufacturing, so that the manufactured part will have already been measured at several times before completing its production process.
Simple and flexible inspections
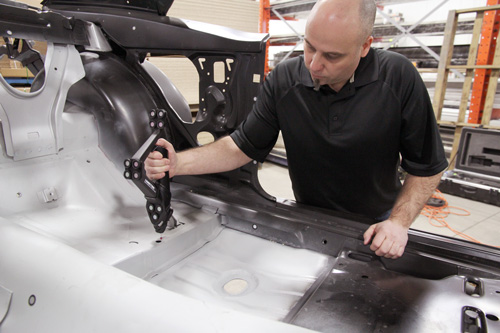
More operators will be asked to perform quality control and inspection directly on the production floor. Therefore, metrology equipment will be intuitive, simple to use, and easy to understand. The level of expertise required to operate this metrology and measuring equipment will decrease. Moreover, there will be a transition period where inspection will still be managed by quality control teams‑not necessarily familiar with automatization and robot programming‑and progressively moving to production teams‑not completely used to measuring methods. Metrology will have to rely on flexible solutions during this period to get measurements, which will soon be automated and self‑corrected.
Portable metrology with 3D scanning
3D scanning metrology solutions will gradually be replacing probing solutions for three major reasons: speed of acquisition, density of information analyzed, and short time required to characterize a complete part.
Software and hardware integration
In the future, there will be better synergy between each of the system components. Indeed, both software and hardware of metrology equipment will be jointly developed by the same company to fully interact, operate and give users maximum capabilities. Therefore, generic software compatible with each and every piece of hardware will give way to an integration of both. It will allow for more possibilities and provide users with important benefits, especially in terms of simplicity and ease of use.
Automating quality control
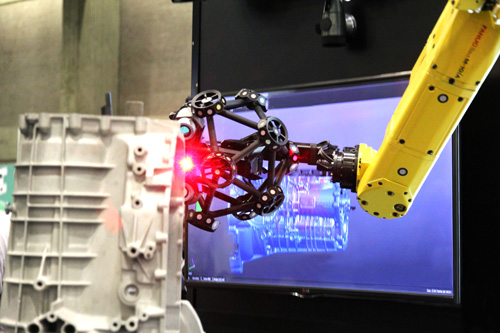
In the future, human intervention during inspection will be replaced by an automated measurement system. Since programming may quickly become a nightmare for quality control teams, they will prefer using flexible and intuitive software integrated with the hardware. Ultimately, it could be as easy as manually making a motion, so the robot can record and program its trajectory independently.
Finally, smart measurements—as documented in Industry 4.0—will completely modify the production process. Based on automated measurements metrology solutions, manufacturing processes will auto-correct. In fact, this concept is a wish of many futurists.
Imagine if the measurement system, after inspecting a lot, could discern defaults, pinpoint their location in production, and transmit this information to the manufacturing software, so that the error could be corrected during the process—all this, without human intervention.
Jérôme-Alexandre Lavoie, B. Eng.
Product Manager, Creaform


