Exit this form
Are you sure you want to quit this form?
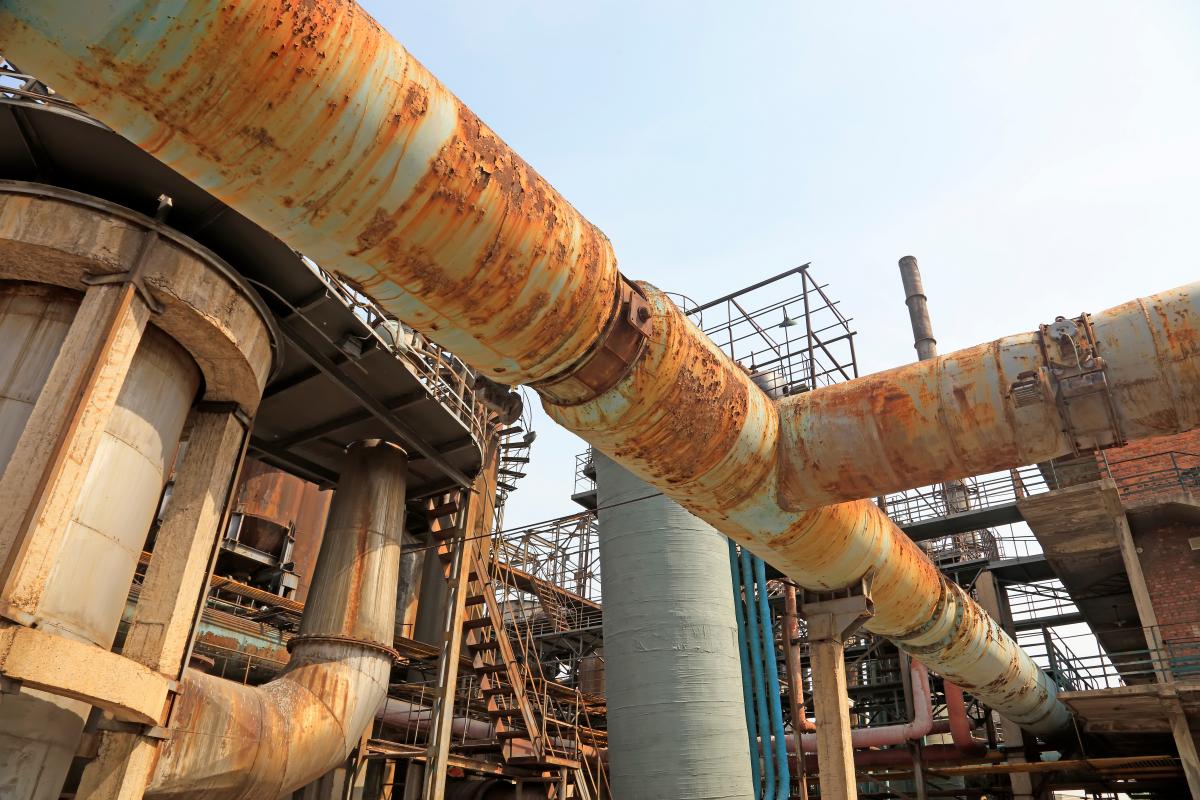
Since most of the infrastructure was built in the 60s and 70s, refineries and power plants (both nuclear and hydroelectric) are now aging. Because it is impossible to repair all the machinery as damages occur, asset owners must manage the risk of problematic infrastructure.

Aging and corroded infrastructure
Though it’s not an option to repair all damages as they occur, it is still important to preserve the safety of installations by tracking and monitoring the damages (i.e., rigorously managing risks and following the evolution of damages over time to prioritize the repairs deemed urgent and critical). This is essential to avoid putting problematic infrastructure at risk and to allocate the proper resources to the right places to limit deterioration.
Ideally, 100% of the damages should be repaired; however, in the context of aging infrastructure, asset owners lack the human and financial resources to repair everything. The solution involves tracking and monitoring infrastructures over time, which involves digitizing measurements and comparing data between maintenance rounds. If damages become worse, service companies can prioritize and plan the repair in accordance with the damage severity.
Special paint, process modifications, or welded alloys can slow down the progression of certain damages and protect the infrastructure against the wrapping of composite materials. Nevertheless, service companies still must inspect repairs from time to time to ensure that the protective measures work. This is where 3D scanning comes into play, as it can detect the slightest change in a defect condition and dimensions.
Traceability: With the integrity assessment power offered by 3D scanning, technicians can acquire large amounts of high-accuracy data to conduct in-depth assessments of corroded, complex areas. As the solution is traceable, plant owners can use the saved data to document, follow, and compare corrosion and damages over time.
Accuracy: Over the years, 3D scanning has acquired noteworthy credibility in metrology and the pipeline industry. It is still the only technique available on the market with the level of accuracy (up to 25µm) and data quality (noiseless) to compare the evolution of hardly perceivable damages over time – with only slight variations in geometry or thickness.
User independence: The independence of the result acquisition accentuates 3D scanning's traceability and accuracy. Results are entirely independent of how the measurements are taken and the skill levels of the technicians. Service companies are sure to obtain the same unique scans regardless of the technicians’ experience, allowing them to proceed with data acquisition and analysis without extensive intervention.
Easy-to-use metrology tool kit: The Damage Monitoring Module offers an easy-to-use metrology toolkit optimized for industrial maintenance applications. The module provides various functionalities, such as basic alignment and mesh edition tools, perfect geometry creation for mesh-to-CAD and mesh-to-mesh comparison, and advanced automatic report generation. With those functionalities, challenging applications can easily be solved, including pipeline radius bending, ovality assessment, corrosion rate metric, dimensional control and validation, and elbow corrosion.

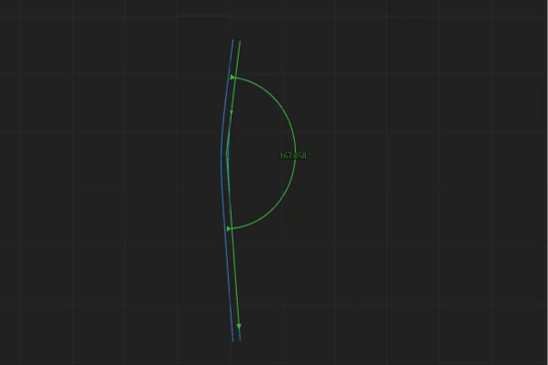
Radius bending measurement on a pipe cross-section to ensure that the pig can go through the pipe and carry out inspections
VXintegrity’s Damage Monitoring Module and HandySCAN 3D|BLACK Series is the only technique available on the market that offers traceable, accurate, human-independent, and noiseless results that eliminate measurement variation and ambiguity in result interpretation.
The combined effect of 3D scanning and VXintegrity provides asset owners with useful new metrics to make better maintenance decisions by anticipating repairs and limiting downtimes.
Asset owners can make better decisions thanks to the helpful new metrics that the Monitoring Module calculates very precisely. They can prioritize the order and sequence of repairs. Equipped with an overall picture of the situation, they can allocate the necessary resources to high-priority damage and wait to address less critical damage.
Asset managers now know what to expect because 3D scan data is perfect for evaluating the evolution of damage over time and for noticing the slightest changes. With the corrosion rate that the Monitoring Module calculates, they know the precise loss of material, the progression of corrosion, and the remaining life of a component. They can anticipate and plan when to repair or replace a component without risking the proper functioning of the infrastructure.
Monitoring damage evolution over time enables asset managers to plan maintenance upstream and prepare the refinery or power plant downtimes in advance. Downtimes will also be shorter because 3D scanning ensures that replacement parts will fit perfectly during installation.
You have a specific question. You need the advice of a specialist. We are here to guide you.