THE ULTIMATE 3D SCANNING SOLUTIONS FOR SURFACE DAMAGE ASSESSMENT
The New VXintegrity software platform: Surface Damage Assessment Modernized
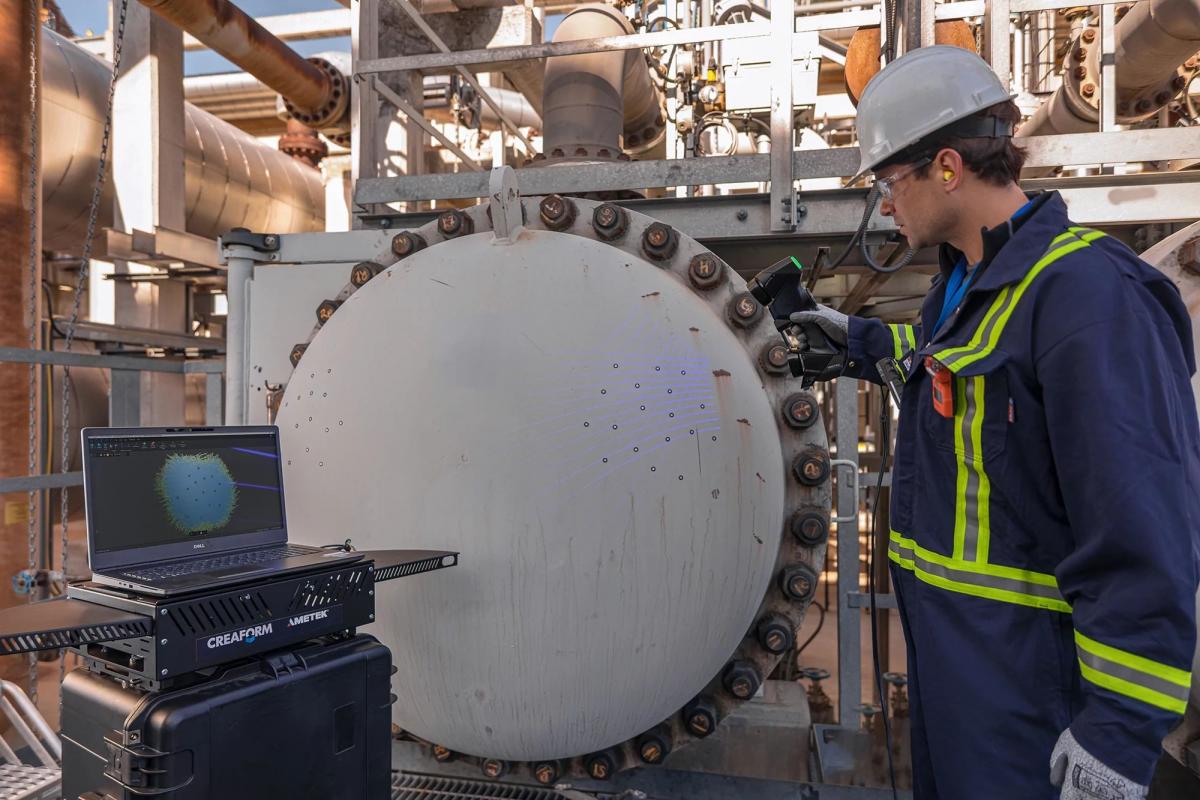
When pipeline operators look for an NDT service company, technology and quality of non-destructive testing services are key. In particular NDT technologies must help technicians perform inspections efficiently, without compromising on accuracy and highly reliable results.
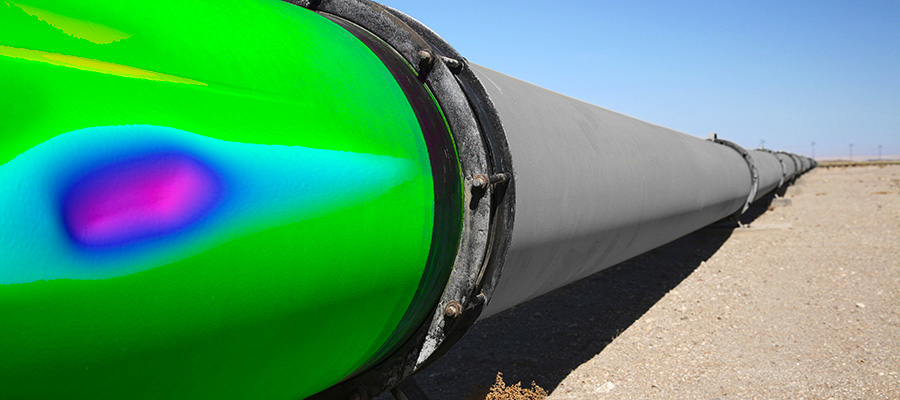
Creaform has the most trusted NDT 3D scanning technology solutions for corrosion, denting (mechanical damage), and wrinkle analyses. Thanks to its 3D scanner bundle with VXintegrity – Pipeline software, service companies and pipeline operators can stick to planned budgets and timelines—all while ensuring pipeline integrity and public safety.
This unique 3D scanning technology and innovative software solution goes beyond standards and active regulations, offering fast field deployment, user-independent results, versatile geometry analysis, easy reporting, and a complete 3D visualization of internal and external surfaces.
Scanners
CREAFORM’s 3D SCANNER BUNDLE WITH VXINTEGRITY – PIPELINE SOFTWARE: PROVEN NDT TECHNOLOGY FOR THE BEST QUALITY OF SERVICE
THE MOST ACCURATE PIPELINE ASSESSMENTS WITH NDT 3D SCANNERS
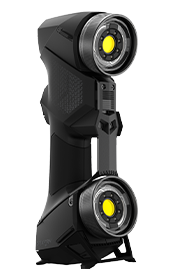
As the standard for portable metrology-grade 3D scanners, the HandySCAN 3D delivers accurate and repeatable results in all work conditions, whether under direct sunlight or in harsh environments. Not only can service companies fully trust HandySCAN 3D’s reliable data but they can also count on its speed to take measurements, deliver results, and complete inspection quickly and efficiently. The HandySCAN 3D is your go-to NDT solution for pipeline inspections.
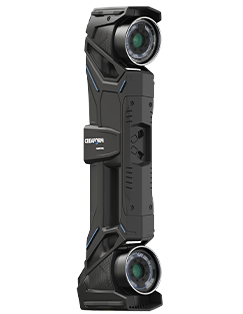
THE ULTIMATE 3D SCANNER FOR SURFACE DAMAGE ASSESSMENT
The MAX series offers the fastest and easiest 3D scanning experience for NDT technicians inspecting pipelines for various types of damage, particularly corrosion. The MAX series is designed for measuring large objects, offering fast, metrology-grade accuracy for objects up to 15 metres, while retaining fine detail capture on smaller areas, with up to 75% fewer targets needed.
SOFTWARE
VXINTEGRITY – PIPELINE SOLUTION: YOUR BEST ALLY AT ALL STAGES OF YOUR PIPELINE INTEGRITY MANAGEMENT PROGRAM

CORROSION
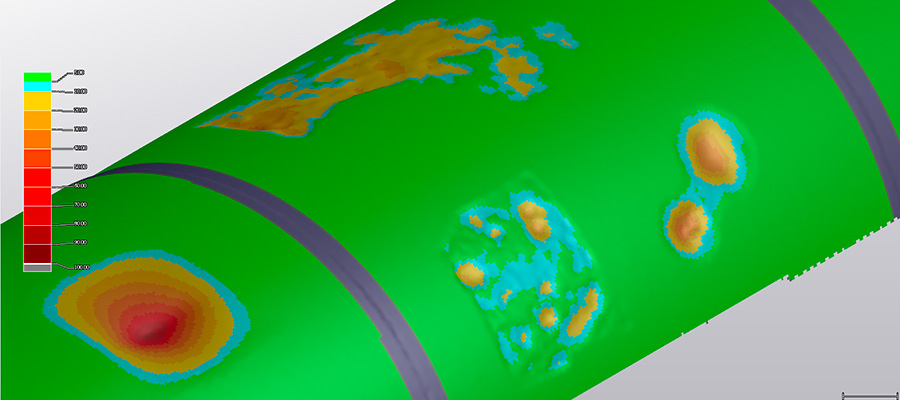
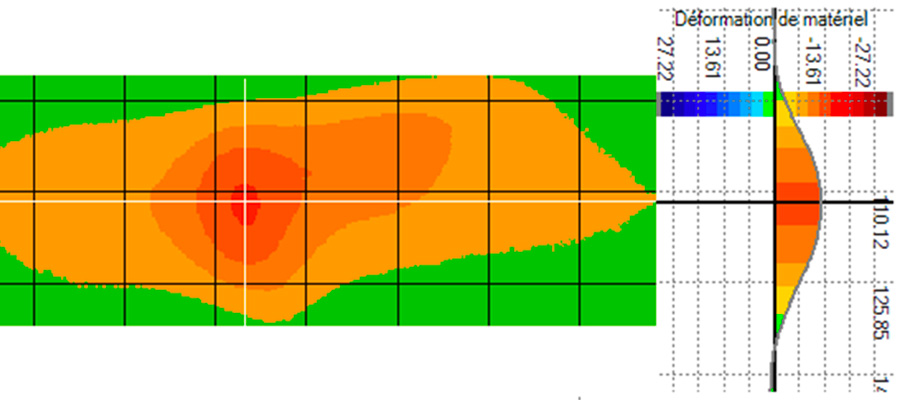
Unlike traditional pit gauges,VXintegrity – Pipeline has the capacity to measure both the internal corrosion (thanks to UT or interior 3D scanning if possible) and external corrosion (with 3D scanning) to get a complete 3D visualization of the damages for more detailed, in-depth analyses.
- SCAN
- ANALYSE
- REPORT

DENTING (MECHANICAL DAMAGE)
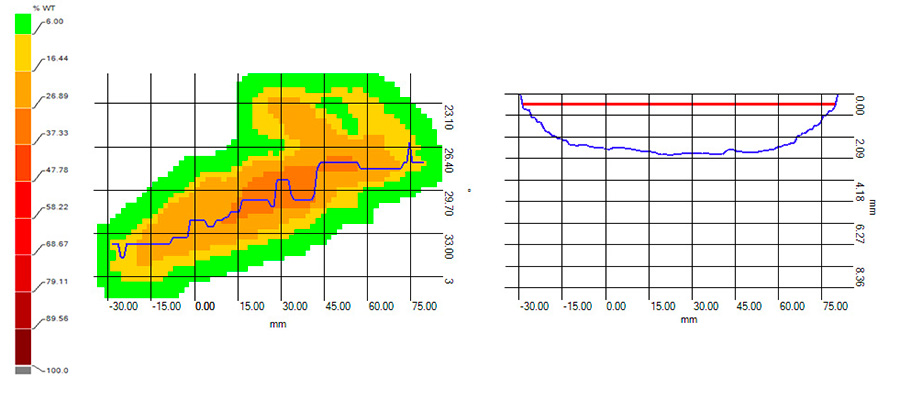
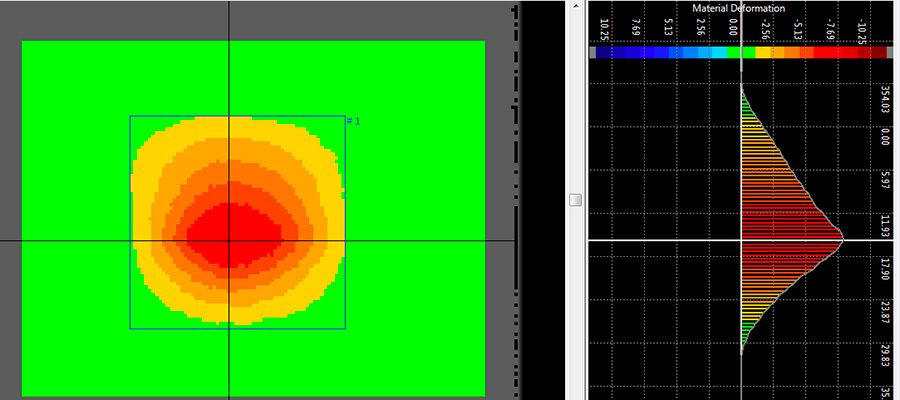
VXintegrity – Pipeline Module provides key pipeline inspection functionalities, such as the automatic detection of the maximum depth, which can be difficult to find with traditional measurement methods, like pit gagues.
- SCAN
- ANALYSE
- REPORT

WRINKLE ANALYSIS
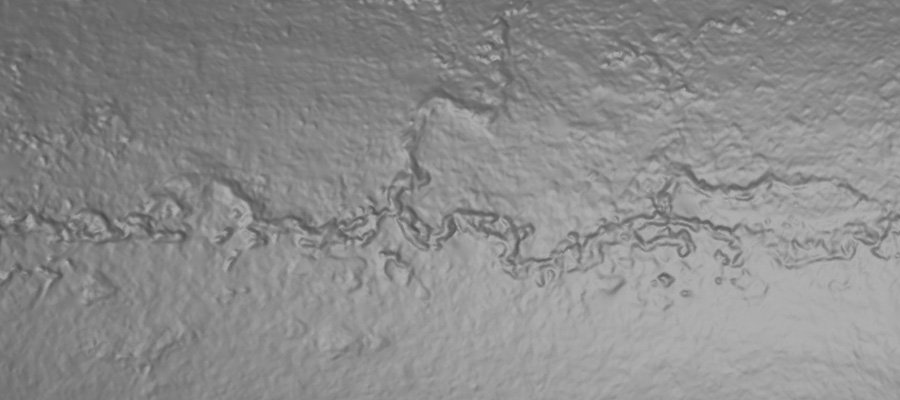
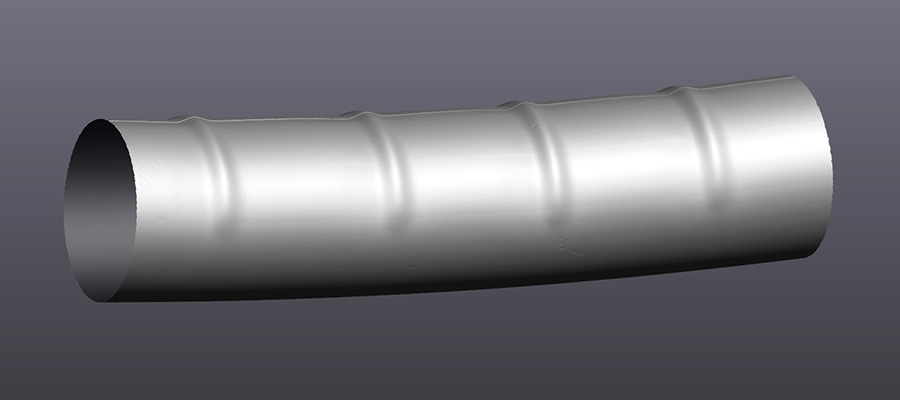
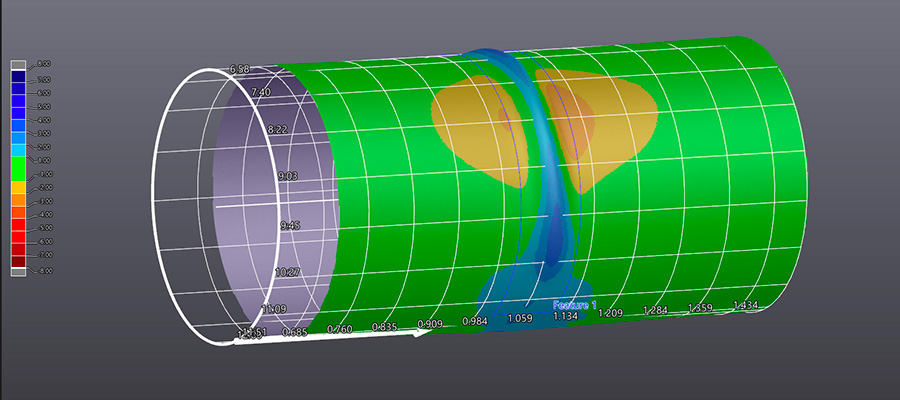
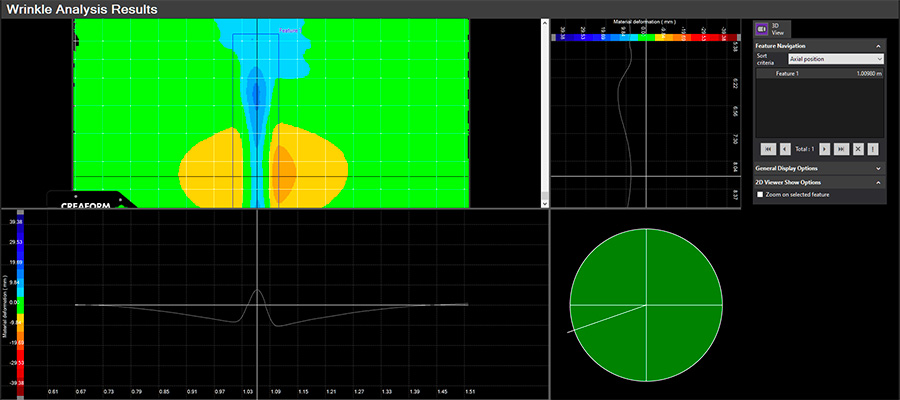
VXintegrity – Pipeline Module’s wrinkle analysis module is programmed to calculate the crest-to-trough depth of the ripple as well as the wavelength, circumferential extent, and diameter restriction—enhancing the quality of pipeline inspection analyses and reporting.
- SCAN
- ANALYSE
- REPORT

BURST PRESSURE LEVEL III SIMULATION
Creaform's burst pressure simulation generates a 3D visual report of the digitized surface. It calculates stress, displacement constraints, and burst pressure (with its location) based on triaxial strain analysis. This allows asset owners and service companies to clearly visualize the constraints and limits on their operating pipelines.
- section 1
- section 2
- section 3
Interested in VXintegrity – Pipeline?
Contact us now and one of our experts will help you find the perfect NDT solution for your company's needs.
ADVANCED PIPELINE INSPECTION FUNCTIONALITIES
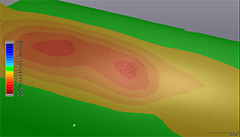
Being able to assess material loss depth from mechanical damage deformation is no longer an unattainable goal. Pipeline software is the one and only NDT solution on the market to offer unique and sophisticated tools able to extract corrosion depth inside a pipe’s mechanical damage.
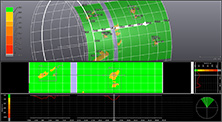
In-line inspection (ILI) performance levels can be monitored in Pipeline by correlating pig data against pipeline 3D scanning and/or imported UT data. The interface has been optimized to compare the depth, length, and width of features in just one click. However, the more pipeline operators accumulate a significant amount of data, the more the correlation results are accurate. ILI determines, with more accuracy, which sites really need to be dug up, reducing the number of excavations necessary for direct assessment and repair.
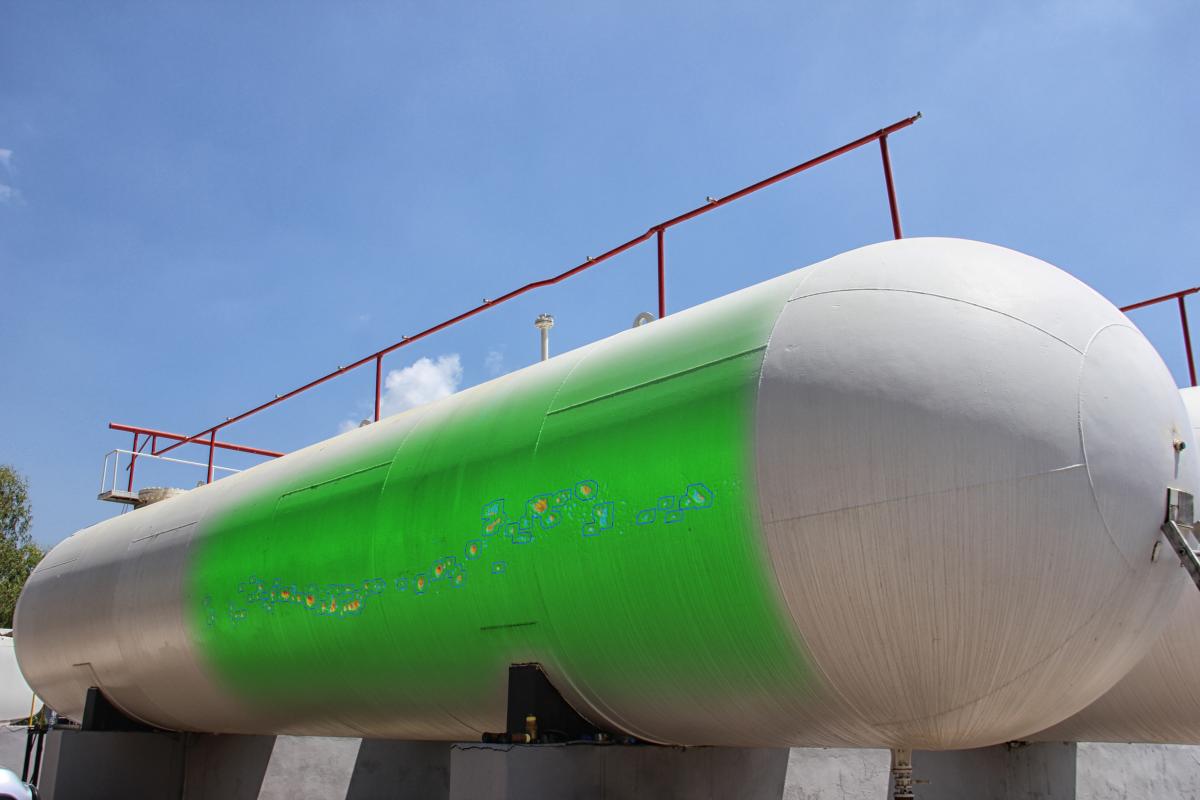
Pipeline supports inspections of cylinders with diameters of up to 152 m. This enables inspection teams to assess large cylindrical components, such as pressure vessels and distillation columns. Take advantage of all the benefits found in Pipeline, including the virtual pit gauge, regardless of the size and diameters of the components to be evaluated.
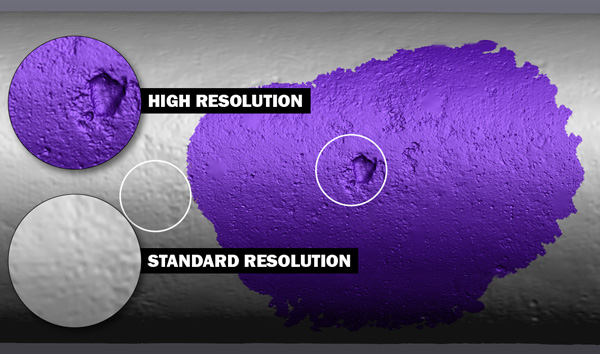
Pipeline supports multiple resolution levels within an individual scan. The multi-resolution functionality allows users to increase the resolution in specific damage area during data acquisition. Users can even lower the acquisition resolution for the rest of the scan where there is no damage. By doing so, it is easier to carry out larger scans without compromising on the resolution where it matters. Moreover, the multiresolution capabilities, when optimized properly, improve the acquisition speed and reduce the file size for a better overall user experience.
Scanners Comparison
Which portable 3D scanner is right for you?
No matter what type of industrial 3D scanner you are looking for, Creaform has the widest breadth of 3D measurement technologies for any workflow or project. Easy to use, they deliver unmatched performance.
 Go!SCAN 3D Go!SCAN 3D |
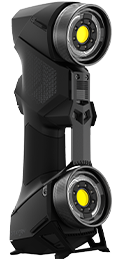 HandySCAN 3D HandySCAN 3DBLACK Series |
 HandySCAN 3D HandySCAN 3D MAX Series |
||||
|---|---|---|---|---|---|---|
| Accuracy | Up to 0.050 mm(0.0020 in) | 0.025 mm(0.0009 in) | 0.075 mm(0.0030 in) | |||
| Color Acquisition | X | |||||
| Light Source | White light (99 stripes) | 30 blue laser lines | 38 blue laser lines | |||
| Scanning Area | 390 x 390 mm(15.4 x 15.4 in) | 310 x 350 mm(12.2 x 13.8 in) | 1 x 1 m(3.3 x 3.3 ft) | |||
| Positioning Methods | Target/Texture | Target | Target | |||
| Weight | 1.25 kg(2.7 lb) | 0.94 kg(2.1 lb) | 1.22 kg(2.7 lb) | |||
| Accreditation | ISO 17025 | ISO 17025 | ||||
| Price | + + | + + + | + + + | |||
| View the full specs | View the full specs | View the full specs |
Accessories
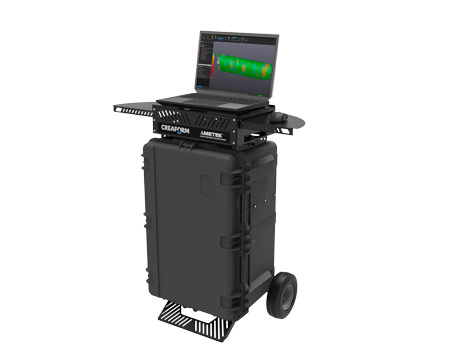
NDT PORTABLE WORKSTATION
This all-in-one transport case converts into a convenient portable workstation that is especially designed to optimize field efficiency with its rugged design and multi-terrain wheels.
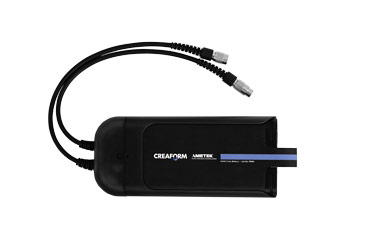
3D scanner external battery
With up to 8 hours of autonomy, it facilitates data acquisition when power sources are not available. The external battery provides easier-than-ever access to confined spaces when combined with the HandySCAN 3D or Go!SCAN 3D.
Want to try the best NDT pipeline integrity assessment software on the market?
Contact us now for a free trial version of the perfect NDT solution adapted to your needs.

