Exit this form
Are you sure you want to quit this form?
Sometimes, even if a conventional technology has been used for many years to monitor components’ condition and record damages, it can no longer keep up with the increased demands of digitization. Thus, a company working in the heavy industry has no choice but to replace its existing measuring equipment to fully engage in the digital world. This insistence can be particularly predominant in reverse engineering and quality control, which require flexible, handheld systems with better accuracy to reduce measurement time.
To deliver highly accurate results, a measuring instrument must be ISO17025-accredited and compliant with the German standard VDI/VDE 2634 part 3. It must also be free from any rigid measurement setup requirement that could alter the data quality. In addition, it should be designed for use on the production floor, offering measurement accuracy insensitive to environmental instabilities.
How can we tell if a measuring system is insensitive to oscillations and vibrations?
Dynamic referencing ensures accurate and high-quality results, regardless of the environmental stability, measurement setup quality, and even the user’s experience level. When a measuring system involves an optical tracker that enables dynamic referencing, it means that both the instrument and part can move during an inspection. Therefore, engineers can use the measuring system directly in production, where oscillations and vibration are ubiquitous.
What technology shows impressive data acquisition proficiency with challenging materials, such as shiny surfaces?
Blue laser technology has proven to be ideal for mastering complex materials and reflective finishes. With 3D scanning, this versatility with various surfaces can extend to multiple sizes, shapes, and geometries. Combined with probing, the 3D measurement system can acquire more versatility: probing for geometrical entities and 3D scanning for complete surface inspection.
How can a seamless integration with current processes be ensured?
Simple and fast data post-processing can make the integration of measurement results into the existing workflow seamless. This is only possible with a powerful integrated 3D software platform that works in complete synergy with the 3D measurement solutions. With sophisticated algorithms, the application modules can process 3D scan data and guarantee optimal user experience, seamless interaction with the device, and the shortest time to usable mesh or 3D data.

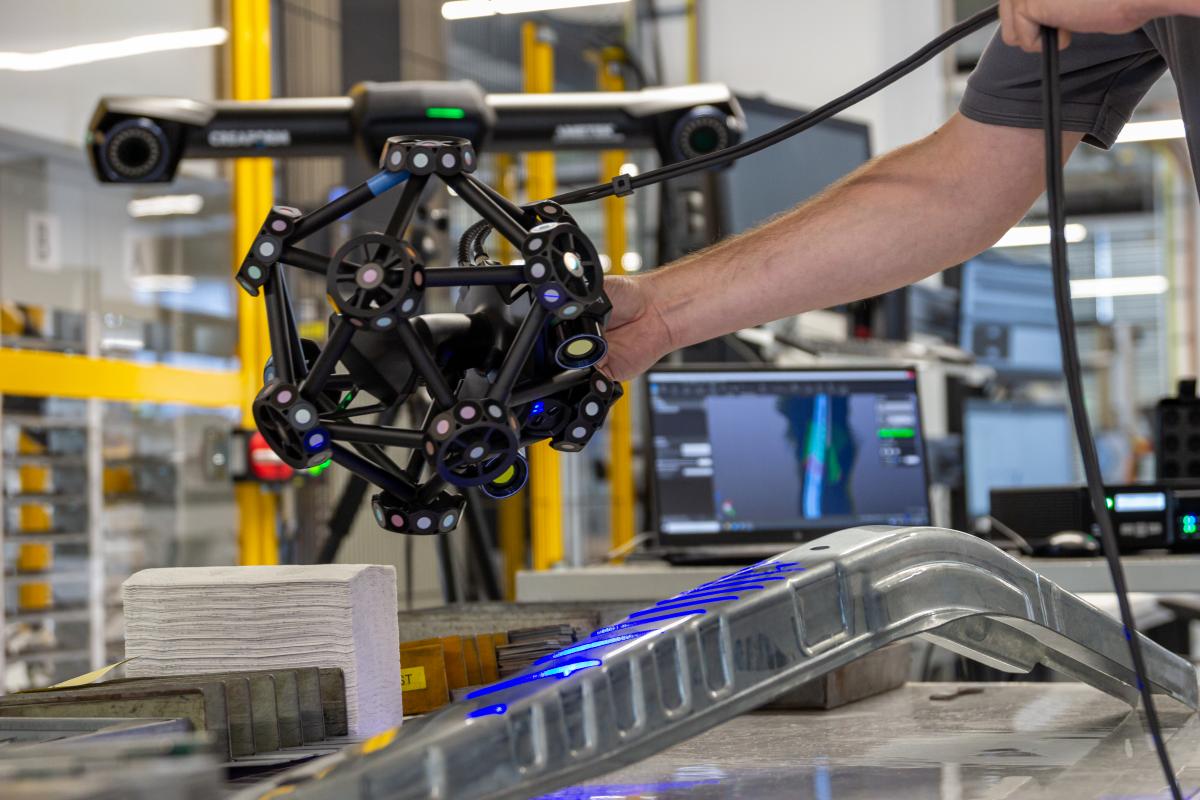
Scan of a sheet metal part
Accuracy is provided by precise, high-resolution, and repeatable results, regardless of the measurement setup quality, environmental instabilities, or user experience. For quality control teams, accuracy is usually the most critical factor when selecting metrology instruments.
Speed is defined as the capability to generate a real-time mesh that is already lightened and processed and ready to be seamlessly integrated into the preferred CAD software.
Portability is made possible thanks to dynamic referencing, where both the part and the instrument can move freely during the measurement process. This way, 3D scanning can be done at the production plant, measuring station, or workshop without affecting performance.
Versatility is demonstrated by measuring various parts, regardless of size, shape, surface finish, geometry, and complexity, without surface preparation.
Metrology-grade 3D scanners, such as the HandySCAN 3D or the MetraSCAN 3D, and the probing system HandyPROBE are good examples of these accurate, fast, portable, and versatile measuring solutions.
|
In quality control, castings can now be measured entirely with the MetraSCAN 3D and HandyPROBE to create complete technical documentation. In reverse engineering, components that did not have original data or CAD available can now be recreated with the HandySCAN 3D and Geomagic Design X, from which technical drawings for production can be derived.
The 3D scanners and the tactile measuring probes' performances are particularly striking when measuring complex surface finishes and geometries in various sizes. This range includes everything from scanning tiny components, such as gear profiles, to parts of a whole system.
The simple and easy data post-processing makes the integration of measurement results into the existing workflow seamless. This way, engineers can export the data obtained from VXelements acquisition software and prepare it with Geomagic Design X for reverse engineering and quality control.
The simple and easy data post-processing makes the integration of measurement results into the existing workflow seamless. This way, engineers can export the data obtained from VXelements acquisition software and prepare it with Geomagic Design X for reverse engineering and quality control. |
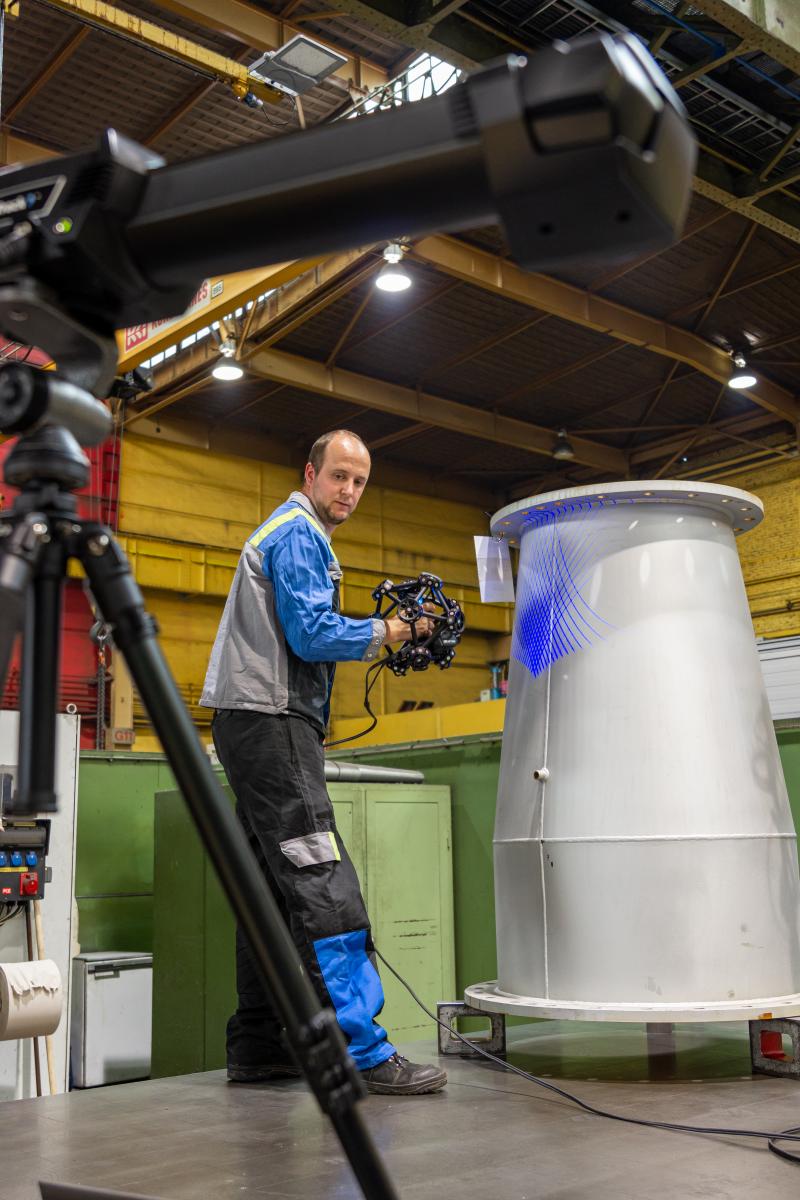
 voestalpine Steel employee scanning a tube sement of a blast furnace with the MetraSCAN 3D |

voestalpine Stahl GmbH is the main divisional company in the Steel Division, the largest of the four voestalpine divisions and is the international steel center of competence in the voestalpine Group. The Austria-based company manufactures steel strips, heavy plates, and foundry products mainly used in the automotive, electrical, and manufacturing industries.
In their Linz facility, voestalpine Stahl GmbH operates a fully integrated metallurgical plant consisting of several blast furnaces, a steel mill, a hot-rolling mill, several cold-rolling mills, and various galvanizing and tempering plants.
"Using Creaform measurement systems has resulted in significant improvements in accuracy and a reduction in measurement time," comments Maximilian Burger, 3D metrology expert at voestalpine's Electrotechnical Center. "The performance of the 3D scanners with different surfaces has also been surprisingly positive."

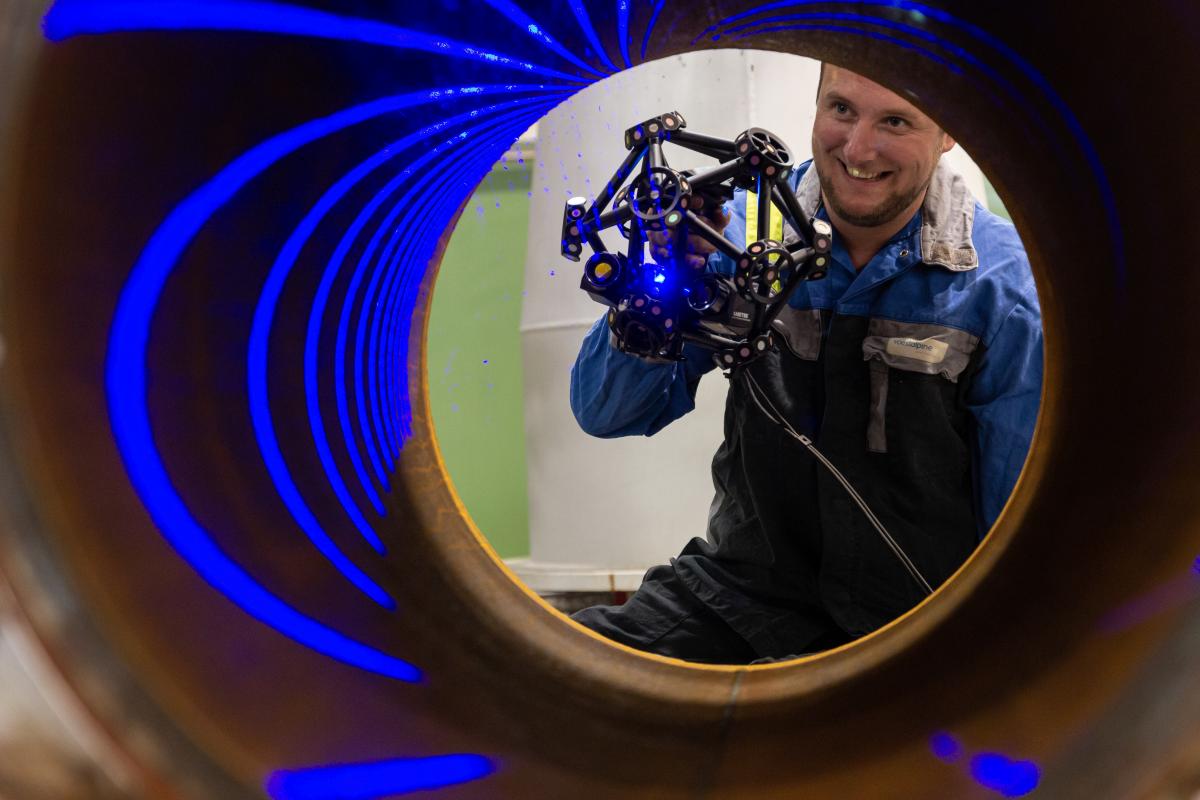
voestalpine Steel employee scanning the interior of a pipe
"Creaform measurement systems offer new possibilities in our engineering value chain. In the future, we will increasingly use this measuring equipment for reverse engineering, retrofitting, and quality control," explains Christian Haider, process owner of the voestalpine's Electrotechnical Center. "With Creaform 3D measuring solutions, we are further contributing to the sustainability and technological best practices at voestalpine as a global steel and technology group."
You have a specific question. You need the advice of a specialist. We are here to guide you.